Advertisement
Quick Links
28.05.2021
A S S E M B L Y
A N D
I N S T R U C T I O N
M A N U A L
M O D E L 0 9 2 0 P I R O U
© 2 0 2 0
K U R T B E I E R & K A T I Q U I N G E R
Sofa 2,5-Seat with high armrest
240DFH
Sofa 2,5-Seat with low armrest
240FH
Armrest
Head-rest
flap
Functional
back
Functional
armrest
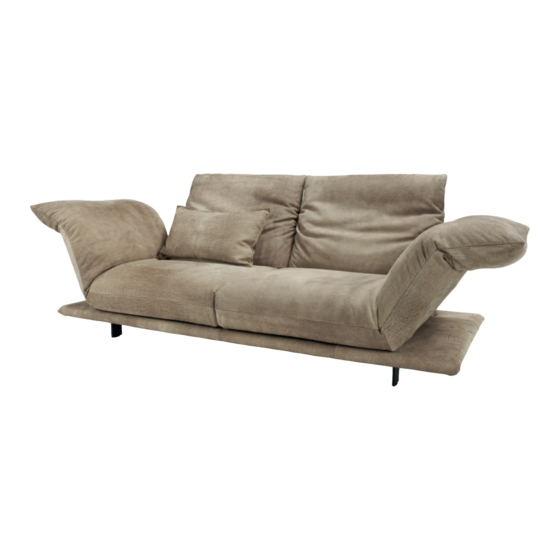
Individually designable sofa with
Armrests can be folded down
... cosy double couch
dual function in back and armrest
to form a lounger.
(example with low armrest).
(example with high armrest)
As a single lounger or...
Advertisement

Subscribe to Our Youtube Channel
Related Manuals for BullFrog 0920 PIROU


Summary of Contents for BullFrog 0920 PIROU
- Page 1 28.05.2021 A S S E M B L Y A N D I N S T R U C T I O N M A N U A L M O D E L 0 9 2 0 P I R O U ©...
- Page 2 0 9 2 0 PIR O U © 2 0 2 0 K U R T B E I E R & K A T I Q U I N G E R Adjustment of head-rest (or armrest flap): Armrest flap Head-rest Functional back 1.
- Page 3 0 9 20 PIR OU © 2 0 2 0 K U R T B E I E R & K A T I Q U I N G E R Use of the manual back and armrest function: Armrest flap Head-rest Functional back 1.
- Page 4 0 9 2 0 PIR O U © 2 0 2 0 K U R T B E I E R & K A T I Q U I N G E R Use of the motorised back function: 1. Insert the plug A into the charging socket at the bottom of the sofa and then the transformer into the socket. 2.
- Page 5 0 9 2 0 PIR OU © 2 0 2 0 K U R T B E I E R & K A T I Q U I N G E R Use of rotation function Adjusting the seat to a lounger: 1.
- Page 6 0 9 2 0 P IR OU © 2 0 2 0 K U R T B E I E R & K A T I Q U I N G E R Motorised back function - Programming of transmitter and receiver Delivery condition: already synchronised December 2017 Brief instruction, Pairing-Method:...
-
Page 7: Montage / Assembly
0 9 2 0 P IR OU © 2 0 2 0 K U R T B E I E R & K A T I Q U I N G E R Montage / Assembly: Info: ATTENTION! To ensure secure assembly, please observe the individual steps of instruction! The furniture should always be mounted in pairs (2 persons)! 1. - Page 8 0 92 0 PIR OU © 2 0 2 0 K U R T B E I E R & K A T I Q U I N G E R 3. Tilt the element forwards. Use a suitable support to avoid damage to the cover or your floor. 4.
- Page 9 0 92 0 P IRO U © 2 0 2 0 K U R T B E I E R & K A T I Q U I N G E R 5. Now screw the threaded pin (a) with the short side instead of the Spax screws (F) into the hole. First push the washer (d) and then the toothed lock washer (b) over the threaded pin (a) and tighten everything with the cap nut (c).
- Page 10 0 9 2 0 PIR O U © 2 0 2 0 K U R T B E I E R & K A T I Q U I N G E R 8. Now screw the 4 bolts (g) (2 per foot) back into the feet. 9.
Need help?
Do you have a question about the 0920 PIROU and is the answer not in the manual?
Questions and answers