Table of Contents
Advertisement
Quick Links
Advertisement
Table of Contents

Summary of Contents for Iflight GOCam PM GR
- Page 1 GOCam PM GR User Manuals Guide...
-
Page 2: Name Of Parts
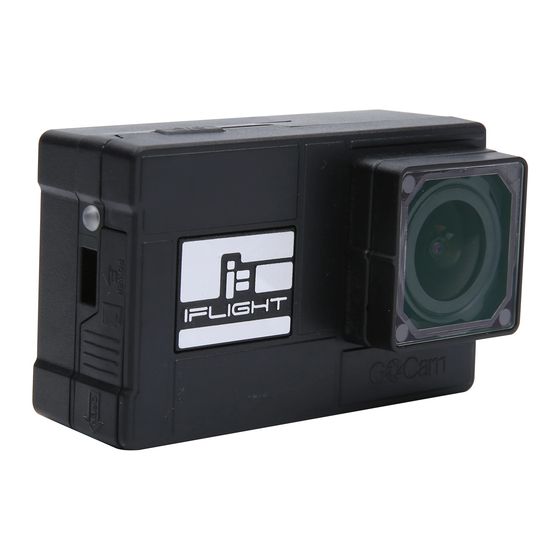
1.Name of Parts Terminal Power/Record Button Heat Sinks Micro SD Card Slot Lens Filter LED Indicator 2 .Install Camera (1)Install Micro SD Card You will need a Micro SD card (sold separately) to save videos and photos, please choose the SD Card brands which can meet the following requirements: MicroSD, MicroSDHC or MicroSDxc... -
Page 3: Install Filter
(2).Install battery or adaptor Professional Tip: Ensure that the camera battery is fully charged beforeusing. GOCam PM GR special charger can charge 3 batteries at the sametime, takes about an hour to fully charge and the LED light will become solid green. Besides... - Page 4 GOCam PM GR QRCode Configuration GOCam PM GR QR Code Configuration Details Video Quality High Loop Recording Power on Auto Recording Resolution 4K@30fps Volume Auto Shutter Auto...
- Page 5 使用指引 Usage Guidelines 使用指引 Usage Guidelines Step1 步骤1 Step1 步骤1 步骤2 Step2 Step1: Long press the Record Button to power on Step2: Double press the Record Button to parameters 长按快门键开启相机并确保相机已插入SD卡 the camera and ensure insert the Micro SD card. mode (indicator light changes to solid green). 双击快门键切换到调参模式(蓝灯常亮)...
-
Page 6: Camera Operation
5 .Camera Operation Turn on Press “Mode” button, GOCam PM GR will turn on. Turn off Press “Mode” button for 3 seconds. Press the Record Button for 3 seconds, enters standby Turn on/off mode, red light on. In standby mode, single press Record Button then starts recording, red light flashing. - Page 7 (3)FC Recognize Camera For instance, connect camera to UART3( corresponds to R3, T3): connect FC to your PC, open parameter adjustment configurator ( choose the corresponding software according to the type of FC firmware, such as CleanFlight Configurator or BetaFlight Configurator).
-
Page 8: Technical Specification
(5) Binding Remote Controller With Channel Select your Model on remote controller, enter MIXER, bind to the specific channel. Take the opentx 2.2.0, bind SA, SB, SD to CH5, CH6 and CH7 respectively. (6)Testing Charge FC and camera Toggle SA to the bottom, camera will start/stop recording. Toggle SD to the bottom, camera will switching between Recording and OSD mode. - Page 9 (2)Camera Parameters Image Sensor Sony imx577 1 2MP 1 /2.3” 4K@30fps/2.7K@60fps/2.7K@50fps/ Video Resolution 1440P@60fps/1080P@120fps/1080P@60fps 155° Video Format 100/200/400/800/1600 Operation Temperature -10℃~45℃ F2.8 Lens Aperture Video Mode HDR suppor(on by default) Communication Interface UART Up to 256GB U3 recommended (2.7K50/2.7K60 1080P120 requires U3 or above.
-
Page 10: Technical Support
(4)Please do understand that we are not responsible for the camera damages that caused by disassemble. 9.Included GOCam PM GR *1 BEC Adaptor *1 UV Filter *1 ND8 Filter *1 ND16 Filter *1...
Need help?
Do you have a question about the GOCam PM GR and is the answer not in the manual?
Questions and answers