Table of Contents
Advertisement
SERVICE
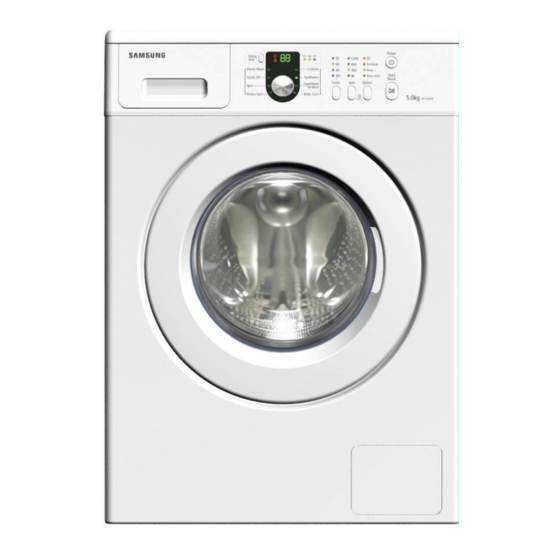
WASHING MACHINE (DRUM)
Refer to the service manual in the GSPN (see the rear cover) for the more information.
WF-M592NMH-YLP.indb 1
WASHING MACHINE
DRUM TYPE
Basic Model : WF8500NMW/YLP
(AEGIS PROJECT)
Model Name : WF8504* WF8604*
WF8502* WF8602*
WF8500* WF8600*
WF8508* WF8608*
(AEGIS PROJECT)
Model Code : WF-M592NMH/YLP
(AEGIS PROJECT)
Manual
1. Safety Instructions
2. Features and Specifications
3. Disassembly and Reassembly
4. Troubleshooting
5. Exploded Views and Parts List
6. PCB Diagram
7. Wiring Diagram
8. Schematic Diagram
9. Reference
CONTENTS
2010-2-22 13:29:17
Advertisement
Table of Contents


Need help?
Do you have a question about the Heba WF8802 Series and is the answer not in the manual?
Questions and answers