Table of Contents
Advertisement
Quick Links
Before use
•
Before using for the rst time, check that there are no defects such
as scratches, dents, or cracks.
•
Do not remove the sticker on the water reservoir.
•
Before using for the rst time, wash all parts other than the insulated
container with a sponge soaked in dishwashing detergent.
Insulated containers may lose color when detergent is applied.
•
In the event of a defect, discontinue use and contact your retailer or
our customer service o ce.
Parts Name
DCI-20DM
DCI-20DM
DCI-20HT
DCI-20HT
MAX line
Ice-
Ice-
Water reservoir
making
making
unit
unit
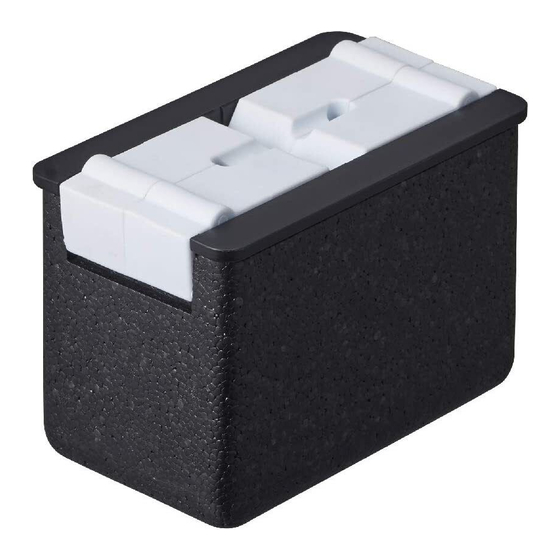
Insulated container
2
← 110 mm →
How to use 1
Preparation
1.
Thoroughly wash all parts other
than the insulated container,
wipe o any water droplets and
dry thoroughly.
※To remove dirt from the insulated container,
wring out a wet cloth and gently wipe the surface.
2.
Pour water up to the MAX line
of the water reservoir.
Caution
•
Pour water in an area that is not prone to
water damage.
Air vent holes
•
If the water is not lled to the MAX line,
the ice may not be a perfect shape.
Do not ll with any liquid other than water.
Ice molds
•
3.
Combine the 2 ice molds.
Extraction tabs
Caution
•
Ensure that the molds are securely
attached to one another.
4.
Slowly place the combined
ice molds into the water
reservoir.
※Water may spill when the combined ice
molds are placed into the water reservoir.
Caution
•
Water may spray out of the air vents if
the molds are moved too forcefully.
Push them down until they are rmly
in place.
Water will spill from the water reservoir.
•
As it does so, the corners of the ice
molds will ll with water to ensure that
a complete 3D shape is formed.
Before performing this step, place the
molds on a tray to collect any water that
spills from the water reservoir.
How to use 2
5.
MAX
6.
DCI-20DM
DCI-20HT
Air vent holes
7.
3
← 110 mm →
Wipe the outside of the water
reservoir before placing it into
the insulated container.
Caution
•
Place the water reservoir on a at surface.
Wipe the outside of the wet water reservoir
•
thoroughly before placing it into the insulated
container. Push it down until it is rmly in place.
Place the ice-making unit in
the freezer. Place it slowly so
that water does not spill.
Caution
•
Place on a at surface. Failure to do so
may cause water to spill.
•
If the insulated container is wet, wipe it
with a dry cloth before placing it in the
freezer, otherwise it may stick to the freezer
freezer
and cause damage.
•
Do not place any items on this product,
otherwise it may become deformed.
•
Carry the ice-making unit by the insulated
container, otherwise the insulated
please use home freezer
container may fall to the ground.
Preparation
Use a freezer with a JIS rating of at least three stars (
Set the temperature dial of the freezer to "Strong" (-18 °C or cooler).
•
Do not use a two-star (
) freezer.
•
Even if it's a three-star freezer (
) freezer performance drops signi cantly after
approximately 10 years of use. If you are using an older freezer, extend the freezing
time accordingly.
Do not place the ice-making unit near the freezer entrance. Open and close the freezer
•
as infrequently as possible, otherwise warm air may ow in and the freezer will not freeze
properly.
•
Do not place the product next to food which is still warm, as this may prevent the ice from
forming.
Freeze the ice-making unit in
the freezer for at least 20 hours.
※The ice-making time varies depending on the season,
ambient conditions, frequency of freezer access,
freezer model and the storage capacity.
Continued on the reverse side
4
← 109 mm →
・
).
Advertisement
Table of Contents

Subscribe to Our Youtube Channel
Summary of Contents for DOSHISHA DCI-20DM
- Page 1 Caution • Do not place any items on this product, DCI-20DM DCI-20DM DCI-20HT DCI-20HT • Ensure that the molds are securely otherwise it may become deformed. DCI-20DM ...
- Page 2 10 minutes. ※To remove dirt from the insulated container, wring out a wet cloth and gently DCI-20DM/DCI-20HT Remove the ice molds from the wipe the surface of the container.
Need help?
Do you have a question about the DCI-20DM and is the answer not in the manual?
Questions and answers