Advertisement
Quick Links
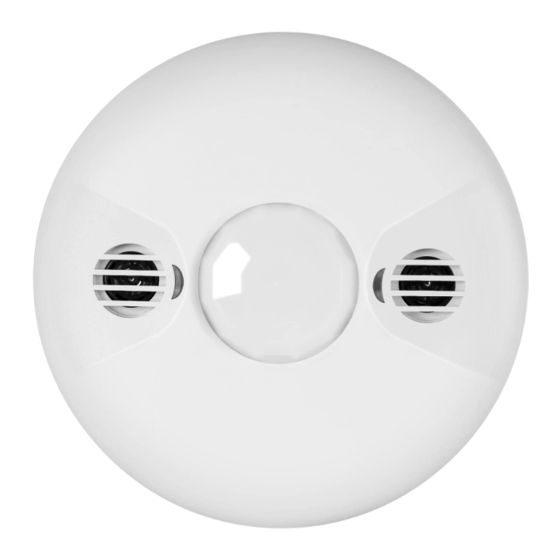
Model 6411
♦ GENERAL INFORMATION
SPECIFICATIONS:
Voltages: 120/277VAC, 50/60Hz
Loads:
800VA - 120VAC Ballast
1600VA - 277VAC Ballast
800W - 120VAC Incandescent
1/4Hp - 120VAC Motor
Operating Temp:
0°C to 55°C (32°F to 131°F )
Adjustable Time Delay:
5 Sec to 30 Min
PIR Sensitivity:
50% or 100% (Dip Switch 1)
Ultrasonic Sensitivity:
Minimum to Maximum (Trimpot 1)
Light Level Adjustment:
100 Lux - Daylight (Trimpot 2)
PIR Coverage:
Up to 1600ft
2
Ultrasonic Coverage: ft
Up to 1000ft
Lead Power Cable:
4 feet
NOTES:
- Keep these instructions available for future reference.
- Indoor use only.
DESCRIPTION:
The Model 6411 360° Dual-
Technology Occupancy Sensor
combines advanced PIR and
ultrasonic technologies into one
unit to effectively reduce false
triggering in occupancy
sensing. Selectable operating
modes allow the sensor to turn
a load on and hold it on as long as either or both technologies detect
occupancy. After no movement is detected for the set time delay, the lighting
is switched off. This sensor can be quickly installed and is for use with AC
line voltage (no power pack needed). Sensitivity and ambient light level
adjustments are available to further customize operation and save energy.
♦ COVERAGE PATTERN
The 6411 sensor
provides a 360°
coverage pattern.
The coverage shown
in Figure-1
represents walking
motion at a mounting
height of 9 feet. For
building spaces with
Figure-1
lower levels of activity
or with obstacles and
barriers, coverage
size may decrease.
♦ PLACEMENT GUIDELINES
Depending upon obstacles such as furniture or partitions, the area of
coverage may be more or less than the sensing distances shown in the
coverage pattern (see Figure-1). This must be considered when planning the
number of sensors and their placement. It is also recommended to place the
sensor 4-6 feet away from air supply ducts as rapid air currents or the
differences in temperatures could cause false activations.
Mount the sensor to the ceiling. The 6411 is designed for a ceiling height of
about 8-10 feet. Mounting above or below this range will significantly affect
the coverage patterns. Be aware as you decrease the mounting height, you
decrease the range and increase the sensitivity to smaller motions.
Conversely, when you increase the mounting height, you increase the range
and decrease the sensitivity to smaller motions. At heights of more than 12
feet, you may start to significantly reduce sensitivity. As a general rule, each
occupant should be able to clearly view the
sensor.
Often the best location to install a model
6411 occupancy sensor in a closed office is
off-center (see Figure-2). Avoid placing the
sensor directly in line with an open door
through which it has a clear view out, as the
sensor may detect people walking by.
360º PIR/Ultrasonic Line-Voltage Occupancy Sensor
2
2
Figure-1
Figure-2
For open office area coverage, install
multiple sensors so that there is an
overlap with each adjacent sensor's
coverage area. (see Figure-3)
♦ WIRING
CAUTION: BE SURE TO DISCONNECT POWER FROM THE CIRCUIT BREAKER
BEFORE WIRING!
Figure-4
Refer to the wiring diagram Figure-4 and connect the wires as follows by
using the wire nuts provided.
1) Connect the HOT supply wire to the BLACK wire from the sensor.
2) Connect the LOAD wire to the RED wire from the sensor.
3) Connect the NEUTRAL supply wire to the WHITE wire from the sensor.
4) This sensor can be installed in series with a standard toggle switch to
manually turn the lighting load off when the sensor has turned it on due to
occupancy detection. To do so, connect the sensor BLACK wire to the
LOAD terminal or wire of the toggle switch.
♦ INSTALLATION
CAUTION: INSTALLATION BY A LICENSED ELECTRICIAN IS RECOMMENDED.
INSTALLATION AND USE OF THIS EQUIPMENT SHOULD BE IN ACCORDANCE WITH
PROVISIONS OF THE U.S. NATIONAL ELECTRICAL CODE, APPLICABLE LOCAL CODES,
AND PERTINENT INDUSTRY STANDARDS.
CAUTION: USE THIS DEVICE WITH COPPER WIRE ONLY.
WARNING: TO AVOID FIRE, SHOCK, OR DEATH, TURN OFF POWER
AT CIRCUIT BREAKER OR FUSE AND TEST THAT POWER IS OFF
BEFORE WIRING SENSORS!
1) Verify power has been turned off at the circuit breaker.
2) Refer to the WIRING & PLACEMENT GUIDELINES sections for planning
and laying out the sensor location.
3) (See Figure-5) Cut a 7/8" round hole in the ceiling tile at the mounting
location.
INSTRUCTIONS
Figure-3
Figure-5
BX1264A, 04/04/14
Advertisement

Related Manuals for Marktime 6411

Summary of Contents for Marktime 6411
- Page 1 4-6 feet away from air supply ducts as rapid air currents or the differences in temperatures could cause false activations. Mount the sensor to the ceiling. The 6411 is designed for a ceiling height of about 8-10 feet. Mounting above or below this range will significantly affect the coverage patterns.
- Page 2 ♦ TROUBLESHOOTING Lights do not turn on with occupancy. 1) The 6411 sensor has 8 DIP switches under the sensor cover that can be PIR Activity LED (red) does not flash: used to adjust the PIR sensitivity, trigger mode, time delay, & override 1) Check that the circuit breaker or any wall switch connected to the sensor feature.
Need help?
Do you have a question about the 6411 and is the answer not in the manual?
Questions and answers