Advertisement
Quick Links
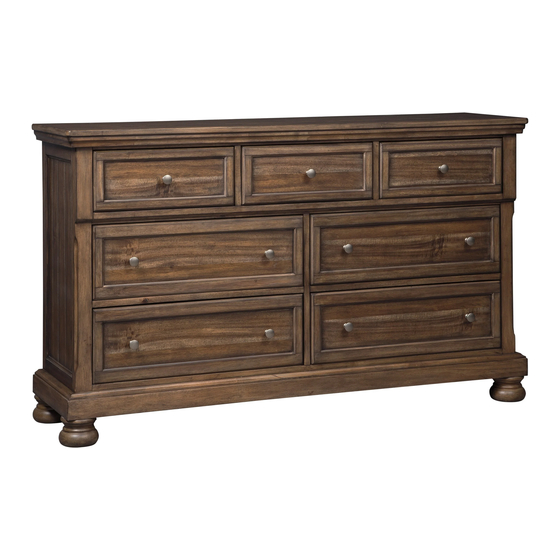
Functional Drawer
Installation Manual
It may take 40 to 90mins for this assembly based on normal knowledge
Please prepare parts on a soft blanket against scratch and damage
The best helper is your patience, thanks for our developing team's hundreds of hours
on DIY design
For future use for your baby , all painting has been tested to comply with ASTM safety
standard
1
Advertisement

Summary of Contents for ASTM Functional Drawer
- Page 1 Please prepare parts on a soft blanket against scratch and damage The best helper is your patience, thanks for our developing team’s hundreds of hours on DIY design For future use for your baby , all painting has been tested to comply with ASTM safety standard...
- Page 2 Please do not use it if your baby height is over changer size or upto 13month age ! This changer is not designed for permant use, just add function to your drawer All surface including paint and pad is non-toxic Independently tested to comply with ASTM safety standard Independent Testing by Intertek...
- Page 3 PARTS AND HARDWARES OF TOP SHELF Side Panels (2 pcs) Front & Rear Panel (2 pcs) D Changing Pad (1 pc) Bottom Panel (1 pc) Rods (8 pcs) Cam Locks (8 pcs) PHILLIPS--HEAD SCREWDRIVER REQUIRED FOR ASSEMBLY ----NOT INCLUDE STEP 1 Assemble 8pcs Rods (2) into the pre-drilled holes on Front &...
- Page 4 STEP 2 Slide Bottom Panel (C) into grooves of Front & Rear Panel (A) and Side Panels (B) . PLEASE NOTE : Tighten all Cam Locks (3) by phillips-head screwdriver . HARDWARES OF CABINET Screws 40mm (6 pcs) Rods (20 pcs) Cam Locks (20 pcs) Allen Head Bolts 90mm (8 pcs) Barrel Nuts (8 pcs)
- Page 5 PARTS LIST OF CABINET Front Middle Connection with hole (1 pc) Left Panel (1pc) Right Panel (1pc) Front Middle Connection (1 pc) Sectional Panel Big (1pc) Sectional Panel Small (2pcs) Back Middle Connection (1 pc) Top Panel (1 pc) Bottom Frame (1pc) Foot (5 pcs) Back Panel Small (1 pc ) Back Panel Big (1 pc)
- Page 6 STEP 1 Connect Front Middle Connection with hole (G) and Back Middle Connection (I) to Sectional Panel Big (K) by screws (1) and wood dowels (4) . Then tighten all by allen wrench (10) . Put Front Middle Connection (H) in the gap of Sectional Panel Big (K) by wood dowel(4) .
- Page 7 STEP 3 Connect Right Panel (F) to Front Middle Connection with hole (G) , Front Middle Connection (H) , Back Middle Connection (I) use the same way as STEP 2 . STEP 4 Lay down the assembled parts on a soft blanket as shown .
- Page 8 STEP 5 Connect 5pcs Foot (N) to the Bottom Frame (M) . Then tighten them by hand . STEP 6 Connect Sectional Panel Small (J) to Front&Back Middle Connection (G&I) by screws (1) and wood dowels (4) . Tighten by alllen wrench (10) .
- Page 9 STEP 7 Connect Top Panel (L) to Side Panel (E&F) , Sectional Panel Small (J) by 10pcs rods (2) , 10pcs cam locks (3) and 8pcs wood dowels (4) . 1.Assemble 10 pcs rods (2) into the pre-drilled holes on Top Panel (L) , 8pcs wood dowels (4) into the pre- drilled holes on Side Panels (E&F) and Sectional Panel Small (J) .
- Page 10 STEP 9 Connect Connection Panel (O) to Rear Panel (A) , Top Panel (L) by screws (7) . Tighten all by Phillips-head screwdriver . PARTS AND HARDWARES OF SMALL DRAWER Screws 40mm (24 pcs) Allen Wrench (1 pc) Screws 15mm (9 pcs) Drawer Knobs (3 pcs) Drawer Front Panels (3 pcs) Drawer Left Side Panels (3 pcs)
- Page 11 STEP 1 Connect Right Side Panel (c ) to Front Panel (a) and Back Panel (d) using screw (1) . Connect Left Side Panel (b) to Front Panel (a) and Back Panel (d) using screw (1) . Then tighten all by allen wrench (10) . STEP 2 Slide Bottom Panel (e) into grooves of Front Panel (a) , Left &...
- Page 12 STEP 3 Connect knob (14) to Front Panel (a) Assemble another two drawers follow step 1,2,3 . PARTS AND HARDWARES OF BIG DRAWER Screws 40mm (32 pcs) Allen Wrench (1 pc) Screws 15mm (16 pcs) Drawer Knobs (8 pcs) f Drawer Front Panels (4 pcs) Drawer Left Side Panels (4 pcs) Drawer Right Side Panels (4 pcs) Drawer Back Panels (4 pcs)
- Page 13 STEP 1 Connect Right Side Panel ( ) to Front Panel (f) and Back Panel (i) using screw (1) . Connect Left Side Panel (k) to Front Panel (f) and Back Panel (i) using screw (1) . Then tighten all by allen wrench (10) . STEP 2 Slide Bottom Panel (j) into grooves of Front Panel (f) , Left &...
- Page 14 STEP 3 Connect knob (14) to Front Panel (f) Assemble another three drawers follow step 1,2,3 . Place Changing Pad (D) on the finished changing table . You could use changing table safety .
- Page 15 Slide the drawers into rails on Side Panel (E&F) .
Need help?
Do you have a question about the Functional Drawer and is the answer not in the manual?
Questions and answers