Advertisement
Quick Links
1- Connect all outputs & keypads
Installation brackets
Main power entry connection
Main power cable input entry
2- Connect the main power
For 240 VAC (4 wires)
Correct wiring of the electrical service box, GFCI,
and pack terminal block is essential.
Call an electrician if necessary.
For 240 VAC (*3 wires)
* If connected to a 3 wire system (without neutral),
all 120 VAC components will not work.
4- Select breaker current
Make sure all accessories are linked to the bonding connector and connected to
pack. Make sure the spa pack door is closed. Turn on the breaker.
Bonding lug
Quick Start Card
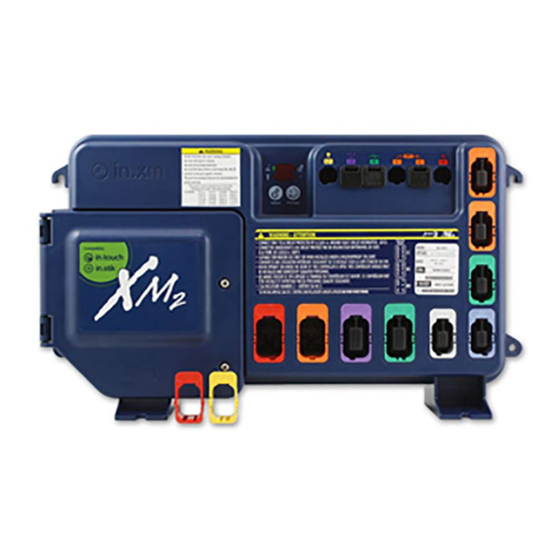
in.xm2
North American version
™
L1 - Light connector
Power box display and buttons
Fuses
Mounting feet
RH - Output connectors for in.therm™
remote heating system (240 vac)
Don't forget that the voltage is determined by the cable used (120 or 240V cable)!
CO - Communication link
General I/O connector
(IR receiver)
C - Main and aux. keypad connectors
OUT1
OUT2 OUT3 OUT4
3- Select spa configuration (see chart next page)
First, the led display will show "LL" and "01" continuously.
Press Change button to choose the appropriate
configuration for your spa.
Press Select button to confirm.
(The pack will now reset and reboot)
Note: To re-enter the configuration selection menu the press Select
button and hold for 5 seconds.
For more information, see our website: www.geckoalliance.com
Selecting breaker current (Br)
Press Change button to choose the breaker current value.
Press Select button to confirm.
(The pack will now reset and reboot)
Note:
Br values display by the pack correspond
to 80% of the maximum amperage
capacity of the GFCI.
For more information, see our website: www.geckoalliance.com
OUT8 - Connector for direct 120/240 vac
5 Amp output
OUT7
OUT6
OUT5
GFCI
Br
60 Amp
48 Amp
50 Amp
40 Amp
40 Amp
32 Amp
25 Amp
20 Amp
20 Amp
16 Amp
Advertisement

Summary of Contents for Gecko in.xm2
- Page 1 Quick Start Card in.xm2 North American version ™ 1- Connect all outputs & keypads L1 - Light connector CO - Communication link General I/O connector (IR receiver) Power box display and buttons C - Main and aux. keypad connectors Fuses...
- Page 2 VSP Pump 1 speed pump 2 speeds pump Installed For complete TechBook or more information, see our website: www.geckoalliance.com © Groupe Gecko Alliance Inc., 2016 All trademarks or registered trademarks are the property of their respective owners. 9919-101177-D Rev. 07-2016 www.geckoalliance.com...


Need help?
Do you have a question about the in.xm2 and is the answer not in the manual?
Questions and answers