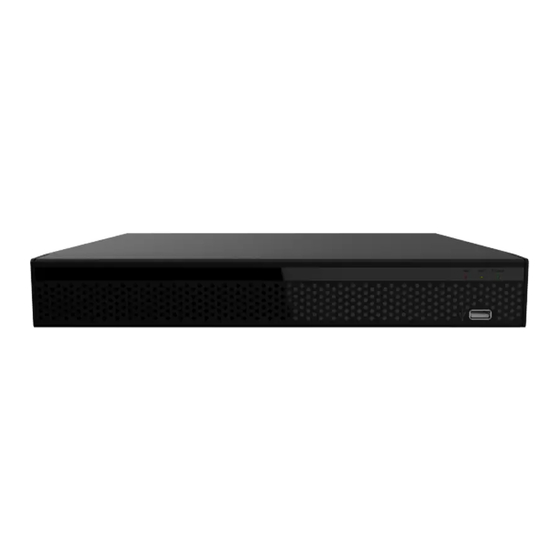
Summary of Contents for HeroSpeed XVR
- Page 1 XVR Kits Quick Start Guide Please read the Quick Start Guide carefully before using the product and keep it. Related tools and documents of products, please download from www.herospeed.net.
-
Page 2: Safety Precautions
Thank you for purchasing our products, if you have any questions or requires, please contact us. This Guidelines adapt for XVR and HD cameras in the kits. It will be updated subject to product’s updating; new version will be not noticed specifically. - Page 3 RS485 connection PTZ 2. XVR Kits Quick Installation Guide XVR Kits is convenient for installation via easy plug & use, no need any set up. 2.1. Install HDD. Make sure all power are cut before installing. Installation tool: Cross screwdriver.
- Page 4 2.3. To confirm the XVR package is working properly. Connected the XVR with the display, HD camera access XVR via the BNC, XVR and the camera plug in the power supply, without any operation, because it has been configured successfully before the factory, when the display appears on the analog camera video.
-
Page 5: Local Basic Operation
3. Local Basic Operation 3.1. Boot Up Make sure the input voltage matches the XVR consumption. Connect the device to the monitor and to the power adapter (if available). Plug in the power, switch on the power button (if available), then the device boot up. -
Page 6: Network Configuration
Step 1:On the preview interface, right-click to enter the menu, and click " > TCP/IP ". Step 2: Modify the IP address of the device according to the actual network plan. (The default IP address of the XVR is 192.168.1.88). TCP/IP Network Configuration... -
Page 7: Recording Configuration
3.5. Recording Configuration NOTE: XVR opens all channels for 24 hours of normal recording by default. Step 1: On the preview interface, right-click to enter the menu, and click " ". Step 2: Select the channel and recording type according to the actual needs. Hold down the left mouse button and drag the mouse in the time period diagram or click "Edit"... - Page 8 Channel Play 3.7. Normal Event Step 1: On the preview interface, right-click to enter the menu, and click " > Normal Event". Normal Event Step 2: Choose "Event Type > Channel > Enable" and set the corresponding alarm parameters. The device's normal event alarms include Motion Detection, Video Loss, Exception, and Buzzer.
-
Page 9: Web Operation
4. WEB Operation Step 1: Make sure the XVR and PC are in same network segment. open the IE browser to enter the XVR device address: such as "http://192.168.1.88/"(If the http port is changed to 89, enter "http:// 192.168.1.88:89/") to enter the login interface. - Page 10 6. Mobile App Operation Use the phone to scan the QR code or search "BitVision" from the application store to download and install the BitVision App. After registering and logging in, you can add devices for remote viewing and device management.

Need help?
Do you have a question about the XVR and is the answer not in the manual?
Questions and answers