Advertisement
Quick Links
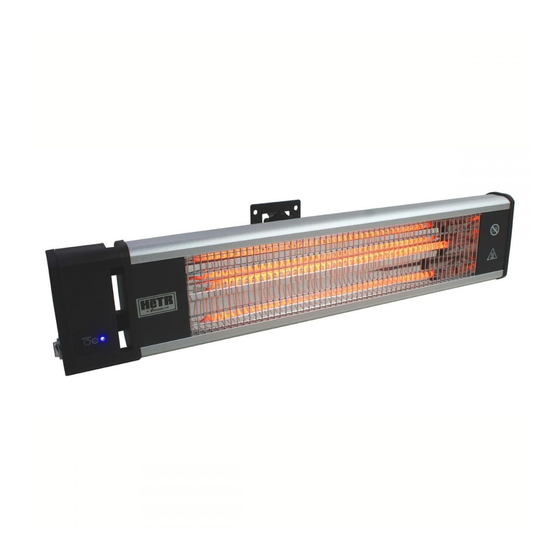
Operating Instructions and Manual
Model H1019
WARNING: Use this heater only as described in this manual. Any other use not
!
recommended by the manufacturer may cause re, electric shock, or injury to
persons.
VENTAMATIC, LTD. • P.O. BOX 728 MINERAL WELLS, TX 76068 • PHONE 800-433-1626 • WWW.MYMAXXAIR.COM
SAVE THESE INSTRUCTIONS:
instruction manual carefully before installation and use.
Keep this manual for future use in case it is needed.
Read this
Ceiling Mount Heater
PARTS LIST
No.
Part Name
1
Expansion Bolt (M6*70)
2
Upper L Bracket
3
Washer
4
Spring Washer
5
Screw Nut (M6)
6
Screw (M6*16)
7
Lower L Bracket
8
Main Switch
9
Control Panel
10
Screw (M6*8)
11
Allen Key
12
Remote Control
ACCESSORIES PACK
Qty
Part Name
2
Upper L Bracket
2
Lower L Bracket
2
Expansion Bolt (M6*70)
2
Screw (M6*16)
1
Remote Control
1
Allen Key
4
Screw (M6*8)
Advertisement

Summary of Contents for Hetr H1019
- Page 1 Read this instruction manual carefully before installation and use. Keep this manual for future use in case it is needed. Model H1019 Ceiling Mount Heater WARNING: Use this heater only as described in this manual. Any other use not recommended by the manufacturer may cause re, electric shock, or injury to persons.
- Page 2 PREPARATION Prepare a cross head screw driver. Read this instruction manual carefully before installation and use. Keep this instruction manual in a proper and safe place for future use in case needed. > 27.6 in. (700mm) 15.6 in. (396mm) > 27.6 in. (700mm) >700mm >700mm INSTALLATION...
- Page 3 IMPORTANT INSTRUCTIONS When using electrical appliances, basic To avoid potential re hazards, never 16. When damaged, the unit must be repaired place your heater or its electrical cord precautions should always be followed to by professional repairing team. under rugs, or carpeting. Place the reduce the risk of re, electric shock, and electrical cord away from busy areas 17.
- Page 4 GROUNDING INSTRUCTIONS This heater is for use on 120 volts. The cord has a plug as shown at A in Figure below. An adapter as shown at C is available for connecting three-blade grounding-type plugs to two-slot receptacles. The green grounding lug extending from the adapter must be connected to a permanent ground such as a properly grounded outlet box.

Need help?
Do you have a question about the H1019 and is the answer not in the manual?
Questions and answers