Advertisement
Quick Links
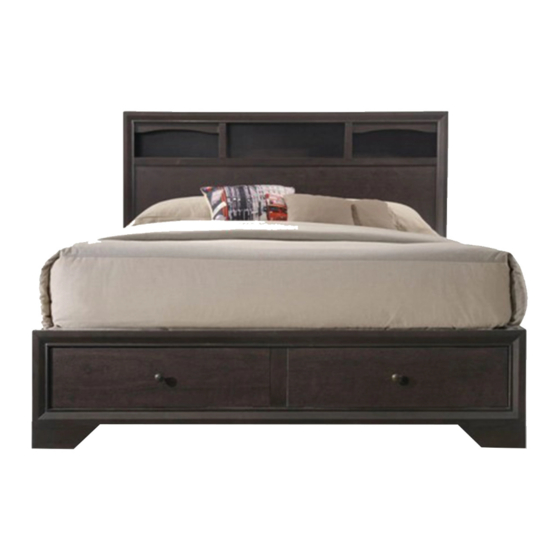
KING STORAGE BED
(!lox 1)
JJOX OF HEADBOARD
ITEM
No
Qty
lkadl,<'md
,-,
-'i'i,
>
1u
I pc
-
-
_J
Headboard Len & Righi
2 pcs
B
NAll,l.[\l
HeadbOartl Leg Support
1989x45x 18
I pc
B.I
(!lox 2)
BOX OF J"' O OTOOAIW
BOX Of FOOT!JOARD
No
ITEM
Qty
Footbmird
I pc
C
■
Slat
l949x45x 18
9 pcs
D
Center Slat -
Ll500x45 x 18
2 pcs
E
Slat Support -
L320 X 30 X 30
4 pcs
&
1'rumlle Ornwcr Frnm Pane
2 pcs
G
rrunJlcDrawe< Sule l'anCI
4 pcs
H
rrnnd!c O,awer !lac · Pand
2 pcs
NOTE : MUST TIGHTEN SCREWS PERIODCALLY.SCR.EW NATURALLY LOOSEN WITH USE.Cl JECK TIGHTNESS OF ALL SCREW EVERY 6-8 WEEKS.
ASSEMBLY INSTRUCTIONS
(Box 2)
(Box 2)
BOX OF FOOTOOARD
HARDWARE LIST
ITEM
Qty
No
No
rrundle Drawer Bonam Pa:""
2 pcs
J
l'runu,c urawer Ilonom ciupport
4 pcs
K
""
rnindle Drawer lloUom Support
wilhou! custerwl1ecl
L
4 pcs
(Box 3)
ITEM
No
Qty
®
:i1deRa.11
M
2 pcs
(Box
HARDWARE UST
No
(Box I)
IJARDWARELIST
No
ITEM
Qty
IO
JCBC [\.16 x 35mm
8 pcs
I
@):-.
I I
SPRING WASIIER
1/4" Rbw
8 pcs
2
12
©>
Flat Washer 1/·1"1D x 19rnmOD
8 pcs
3
Olk
©
13
ALLEN KEY m4x65mm Rik
I pc
4
Hai I lead Chipboard Screw
2 pcs
4.1
m4x32mm Rbw
ITEM
Qty
KJ5J6 DJ4mmxl-l22mm
Handle Antique Brass
5
4 pcs
(()
Handle Screw m4:d5mm Blk
6
4 pcs
e=m;
t,is!·l t · ' \ / i )
1
flat I lead Chipboard Screw
m4:d2mrn Rhw
24
7
pcs
Pan Hei!d Clupboard Screw
m3.Sx!6mm lllk
12
8
pcs
JJ))'jp.
Wood Dowel 6mrmd0mm
16
9
pcs
2)
ITEM
Qty
18
F!at I-lead Chipboard Screw
rn-1x32mm Rbw
pcs
JCBC M6 x 50mm
4 pcs
@):-.
ALLEN KEY m4x6Smm D!k
1 pc
ALLEN KEY m5x65mm Hlk
I pc
NOTE: DURING ASSEMBLY, DO NOT TIGHTEN
ANY HARDWARE UNTIL THE COMPLETE
UNIT HAS BEEN ASSEMBLED.
PAGE I OF 5
Advertisement

Related Manuals for Homeroots 19557EK


Summary of Contents for Homeroots 19557EK
- Page 1 ASSEMBLY INSTRUCTIONS KING STORAGE BED (!lox 1) (Box 2) (Box 2) JJOX OF HEADBOARD BOX OF FOOTOOARD HARDWARE LIST ITEM ITEM ITEM rrundle Drawer Bonam Pa:"" lkadl,<'md KJ5J6 DJ4mmxl-l22mm -'i'i, > Handle Antique Brass 4 pcs I pc 2 pcs Handle Screw m4:d5mm Blk l'runu,c urawer Ilonom ciupport Headboard Len &...
-
Page 2: Back View
ASSEMBLY INSTRUCTIONS STEP 2 : Loosen the JCBB Bolt from Headboard Leg (B) and Footboard using STEP I : Attached and tighten the Headboard Leg L/R ( B) ALLEN KEY (13).Atlach the Side Rail (M) to Headboard Leg (B) and to the Headboard ( A ).Insert Spring Washer ( 2) Footboard bf pushing the bracket down to fit it.Tighten the JCBB Bolt with... - Page 3 ASSEMBLY INSTRUCTIONS STEP 3 : Fix the Bed Slat Support ( F) with adjuster,Center Rail ( E) Slat ( D ). Attach the Assembled Bed Slat to Side Rail ( M ) Loosen and 'xl8 Tighten Adjuster for the Stability of Bed. Laterly, Tighten the Bed Slat ( F ) with JCBC Screw ( l l ).
- Page 4 ASSEMBLY INSTRUCTIONS STEP 5(a) ; Place the trundle drawer front panel STEP 5 (b) : Slide in the bottom drawer panel STEP, 5 (c) : Fix the trundle drawer back panel (I) and trundle ( G ) on clean surface then Fix the trundle drawer draw r box side panel ( by inserting a dowel ( 9) then tighten inside the groove of trundle drawer box side panel...
- Page 5 ASSEMBLY INSTRUCTIONS STEP 6: lnstnll the Hnndle drawer ( 5) in front of Trundle drawer (G).Tighten the Handle Screw (6) using Screw Driver.( Not Included) STEP 7: Push The complete assembled Trundle drawer into side rail ( M) as per diagram shown.
Need help?
Do you have a question about the 19557EK and is the answer not in the manual?
Questions and answers