Advertisement
Available languages
Available languages
Quick Links
Advertisement

Related Manuals for JumpXfun Mini Trampoline 140

Summary of Contents for JumpXfun Mini Trampoline 140
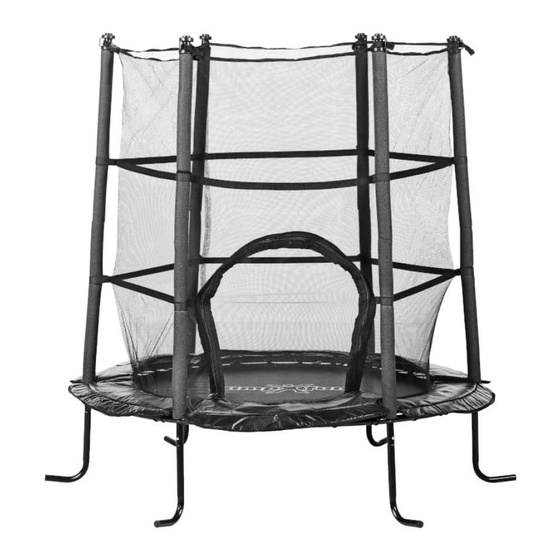
- Page 1 Assembly Instruction Mini Trampoline 140 196cm 140cm...
- Page 2 IMPORTANT Read the following statements and warnings to avoid serious or fatal injury. Warning. - Max 45 kg. - Only for domestic use. - Only one user. Collision hazard. - The net should be replaced every year. - Adult supervision required. - No somersaults.
-
Page 3: Care And Maintenance
How to use Take it easy at first. Don’t try difficult moves. Do not jump when tired - this increases the risk of injury. Be sure to wear proper shoes, e.g. gym shoes, or be barefoot when jumping. Never step on the frame pad. It is not constructed to support the weight of a person. Never dismount by jumping off the trampoline. - Page 4 Assembly Please read the assembly instructions fully before starting to assemble the trampoline. On occasion it is advisable to have two people assembling it together. The reference No. of each part will be used in the instructions to guide you. Ref No.
- Page 5 STEP 1 NOTE: part no. 12 is to be applied only when product is used indoors. STEP 2...
- Page 6 STEP 3...
- Page 7 STEP 4 There is a total of 30pcs Elastic Cords (#10). For even distribution of tension and ease of assembly, the Elastic Cords must always be installed on opposite sides of the mat in an alternating manner.
- Page 8 STEP 5...
- Page 9 STEP 6 Small hole hole...
- Page 10 STEP 7...
- Page 11 STEP 8 Buckle through the handle of Tube Cap (#7).
- Page 12 Samlevejledning Minitrampolin 140 196cm 140cm...
- Page 13 VIGTIGT Læ s følgende erklæ ring og advarsler for at undgå alvorlige eller fatale ulykker. Advarsel. - Maks. 45 kg. - Kun til privat brug. - Kun en bruger ad gangen. Risiko for kollision. - Nettet bør udskiftes hvert år. - Opsyn af en voksen er påkræ...
-
Page 14: Pleje Og Vedligeholdelse
Vejledning Start langsomt. Forsøg ikke at lave svæ re øvelser. Hop ikke i trampolinen, nå r du er træ t. Det øger risikoen for skader. Sørg for at bæ re passende fodtøj, f.eks. gymnastiksko, eller hop med bare fødder. Træ d aldrig på sikkerhedsbetræ kket. Det er ikke konstrueret til at kunne bæ re en persons væ gt. Når du skal ned fra trampolinen, må... - Page 15 SAMLEVEJLEDNING Læ s samlevejledningen omhyggeligt, før du begynder at samle trampolinen. Det anbefales, at to personer samler trampolinen. Hver dels referencenummer vil blive brugt her i vejledningen som en hjæ lp til dig. Ref. Billede Beskrivelse Antal nummer Trampolindug med sikkerhedsnet Sikkerhedsbetræ...
- Page 16 Trin 1 BEMÆ RK: del #12 skal kun monteres, hvis produktet anvendes indendørs. Trin 2...
- Page 17 Trin 3...
- Page 18 Trin 4 Der er i alt 30 elastikker (#10). For jæ vn fordeling af spæ nding og nem montering, skal elastikkerne altid monteres skiftevis på dugens modsatte side.
- Page 19 Trin 5...
- Page 20 Trin 6 Lille hul Stort...
- Page 21 Trin 7...
- Page 22 Trin 8 Spæ nd fast på rørhæ tten (#7).
Need help?
Do you have a question about the Mini Trampoline 140 and is the answer not in the manual?
Questions and answers