Advertisement
Quick Links
Advertisement

Related Manuals for Kogan KA15WMETGRA

Summary of Contents for Kogan KA15WMETGRA
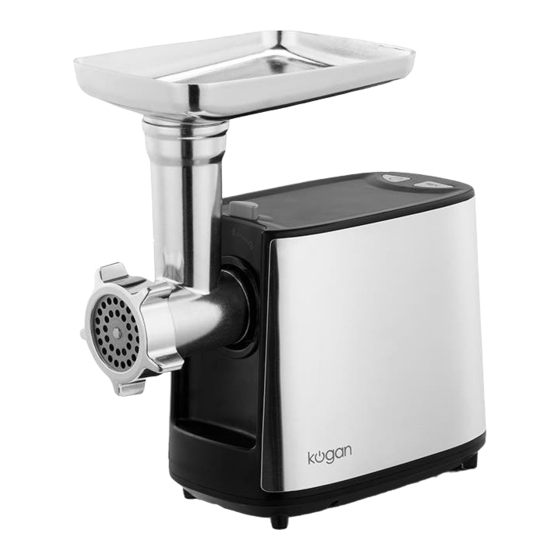
- Page 1 1500W MEAT GRINDER KA15WMETGRA...
-
Page 3: Safety And Warnings
To avoid jamming, do not force the unit to operate with excessive pressure. When the circuit breaker activates, do not switch on. Never attempt to disassemble, modify, or repair the motor unit. If the supply cord is damaged, it must be replaced by Kogan.com to avoid a hazard. - Page 4 OVERVIEW Food pusher Fixing ring Sausage base Cutting plate (medium) 12mm sausage Cutting plate (coarse) 16mm sausage Kubbe attachment 1 20mm sausage 18mm sausage Hopper plate Kubbe attachment 2 Head Triangle cutting plate Feed screw Locking knob Cutting blade Motor housing Cutting plate (fine) Power/REV...
- Page 5 INSTRUCTIONS Check that voltage indicated on the rating label corresponds to the mains voltage in the household. Wash all parts except the body in warm, soapy water. Before plugging in, ensure the Power/REV dial is turned to the “⏻” position. ASSEMBLY...
- Page 6 Insert the head into the inlet (fig.1) and turn it to the left to lock into place (fig.2). Place the feed screw into the head, long end first, and turn the feed screw slightly until it is set into the motor housing (fig.3). ...
-
Page 7: Operation
OPERATION Making Kubbe Stuffing: Mutton: 100g Olive oil: 1 ½ tablespoons Mince mutton once or twice. Onion (cut finely): 1 ½ tablespoons Fry onion until brown and add minced mutton, spice, salt, and flour. Spices: to taste Salt: to taste Flour: 1 tablespoon Casing: Lean meat: 450g... - Page 8 Form kubbe as illustrated below and deep fry. Making Sausage Before starting, assemble the sausage attachment as shown below (fig.11).
-
Page 9: Troubleshooting
TROUBLESHOOTING Disassembling Make sure that the motor has stopped completely. Disconnect the plug from the power outlet. Disassemble by reversing the assembly steps from fig.6 to fig.1. If the fixing ring is not easily removed by hand, use an appropriately sized wrench to loosen (fig.12). - Page 10 NOTES...
- Page 12 Need more information? We hope that this user guide has given you the assistance needed for a simple set-up. For the most up-to-date guide for your product, as well as any additional assistance you may require, head online to help.kogan.com...
Need help?
Do you have a question about the KA15WMETGRA and is the answer not in the manual?
Questions and answers