Advertisement
Quick Links
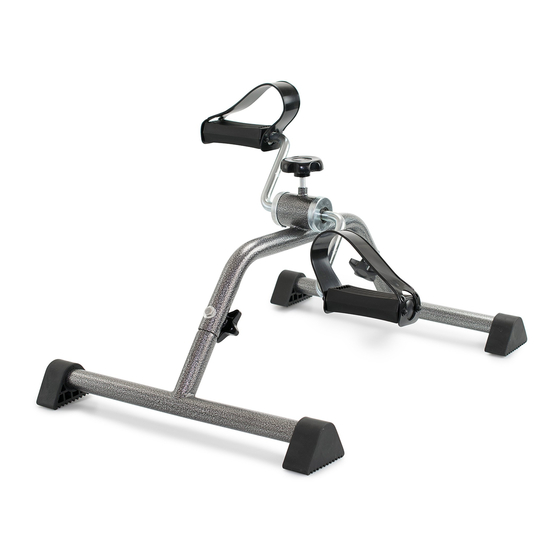
Exercise Peddler
SILVER VEIN | RUBBER TIPPED FEET
ADJUSTABLE RESISTANCE | TOOL-FREE ASSEMBLY
A low impact form of exercise that is ideal for toning
leg and arm muscles.
Pedalera para ejercicios
VETA DE PLATA | PATAS DE GOMA INCLINADAS
RESISTENCIA AJUSTABLE
MONTAJE SIN NECESIDAD DE HERRAMIENTAS
Una forma de ejercicio de bajo impacto ideal para tonificar
los músculos de las piernas y brazos.
Exerciseur avec pédales
ARGENT VEINÉ | PIEDS EN CAOUTCHOUC
RÉSISTANCE RÉGLABLE | ASSEMBLAGE SANS OUTIL
Une forme d'exercice à faible impact qui est idéale pour
tonifier les muscles des jambes et des bras.
POWERED BY
CON LA TECNOLOGÍA DE
PROPULSÉ PAR
146-10270KDRSV-1
MFR #
THERAPY
TERAPIA
THÉRAPIE
PARTS LIST
1. Stabilizer (2)
2. Main Frame
3. Bolts (2)
4. Washers (2)
5. Locking Knob (2)
6. Tension Knob
ASSEMBLY INSTRUCTIONS
1. Connect the stabilizer (1) to the main frame (2) using
locking knob, washer and bolt. Thread the bolt (3)
through the top of the frame and lock in place using
a washer (4) and locking knob (5).
should be placed between the locking knob and the
frame. The bolt head will fit into the recess in the top
of the frame when secure.
2. Connect the second stabilizer to main frame (4)
using the same process as step 1. Rotate the rubber
tips so the bottoms of each tip are flat on the ground.
2
1
5
4
6
3
The washer
Advertisement

Summary of Contents for McKesson 146-10270KDRSV-1
- Page 1 2. Connect the second stabilizer to main frame (4) using the same process as step 1. Rotate the rubber tips so the bottoms of each tip are flat on the ground. POWERED BY CON LA TECNOLOGÍA DE PROPULSÉ PAR 146-10270KDRSV-1 MFR #...
- Page 2 LISTA DE PIEZAS 3. Insert the tension knob (6) into the receptacle on the 1. Estabilizador (2) top of the main frame and turn clockwise to secure in place. 2. Main Frame 3. Bolts (2) 4. Arandelas (2) 5. Locking Knob (2) 6.
- Page 3 LISTE DES PIÈCES 3. Inserte la perilla de tensión (6) en el receptáculo de 1. Estabilizador (2) la parte superior del marco principal y gire hacia la derecha para asegurar en su lugar. 2. Main Frame 3. Bolts (2) 4. Arandelas (2) 5.
- Page 4 McKesson carries a comprehensive selection of durable 3. Insérez le bouton de tension (6) dans la prise sur medical equipment products for bath safety, mobility and le dessus du châssis principal et tournez à fixer en aids to daily living, including wheelchairs, canes, bath place.
Need help?
Do you have a question about the 146-10270KDRSV-1 and is the answer not in the manual?
Questions and answers