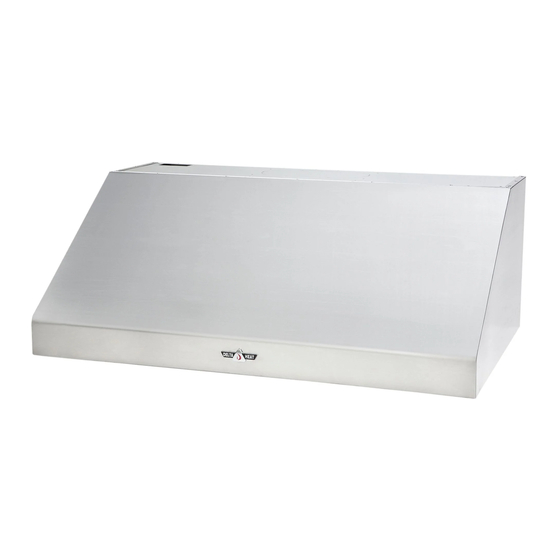
Summary of Contents for Delta Heat DHVH36
- Page 1 DELTA HEAT VENT HOOD INSTALLATION INSTRUCTIONS MODELS: DHVH36 FOR RESIDENTIAL USE ONLY. DHVH48 DHVH60 P/N: 24388b 05/21...
- Page 2 A Special Message to our Customers... Congratulations on your purchase of Delta Heat Vent Hood. Delta Heat is com- mitted to making outdoor cooking products you’ll be proud to own for years. This manual gives you easy to follow instructions for installing, operating and maintaining your Delta Heat Vent Hood.
-
Page 3: Table Of Contents
Table of Contents Important Safety Instructions Getting Started Electrical Requirements Vent Hood Knock-outs and Mounting Locations Top Exhaust Rear Exhaust Mounting the Transition Outside Patio or Lanai Installation 9-10 Baffle Filter Installation, Use and Care DHVH Exploded View DHVH Replacement Parts List Wiring Diagram Warranty How to Obtain Service... -
Page 4: Important Safety Instructions
Important Safety Instructions Read this manual carefully and completely before using your Vent Hood to ensure proper operation, proper installation, proper servicing and to reduce the risk of fire, burn hazard and/ or other injury. WARNING - TO REDUCE THE RISK OF A RANGE TOP GREASE FIRE: A. -
Page 5: Getting Started
If a stainless surface is being cleaned, always wipe in the direction of the brush surface. Cleaning aids such as “Stainless Steel Magic” are available. Never us abrasive cleaners, pads or cloth. Delta Heat Service (562) 263-3600 | 2... -
Page 6: Electrical Requirements
Electrical Requirements: The appliance should only be taken apart by a qualified technician, or electrical shock may occur. It is rated at 120V, 5.4 Amps, 60Hz. REMINDER: Keep any electrical supply cord away from any heated features. Unit comes with three-pronged power cord pre-installed. Vent hood must be plugged into a GFCI protected branch circuit. -
Page 7: Vent Hood Knock-Outs And Mounting Locations
See FIG 1A for knock-out locations. FOR TOP EXHAUST FOR REAR EXHAUST FIG 1A CAUTION: When knock outs are removed the edges will be sharp!!! Sharp edges should be filed or covered with metal tape. Delta Heat Service (562) 263-3600 | 4... - Page 8 Vent Hood Knock-outs and Mounting Locations - cont: Installation of the Vent Hood should also take into account the unit that the Vent Hood is to be in- stalled above. For best ventilation of smoke and heat, make sure the vent hoof is centered above the appliance and a minimum of 36 inches above the cooking surface.
-
Page 9: Top Exhaust
ROTATE 3” 18” INTO POSITION & SECURE WITH 2 ALL HOODS 30” SCREWS 10” DISCHARGE WITH TRANSITION WILL BE ON THE CENTER LINE OF HOOD WIDTH AND ON CENTER LIE OF 12” DIMENSION. Delta Heat Service (562) 263-3600 | 6... -
Page 10: Rear Exhaust
REAR EXHAUST FIG 5 BOTTOM VIEW OF CABINET HOOD DIM A WIDTH 36” 8 3/8” 48” 17 1/2” 60” 23 7/16” WIRING ACCESS BACK WALL ADD FURRING STRIPS TO PROVIDE AN EVEN BOT- TOM SURFACE FOR THE HOOD MOUNTING. FIG 7 FIG 6 SECURE TRANSITION TO HOOD USING #10 SHEET METAL SCREWS. -
Page 11: Mounting The Transition
= CENTER OF ROUND DUCT USING CUT HOLE IN DRYWALL TO ACCEPT TWIN EAGLES TRANSITION TRANSITION MOUNTING THE TRANSITION: FIG 9 FIG 10 TOP EXHAUST REAR EXHAUST #10-24 METAL CUTTING SCREWS #10-24 METAL CUTTING SCREWS Delta Heat Service (562) 263-3600 | 8... -
Page 12: Outside Patio Or Lanai Installation
OUTSIDE PATIO or LANAI INSTALLATION Construction methods and installation shall comply with all local building codes. Internal ducting shall be sealed using outdoor rated metal tape. The Twin Eagles hood with stainless steel canopy is approved for installation in an outside patio or lanai area if the area is covered with a protective roof over the hood (wall style hoods are to be also mounted to a solid protective rear wall) and installed with a GFCI protected branch circuit. - Page 13 FIG 10 ROOF 12” EXHAUST A = 42” MINIMUM B = 30” MINIMUM * = TOTAL OVERALL FRONT VIEW SIDE VIEW WIDTH WITH HOOD Delta Heat Service (562) 263-3600 | 10...
-
Page 14: Baffle Filter Installation, Use And Care
BAFFLE FILTER INSTALLATION, USE AND CARE INSTALLER: Please leave these installation instructions with unit for the owner. 1. Remove all packaging and the productive plastic covering from filters. 2. Grasp the filter by the center baffle, see FIG 11, with the spring end facing you and the grease collector channel is facing down and toward the rear of the hood. -
Page 15: Dhvh Exploded View
DHVH EXPLODED VIEW * - #12 AND #13 SOLD SEPARATELY Delta Heat Service (562) 263-3600 | 12... -
Page 16: Dhvh Replacement Parts List
DHVH REPLACEMENT PARTS LIST ITEM PART DESCRIPTION DHVH36-C DHVH48-C DHVH60-C NUMBER S21160-36Y 36” VENT HOOD ASSEMBLY S21160-48Y 48” VENT HOOD ASSEMBLY S21160-60Y 60” VENT HOOD ASSEMBLY S21166-36Y 36” CONTROL PANEL ASSEMBLY S21166-48Y 48” CONTROL PANEL ASSEMBLY S21166-60Y 60” CONTROL PANEL ASSEMBLY... -
Page 17: Wiring Diagram
DHVH WIRING DIAGRAM Delta Heat Service (562) 263-3600 | 14... -
Page 18: Warranty
Delta Heat will repair or replace parts found to be defective at no cost to the original pur- chaser. Warranty service must be performed by a Delta Heat authorized representative during normal business hours. -
Page 19: How To Obtain Service
SERVICE HOW TO OBTAIN For service, please contact your Delta Heat dealer or call Delta Heat direct at (562) 263-3600 or fax (562) 802-3391 Mailing address: Twin Eagles, Inc. 13259 East 166th Street Cerritos, CA 90703 Visit us at www.deltaheat.com Please provide: •... - Page 20 CUT HERE Place Postage Here Customer Service ATTN: Warranty Department 13259 East 166th Street Cerritos, CA 90703 Fax no. (562) 802-3391...

Need help?
Do you have a question about the DHVH36 and is the answer not in the manual?
Questions and answers