
Related Manuals for Magellan Outdoors Pro SwiftRise Hub 3P Tent


Summary of Contents for Magellan Outdoors Pro SwiftRise Hub 3P Tent
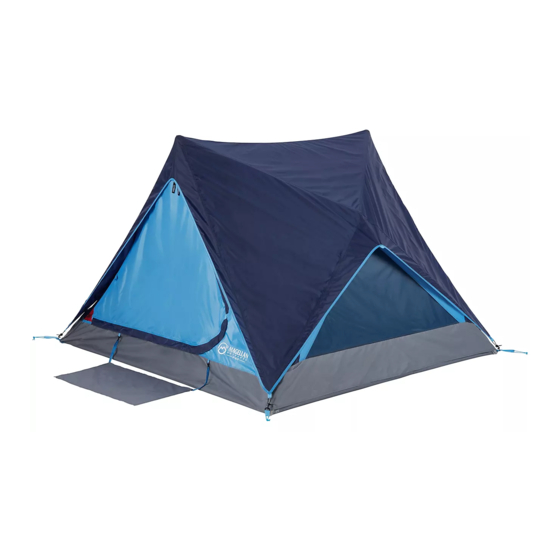
- Page 1 SwiftRise Hub 3P Tent 164278 Customer Service:(888) 922-2336 7:00 am to 12:00 am CST (daily) Live Chat at:www.academy.com Email:customerservice@academy.com (Made in Bangladesh)
-
Page 2: Table Of Contents
Warnings..................3 Parts List..................4 Assembly Instructions............5-6 Care and Maintenance............7 Warranty Information...............8 Note: Before beginning assembly of product,make sure all parts are present.Compare parts with package content list and hardware contents.If any part is missing or damaged do not attempt to assemble the unit.Contact customer service for replacement parts. -
Page 3: Warnings
Warnings IMPORTANT SAFETY AND TIP INFORMATION TO MAXIMIZE THE ENJOYMENT OF YOUR PRODUCT PLEASE ASSEMBLE AND USE YOUR PRODUCT AS SAFELY AS POSSIBLE. THE PURPOSE OF THE SAFETY ALERT SYMBOLS TO CALL YOUR ATTENTION TO POSSIBLE HAZARDS RELATING TO THE USE AND ASSEMBLY OF YOUR PRODUCT. THE PURPOSE OF THE TIP SYMBOL IS TO CALL YOUR ATTENTION TO SUGGESTIONS THAT WILL ASSIST YOU IN THE ASSEMBLY/DISASSEMBLY PROCESS AND ENHANCE YOUR CAMPING EXPERI-... -
Page 4: Parts List
Tent body with pre-attached poles Tent rainfly Carry bag Guy rope Steel stake String light Battery compartment IMPORTANT NOTES BEFORE YOU BEGIN: • Assemble your tent before camping to become familiar with the assembly. • Setup is possible for one person, however two people are recommended. •... -
Page 5: Assembly Instructions
Assembly Instructions Step 1: CAUTION:Avoid pinch points when opening or closing the tent frame. FIGURE 1 ● Remove tent from expandable carry bag. Remove the tie strap from around the tent. ● Lay the tent flat on the ground and check that there is no material twisted or overlapping the ends of any poles. - Page 6 Assembly Instructions FIGURE 3 Step 3: ● Spread out the rainfly and find the side with Logo as the front. Two people each pull the rainfly any part, then drag it over the top of the tent. (Fig.3). ● Hook the S-hook at the bottom of the rainfly into the D-ring at the bottom of the tent body.
-
Page 7: Care And Maintenance
Tent take down: ● Remove all stakes from tent and guylines, store in stake bag. ● Detach the rainfly and set aside after folding it. ● Hold the webbed ring sewn to the steel ring of the tent at the center of the wall and push in until the wall is collapsed. -
Page 8: Warranty Information
Warranty Information This product has been manufactured under the highest standards of quality and workmanship. We warrant to the original consumer purchaser that all aspects of this product will be free of defects in material and workmanship for one year from the date of purchase.