Advertisement
Quick Links
4
CCStudio
Setup
A.) Importing a Pre-defined Setup or Factory Board
These instructions apply to CCStudio v3.1 and v3.3, but the import dialog varies slightly
between versions. Refer to the USB510L Installation Guide if more information is needed.
1. Run CCStudio Setup.
2. Find and select, bh-usb510L emulator, from the "platform" pull
down menu located at the top of the middle CCSetup window. (this will
list on only the
controller imports).
USB510L
3. You can narrow down the import options between all supported DSP
families by using the "device" pull down (i.e. select "C67xx" to list all
TMS320C67xx device imports).
4. When you find your target, or an import that closely matches your target,
highlight the entry and choose the option to "add it to your system".
5. If this import setup does not completely match your target, you can edit
the properties manually, such as to add a GEL file specific to you H/W.
6. When finished, save the setup and start CCStudio.
B.) Using Create Board for CCStudio v3.1 and later
1. Run CCStudio Setup.
2. Select the "Create Board" tab and drag the BH USB510L Connection
to My System on the left. This will prompt you for a connection name.
You can enter any string you want, but at a minimum, it typically includes
the emulator name and target DSP or board name.
3. Now, highlight the new connection name you added under My System
and add the available processor(s) shown in the middle window to match
your hardware.
4. Save your setup and start CCS.
Blackhawk
123 Gaither Drive, Mt. Laurel, NJ 08054-1701
4
www.blackhawk-dsp.com
Blackhawk is a registered trademark of EWA Technologies, Inc.
USB510L-QS-02
QUICK
START
GUIDE
Installation Requirements
•
PC or Notebook computer with at least one free USB v1.1 or v2.0 port.
•
Windows® 2000/XP/Vista Operating Systems
•
Texas Instruments Code Composer Studio Version 3.3 SR2
•
CD ROM Drive.
Inventory of Items Included
1. Blackhawk
Emulator POD
USB510L
2. USB 2.0 Compliant Cable.
3. Installation CD ROM.
4. Warranty and Product Registration
Cards.
5. Quick Start Guide.
Other Items Required
1. Target Board System — a self-
powered board with a TI DSP and
compatible JTAG header connection
conforming to IEEE 1149.1 Standard.
2. Copy of Code Composer Studio Ver-
†
sion 3.3 SR2
or later.
†
For CCStudio v3.1 you will need the TI USCIF v35.24.0.3 update to be applied first. This is part of
our
installer for CCS v3.1. CCS v3.3 requires SR2 or later to be installed, which is available
USB510L
for download from the TI web site via CCS update advisor. CCS v3.2 not supported.
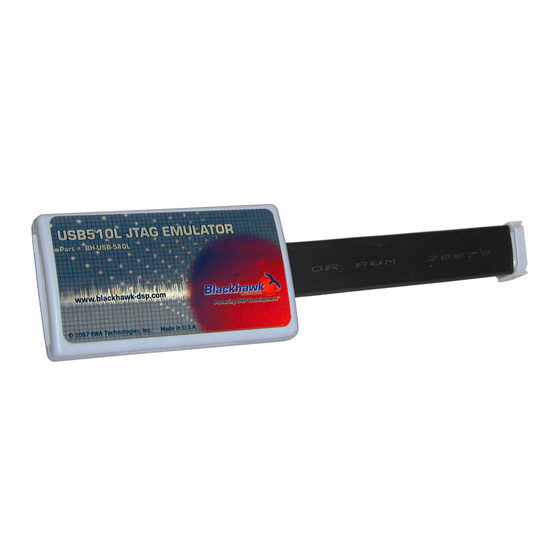
Blackhawk™
USB510L
JTAG
Emulator
(USB510L)
(32 or 64-bit versions).
†
or later.
I
MPORTANT
E
NVIRONMENTAL
C
ONSIDERATIONS
This equipment is designed to
be operated under the follow-
ing environmental conditions:
Temperature between 0°C –
55°C. Relative Humidity of
20% - 70% non-condensing.
Operation of the unit outside of
the above range may affect
structual and mechanical
integrity and cause permanent
damage.
Caution is necessasry to
minimize ESD (Electro-static
Discharge) which can damage
electronic components. Use in
a controlled environment
where ESD materials and
practices are employed is
highly recommended.
1
Advertisement

Related Manuals for BLACKHAWK! USB510L

Summary of Contents for BLACKHAWK! USB510L
- Page 1 A.) Importing a Pre-defined Setup or Factory Board These instructions apply to CCStudio v3.1 and v3.3, but the import dialog varies slightly GUIDE Emulator between versions. Refer to the USB510L Installation Guide if more information is needed. (USB510L) 1. Run CCStudio Setup. Installation Requirements 2.
- Page 2 2x7 JTAG connector shown in figure 1) to the corresponding header on Connector the target board. Make sure the target board is not powered when connecting! 7. Setup and start Code Composer Studio (see step 4 on CCStudio FIGURE 1—USB510L JTAG Emulator (top & side views) Setup).
Need help?
Do you have a question about the USB510L and is the answer not in the manual?
Questions and answers