Table of Contents
Advertisement
INSTALLATION INSTRUCTIONS
HB0128
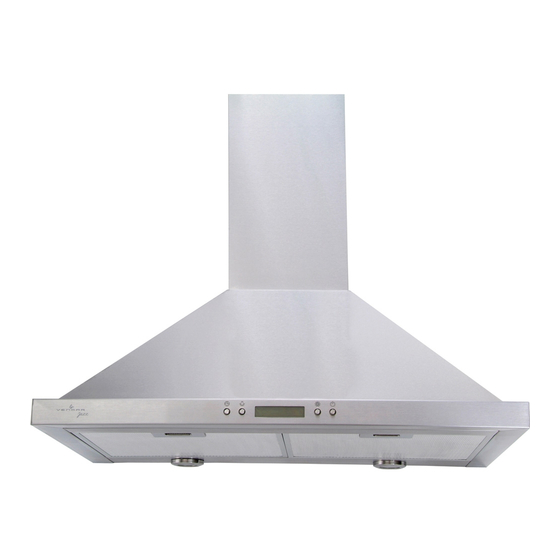
VJ504302SS CHIMNEY RANGE HOOD
!
INTENDED FOR DOMESTIC COOKING ONLY
!
READ AND SAVE THESE INSTRUCTIONS
INSTALLER: LEAVE THIS MANUAL WITH HOMEOWNER.
HOMEOWNER: USE AND CARE INFORMATION ON PAGES 8
9.
AND
Venmar Ventilation ULC, 550 Lemire Blvd., Drummondville QC J2C 7W9
1-800-567-3855
REGISTER YOUR PRODUCT ONLINE AT: www.bnv.ca
For additional information - visit www.venmar.ca
09069 rev. 07
Advertisement
Table of Contents

Summary of Contents for Venmar VJ504302SS
- Page 1 READ AND SAVE THESE INSTRUCTIONS INSTALLER: LEAVE THIS MANUAL WITH HOMEOWNER. HOMEOWNER: USE AND CARE INFORMATION ON PAGES 8 Venmar Ventilation ULC, 550 Lemire Blvd., Drummondville QC J2C 7W9 1-800-567-3855 REGISTER YOUR PRODUCT ONLINE AT: www.bnv.ca For additional information - visit www.venmar.ca...
- Page 2 WARNING WARNING TO REDUCE THE RISK OF FIRE, ELECTRIC SHOCK OR TO REDUCE THE RISK OF INJURY TO PERSONS IN THE INJURY TO PERSONS, OBSERVE THE FOLLOWING: EVENT OF A RANGE TOP GREASE FIRE, OBSERVE THE FOLLOWING*: 1. Use this unit only in the manner intended by the manufacturer. If you have questions, contact the manufacturer at the address 1.
-
Page 3: Table Of Contents
To contact Venmar Ventilation ULC Warranty Service call 1-800-567-3855 (in Canada). In order to qualify for a warranty claim, the owner of a Venmar Jazz range hood must have the model and serial number along with a proof of the original purchase date. -
Page 4: Install Ductwork
1. INSTALL DUCTWORK WARNING When performing installation, servicing or cleaning the unit, it is recommended to wear safety glasses and gloves. 6” OOF CAP OUND DUCT Plan where and how the ductwork will be installed. A straight, short duct run will allow the hood to perform most efficiently. Long duct runs, ECORATIVE FLUE elbows and transitions will reduce the performance of the hood. -
Page 5: Prepare Installation
3. PREPARE INSTALLATION NOTE: Before proceeding to the installation, check the contents of the box. If items are missing or damaged, contact the retailer. Make sure that the following items are included: - Hood - Decorative flue assembly (lower and upper flues) 6”... -
Page 6: Install Hood Mounting Bracket
5. INSTALL HOOD MOUNTING BRACKET WARNING • When cutting or drilling into wall, do not damage electrical wiring and other hidden utilities. • When building framework, always follow all applicable construction codes and standards. ALL STUDS 1. Construct wood wall framing that is flush with surface of wall studs. RAMING BEHIND DRYWALL Ensure:... -
Page 7: Install Hood
8. INSTALL HOOD WARNING Be careful when installing the decorative flue and hood, they may have sharp edges. CAUTION DO NOT REMOVE the protective plastic film covering the decorative flue (upper and lower) and the hood yet. 1. Install 6" round adapter/damper on top of the hood using 4 no. 8 x 7/16" mounting screws (Fig. 1). 2. -
Page 8: Reinstall Grease Filters
9. REINSTALL GREASE FILTERS To reinstall the grease filters, align rear filter tabs with slots in the hood. Pull down the metal latch tab, push each filter into position and release. Make sure filters are securely engaged after installation. HD0256 10. -
Page 9: Operation
11. OPERATION ( ’ CONT 1. TIME/DELAY (D OUBLE FUNCTION PUSH BUTTON : This button is used to set time when lighting and blower are not in use. Time is displayed in 24 hour cycle. To set time, press ETTING the push button (1) for 3 seconds. -
Page 10: Replacement Parts
Venmar Ventilation ULC also recommends to contact a Venmar certified service depot for all replacement parts and repairs. HL0127 ART NO ESCRIPTION...
Need help?
Do you have a question about the VJ504302SS and is the answer not in the manual?
Questions and answers