Sign In
Upload
Download
Table of Contents
Contents
Add to my manuals
Delete from my manuals
Share
URL of this page:
HTML Link:
Bookmark this page
Add
Manual will be automatically added to "My Manuals"
Print this page
×
Bookmark added
×
Added to my manuals
Manuals
Brands
OXO Manuals
Baby & Toddler Furniture
Sprout Chair
Instruction manual
OXO Sprout Chair Instruction Manual
Hide thumbs
1
2
3
Table Of Contents
4
5
6
7
8
9
10
11
12
13
14
15
16
17
18
19
20
page
of
20
Go
/
20
Contents
Table of Contents
Bookmarks
Table of Contents
Table of Contents
Parts Included
Assembling High Chair
Base Assembly
Seat Back Assembly
Seat Bottom Assembly
Seat Removal
Installing Footrest
Adjusting Footrest
Tray Attachment
Tray Adjustment
Securing Child
Youth Chair Assembly
Tray Removal
Seat Adjustment
Seat Cushion Replacement
Footrest Adjustment
Harness Removal
Care, Cleaning & Storage
Replacement Parts
Warranty
Registration
Contact Us
Advertisement
Quick Links
1
Replacement Parts
Download this manual
IMPORTANT! KEEP FOR FUTURE REFERENCE
IMPORTANT! GARDER CE DOCUMENT POUR RÉFÉRENCE ULTÉRIEURE
¡IMPORTANTE! GUARDE PARA REFERENCIA FUTURA
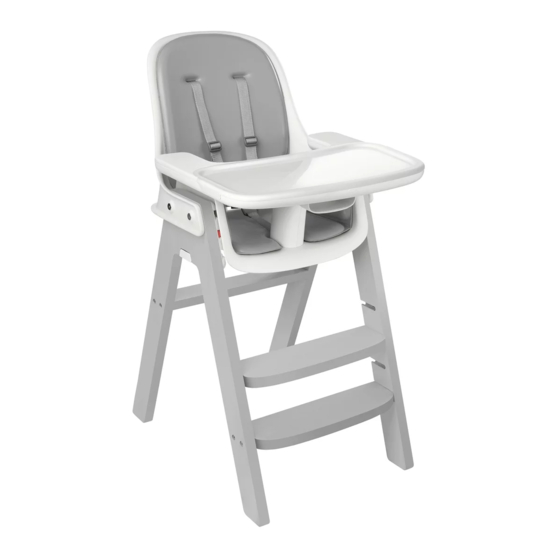
Sprout
Chaise Sprout
Silla Sprout
Instruction Manual
Guide d'utilisation
Manual de instrucciones
Chair
™
™
™
Table of
Contents
Previous
Page
Next
Page
1
2
3
4
5
Advertisement
Table of Contents
Need help?
Do you have a question about the Sprout Chair and is the answer not in the manual?
Ask a question
Questions and answers
Related Manuals for OXO Sprout Chair
Baby & Toddler Furniture OXO Chaise Sprout Instruction Manual
(20 pages)
Baby & Toddler Furniture OXO tot Perch Instruction Manual
Booster seat with straps (8 pages)
This manual is also suitable for:
Chaise sprout
Silla sprout
Table of Contents
Print
Rename the bookmark
Delete bookmark?
Delete from my manuals?
Login
Sign In
OR
Sign in with Facebook
Sign in with Google
Upload manual
Upload from disk
Upload from URL


Need help?
Do you have a question about the Sprout Chair and is the answer not in the manual?
Questions and answers