Subscribe to Our Youtube Channel
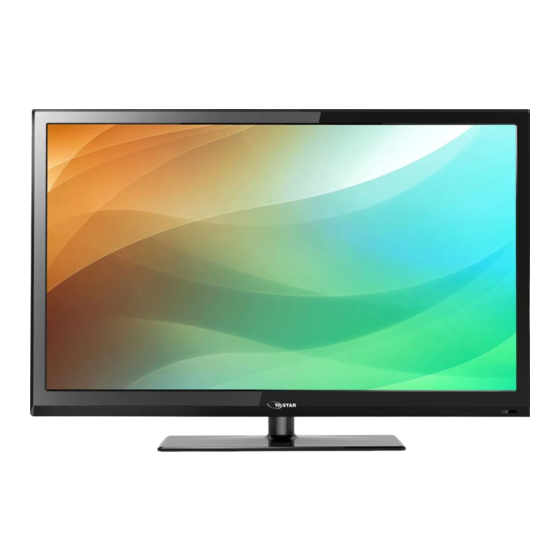
Summary of Contents for TV Star LED39F
- Page 1 HD LED TV USER MANUAL USER MANUAL LED39F MODEL NO.:LED32RV3 IMPORTANT Please read this manual carefully before installing and operating the TV. Keep this manual handy for further reference...
-
Page 2: Table Of Contents
Table Of Contents Preparations Guide Safety Information.........................2 Important Safety Precautions....................3 Installed And Connected TV TV Bracket assemble......................4 TV Buttons And Terminal Interface..................5 External device connection diagram..............6 Install And Connect TV......................7 TV Stand installation Instructions...............7 Function Description Select Input Source........................8 Picture Menu..........................8 Sound Menu.......................... -
Page 3: Safety Information
Safety Information High voltages are used in the operation of this product.to reduce the risk of electric shock,do not remove cover of the cabinet, refer servicing to qualified service personal If the TV any changes or coarse adjustment, electric shocks to be hurt, do not attempt to open a machine-maintenance, customer contact centres needed overhaul. -
Page 4: Important Safety Precautions
Important Safety Precautions 1. Read these instructions. 2. Keep these instructions. 3. Heed all warnings. 4. Follow all instructions. 5. Do not use this apparatus near water. 6. Clean only with dry cloth. 7. Do not block any ventilation openings. Install in accordance with the manufacturer’s instructions. -
Page 5: Tv Bracket Assemble
TV Bracket assemble Fix the TV on the wall 1.First,put the TV on the table smoothly and put some soft cloth on the table to avoid scratching the screen. 2.User the screw driver to take off the screws which are fixed on the bottom stand (the direction of the arrow, refer to the ptoto1).And take off the bottom stand(please take off the screws and bottom stand carefully). -
Page 6: Tv Buttons And Terminal Interface
TV Buttons And Terminal Interface TV Buttons Note: The following is only functional schematic, And the actual position and arrangement of different models may be different. :Turn ON/OFF Power. SOURCE:External Signal Input Selection. MENU:Display Main MENU And Confirm MENU Item Selection. CH+/-:Selecting Channel. -
Page 7: External Device Connection Diagram
External device connection diagram Set-top boxes HDMI HDMI HDMI input connection INPUT INPUT INPUT VIDEO VIDEO AV input connection AV input connection USB connection AV input connection Set-top boxes SCART connection OUTPUT VIDEO AV output connection TV connection... -
Page 8: Install And Connect Tv
Install And Connect TV Set your TV To put your TV in a firm place which can bear the weight of the TV. To avoid danger, please don’t expose the TV near water or heating place (such as light, candle, heating machine),do not block the ventilation at the back of TV. -
Page 9: Select Input Source
Function Description Select input source Input SOURCE SOURCE SCART YPbPr HDMI1 HDMI2 HDMI3 Media... -
Page 10: Sound Menu
Function Description... -
Page 11: Tv Channel
Function Description... - Page 12 Function Description...
-
Page 13: Feature Menu
Function Description... -
Page 14: Setup Menu
Function Description... - Page 15 Function Description...
-
Page 16: Multimedia
Multimedia... -
Page 17: Other Features
Other Features... -
Page 18: Pvr
Other Features... - Page 19 Other Features...
-
Page 20: Help
Help... -
Page 21: Specifications
Machine Technical Specifications TV System Speaker Output Screen Size Preset Channel s PAL/SECAM 5W+5W 16” 1000 PAL/SECAM 5W+5W 19” 1000 PAL/SECAM 5W+5W 22” 1000 PAL/SECAM 5W+5W 24” 1000 PAL/SECAM 10W+10W 32” 1000 PAL/SECAM 10W+10W 39”/40” 1000 PAL/SECAM 10W+10W 42” 1000 PAL/SECAM 10W+10W 46”... -
Page 22: Remote Controller
Remote Controller ATV/DTV: Switch between Analog and Digital TV previous DTV/ATV P.MODE S.MODE SLEEP MENU SOURCE ENTER EXIT DISPLAY ENTER: RECLIST FAV/LIST FREEZE GUIDE ASPECT CANCEL SUB.PG INDEX TIMESHIFT TV/RADIO SUBTITLE REVEAL SIZE HOLD TEXT GREEN YELLOW CYAN... - Page 23 Remote Controller TV/RADIO When watching channel , allows you to switch between TV and Radio modes GUIDE:1. Launches the EPG (Electronic Program Guide) 2. Fast reverse in PVR or Media Player mode. TIME SHIFT: 1.DTV channel time shift Function. 2.play on PVR or Media Player mode. DTV/ATV P.MODE S.MODE...
- Page 24 WARRANTY CONDITIONS OF WARRANTY Warranty period: 12 months. During warranty period for the product the manufacturer assumes obligations stated in the warranty. Warranty period starts from the moment of retail sale of the product. The product is characterized by appropriate qualitative properties and will function without obstructions if you will follow the attached manual in operation.


Need help?
Do you have a question about the LED39F and is the answer not in the manual?
Questions and answers