Table of Contents
Advertisement
Operating Instructions
GB
English
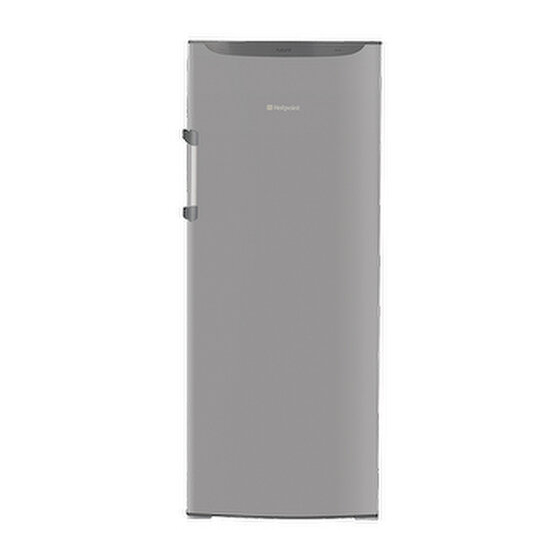
RLS 150 x
RLFM 151 x
RLS 175 x
RLFM 171 x
Contents
Installation, 2-3-4
Starting the appliance
Guarantee, 10
FRIDGE
GB
Advertisement
Table of Contents

Related Manuals for Hotpoint RLS 175 x

Summary of Contents for Hotpoint RLS 175 x
-
Page 1: Table Of Contents
Avoiding mould and unpleasant odours Defrosting the appliance Replacing the light bulb Precautions and tips, 8 RLS 150 x General safety RLFM 151 x Disposal RLS 175 x Respecting and conserving the environment RLFM 171 x Troubleshooting, 9 Guarantee, 10 After Sales Service, 11... -
Page 2: Installation
Installation ! Before placing your new appliance into operation Your appliance is supplied with a 13amp fused plug that please read these operating instructions carefully. They can be plugged into a 13amp socket for immediate use. contain important information for safe use, for installation Before using the appliance please read the instructions and for care of the appliance. -
Page 3: Reversible Doors
Reversible door IMPORTANT: WIRES IN THE MAINS LEAD ARE COLOURED IN ACCORDANCE WITH THE FOLLOWING CODE... Green and Yellow - Earth Blue - Neutral Brown - Live As the colours of the wires in the mains lead may not correspond with the coloured markings identifying the terminals in your plug, proceed as follows: Connect Green and Yellow wire to terminal marked... - Page 4 Stability bracket 1. Position the fridge in its chosen location. 2. Looking from the front of the fridge, mark the position WARNING: To prevent the fridge from tilting forwards, it of the left hand panel. must be held in place with the stability bracket supplied. 3.
-
Page 5: Description Of The Appliance
Description of the appliance Overall view The instructions contained in this manual are applicable to different model refrigerators. The diagrams may not directly represent the appliance purchased. For more complex features, consult the following pages. TEMPERATURE control Removable lidded shelf with EGG TRAY Lamp (see Maintenance) Removable... -
Page 6: Start-Up And Use
Start-up and use Starting the appliance Using the refrigerator to its full potential • Use the TEMPERATURE ADJUSTMENT knob to adjust ! Before starting the appliance, follow the installation the temperature (see Description). instructions (see Installation). ! Before connecting the appliance, clean the •... -
Page 7: Maintenance And Care
Maintenance and care Switching the appliance off Defrosting the appliance During cleaning and maintenance it is necessary to ! Follow the instructions below. disconnect the appliance from the electricity supply: Do not use objects with sharp or pointed edges to It is not sufficient to set the temperature adjustment knobs defrost the appliance as these may damage the on OFF (appliance off) to eliminate all electrical contact. -
Page 8: Precautions And Tips
Precautions and tips Disposal ! The appliance was designed and manufactured in compliance with international safety standards. The following warnings are provided for safety reasons and • Observe local environmental standards when must be read carefully. disposing packaging material for recycling purposes. •... -
Page 9: Troubleshooting
Troubleshooting If the appliance does not work, before calling for Assistance (see Assistance), check for a solution from the following list. Malfunctions: Possible causes / Solutions: The internal light does not illuminate. • The plug has not been inserted into the electrical socket, or not far enough to make contact, or there is no power in the house. -
Page 10: Guarantee
OR NON-DOMESTIC PREMISES. 5 Year Parts Guarantee Hotpoint also offers you a free 5 year parts guarantee. This additional guarantee is conditional on you registering your appliance with us and the parts being fitted by one of our authorised engineers. There will be a charge for our engineer's time. -
Page 11: After Sales Service
After Sales Service No one is better placed to care for your Hotpoint appliance during the course of its working life than us - the manufacturer. Essential Contact Information Hotpoint Service We are the largest service team in Europe offering you access to 400 skilled telephone advisors and 1000 fully qualified engineers on call to ensure you receive fast, reliable, local service. - Page 12 195073408.02 10/2011 PLEASE PHONE US TO REGISTER YOUR APPLIANCE AND ACTIVATE YOUR 5 YEAR PARTS GUARANTEE ON 08448 24 24 24...
Need help?
Do you have a question about the RLS 175 x and is the answer not in the manual?
Questions and answers