Advertisement
Quick Links
Owner's Manual
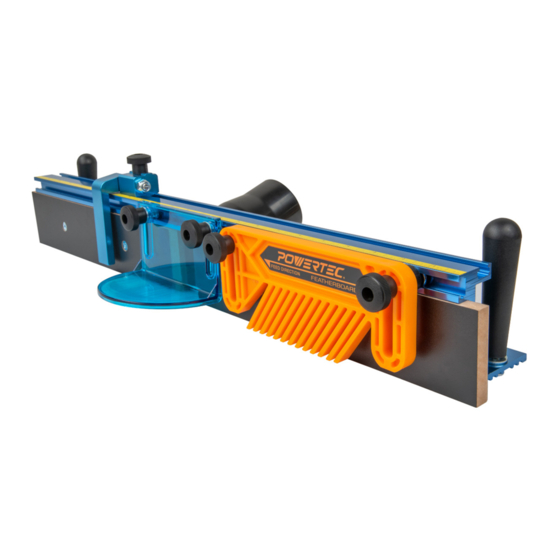
24" Router Table Fence
QUESTION...
1•847•780•6120
Visit us on the web at powertecproducts.com
You will need this manual for safety instructions, operating procedures, and warranty.
Put it and the original sales invoice in a safe, dry place for future reference.
Model No. 71536
20-0616
Advertisement

Subscribe to Our Youtube Channel
Related Manuals for PowerTec 71536


Summary of Contents for PowerTec 71536
- Page 1 Model No. 71536 Owner’s Manual 24" Router Table Fence QUESTION... 1•847•780•6120 Visit us on the web at powertecproducts.com You will need this manual for safety instructions, operating procedures, and warranty. Put it and the original sales invoice in a safe, dry place for future reference.
-
Page 2: Table Of Contents
TABLE OF CONTENTS SECTION PAGE SAFETY RULES ASSEMBLY Unpacking Assembly Adjusting theFence Faces Jointing MAINTENANCE General Maintenance WARRANTY... -
Page 3: Safety Rules
SAFETY RULES • Be alert and think clearly. Never operate power tools when WARNING tired, intoxicated or when taking medications that cause drowsiness. For your own safety, read all of the rules and precautions before • A guard or any other part that is damaged should be properly operating tool. - Page 4 SPECIFIC SAFETY WARNINGS sure ALL knobs on the router table fence and accessories are DANGER tightened and the fence will not shift during use. • Always feed the workpiece against the rotation of the bit. • To avoid serious injury, keep hands and fingers away from the A table-mounted router spins the bit counterclockwise, so spinning router bit.
-
Page 5: Assembly
ASSEMBLY Figure 1 UNPACKING Refer to Figure 1 Check for shipping damage. Check immediately whether all parts and accessories are included. ITEM DESCRIPTION Fence Fence lock knobs Washers 5/16" T-Bolt 5/16"-18 x 1" MDF adjustable fence faces Flat head screws 1/4"-20 x 1-1/2" Washers 1/4"... -
Page 6: Adjusting Thefence Faces
ADJUSTING THE FENCE FACES ASSEMBLY Refer to Figure 5 Refer to Figure 2–4 • Remove the adhesive backing from the right to left tape The two MDF adjustable fence faces are designed to slide about measure and press into place. Start on the right end and 2"... - Page 7 Figure 2 Slot in Dust Port Fence Fench Locking Knob 5/16" Washer T-Bolt Washer and Pan Head Screw Round Locking Knobs Slot in Router Table with 1/4" Washers BACK Round Lock Figure 3 Knobs with 1/4"-20 x 1" Flip Flip Washers T-Bolts Stop...
-
Page 8: Jointing
JOINTING For a 1/16" offset, slide the round jointing rods into the round grooves on the outfeed fence. Figure 7. Refer to Figure 6–9 For a 3/128" offset, slide the round jointing rods into the The independently adjustable fence faces allow the router table round grooves on the infeed fence and slide the square to be used as a vertical jointer by offsetting the outfeed fence rods into the square grooves on the outfeed fence. -
Page 9: Warranty
30- DAY SATISFACTION GUARANTEE POLICY During the first 30 days after the date of purchase, if you are dissatisfied with the performance of this POWERTEC tool for any reason, you may return the tool to the retailer from which it was purchased for a full refund or exchange. You must present proof of purchase and return all original equipment packaged with the original product. - Page 10 NOTE...
- Page 11 NOTE...
- Page 12 Southern Technologies, LLC Waukegan, IL 60087...
Need help?
Do you have a question about the 71536 and is the answer not in the manual?
Questions and answers