Table of Contents
Advertisement
Available languages
Available languages
Quick Links
Advertisement
Table of Contents

Related Manuals for Ega Master MASTEREX 79788

Summary of Contents for Ega Master MASTEREX 79788
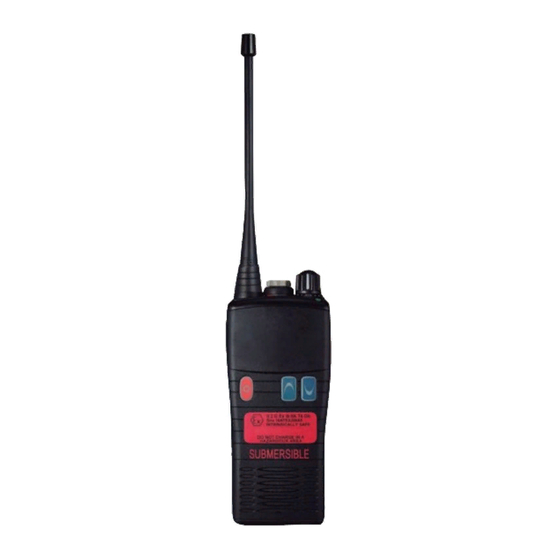
- Page 1 MANUAL DE INSTRUCCIONES OPERATING INSTRUCTIONS RADIO TRANSMISOR TWO-WAY RADIO MASTEREX 79788 ESPAÑOL ......... 2 ENGLISH ........8 GARANTIA / GUARANTEE ... 13...
-
Page 2: Accesorios Opcionales
ESPAÑOL INTRODUCCIÓN Diseñado y fabricado para cumplir con las especificaciones IP68 para la protección total contra el agua e intrusiones de polvo. Esta guía rápida proporciona una guía básica para el funcionamiento de su radio. ACCESORIOS OPCIONALES Montaje y desmontaje de los accesorios Para conectar un accesorio, retire la cubierta de accesorios desenroscando el tornillo de bloqueo en sentido antihorario (deje la cubierta unida o guárdela en un lugar... - Page 3 PRECAUCIÓN PRECAUCIONES CON LA BATERÍA • No recargue la batería si ya está completamente cargada. Si lo hace, puede acortar la vida de la batería o dañarla. • Después de completarse la carga, retire la batería del cargador. Si la alimentación del cargador se apaga y se enciende de nuevo, se reiniciará...
-
Page 4: Preparación De La Radio
PREPARACIÓN DE LA RADIO Fijar / quitar la antena 1. Para fijarla, alinee con cuidado la antena con el zócalo. Rosque en sentido horario (teniendo cuidado de no estropear la rosca) hasta que se asiente firmemente con el anillo de goma de la cubierta de accesorios entre la antena y la parte superior de la radio (A). - Page 5 TRANSMITIR 1. Realice los pasos 1 al 5 de ‘Encendido, recepción y apagado’. 2. Antes de transmitir, monitorice el canal y asegúrese de que está libre. 3. Cuando reciba una señal, antes de transmitir, espere a que ésta acabe. El transceptor no puede transmitir y recibir simultáneamente.
-
Page 6: Instrucciones De Uso
CARGADOR DE BATERÍA DE IONES DE LITIO CARACTERISTICAS • El cargador se puede usar para recargar paquetes de baterías de iones de litio. • La fuente de alimentación de rango libre facilita los voltajes de CA en un rango de 100V a 240V. -
Page 7: Montaje Del Soporte
MONTAJE DEL SOPORTE Para su conveniencia, el cargador puede apoyarse en su base o montarse en un soporte. Están disponibles por separado un tornillo de soporte y un kit separador. Patrón de orificios de montaje del soporte PRECAUCIONES • El cargador está diseñado exclusivamente para su uso con paquetes de baterías de iones de litio. -
Page 8: Optional Accessories
ENGLISH INTRODUCTION designed and manufactured to meet IP68 specification for total protectionagainst water and dust intrusion. This quick guide provides a basic guide for the operation of your radio. OPTIONAL ACCESSORIES Attaching and removing accessories To attach an accessory, remove the accessory cover by unscrewing the locking screw anti- clockwise (leave cover attached or store in a safe place). - Page 9 CAUTION BATTERY PACK PRECAUTIONS • Do not recharge the battery pack if it is already fully charged. Doing so may reduce the life of the battery pack. • After charging is complete, remove the battery from the charger. If the power to the charger is turned off and on again, charging will restart and the battery will become overcharged.
-
Page 10: Preparing Your Radio For Use
PREPARING YOUR RADIO FOR USE Attaching/removing the antenna 1. To attach, carefully align the antenna with the socket. Screw in the antenna clockwise (taking care not to cross the thread) until it is seated firmly with the accessory cover’s rubber ring between the antenna and the top of the radio (A). - Page 11 TRANSMITTING 1. Perform steps 1 through to 5 above. 2. Before transmitting, monitor the channel and make sure it is clear. 3. When receiving a signal, wait until the signal stops before transmitting. The radio cannot transmit and receive simultaneously. 4.
-
Page 12: Mains Adapter
LITHIUM-ION BATTERY CHARGER FEATURES • The charger can be used to recharge lithium-Ion battery packs. • Free range power supply facilitates AC voltages in the range 100V to 240V. • The time required to recharge a fully discharged battery pack is approximately 6 hours. •... -
Page 13: Bulkhead Mounting
BULKHEAD MOUNTING For your convenience the charger can be seated on its base, or bulkhead mounted. A bulkhead screw and spacer kit is available separately. Bulkhead mounting hole pattern PRECAUTIONS • The charger is designed exclusively for use with lithium- ion battery packs. Do not use it to charge any other type of battery pack.
Need help?
Do you have a question about the MASTEREX 79788 and is the answer not in the manual?
Questions and answers