Advertisement
Quick Links
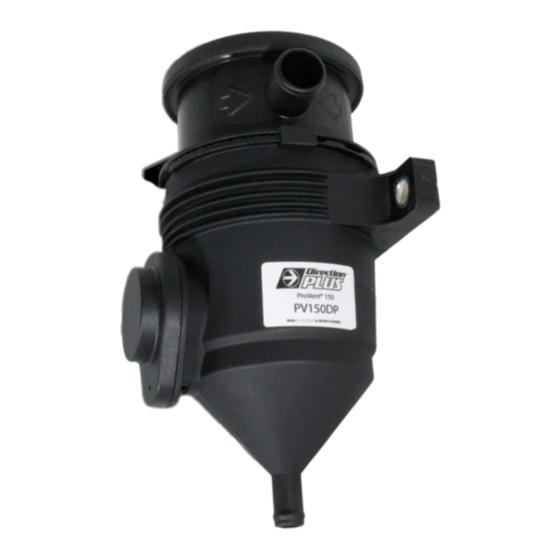
Ford Ranger PX Direction Plus™ ProVent® 150 and PreLine-Plus
Installation Guide
This document is to be used as a guide for the installation of the Direction Plus™ Ranger PX ProVent® 150 Crankcase Ventilation
unit and PL150DP pre-filter Kit to a 2011-2016 Ford Ranger PX & PXII 3.2 & 2.2 Diesel. It is recommended that the installation of
the product be carried out by a competent qualified mechanic.
Important before starting
•
Ensure the engine bay is clean and free from contaminants
•
The filter head has direction arrows indicating the direction of flow
•
You have the correct tools to complete the fitment
•
Read the instructions in full and familiarize yourself with the installation before commencing any work
Included in the kit
RPXPV150-BR
PROVENT 150
19MM ELBOW CONNECT
SPRING CLAMP - 19MM
CABLE TIE
FLAT WASHER M8
NYLOC NUT M8
PROVENT KIT TAP
HOSE CLAMP - 12MM SPRING
FUEL LINE 10MM
BOLT KIT 10MM
9.89 ELBOW QD
DFL10 - FUEL LINE RUBBER (10MM)
BOLT M8X25
HOSE CLAMP 10MM
WINDSCREEN LABEL
PV ENGINE BAY LABEL
PL ENGINE BAY LABEL
HOSE 19MM
HOSE 19MM
HOSE 19MM
M16X1.5 ADAPTER – 10MM
WATER ALARM KIT
PL150DP ASSEMBLY
PUSH ON 90 DEG - 10MM
16MM FLAT WASHERS
*Kit contents are subject to change based on component availability and/or refinement
Installation Guide
1.
Begin by removing the engine cover to give access to the crankcase bypass hose in the front passenger corner.
Direction-Plus™
1
1
2
6
Approximate mounting location
8
location
4
3
1
2
1
1
2
1
2
2
1
1
1
0.65
0.65
0.07
2
1
1
2
2
PLPV621DPK_Install
Page | 1
Advertisement

Related Manuals for Direction Plus Ford Ranger PX Direction Plus ProVent 150

Summary of Contents for Direction Plus Ford Ranger PX Direction Plus ProVent 150
- Page 1 Installation Guide This document is to be used as a guide for the installation of the Direction Plus™ Ranger PX ProVent® 150 Crankcase Ventilation unit and PL150DP pre-filter Kit to a 2011-2016 Ford Ranger PX & PXII 3.2 & 2.2 Diesel. It is recommended that the installation of the product be carried out by a competent qualified mechanic.
- Page 2 ProVent® and Pre- Filter kit mounts in this corner Bypass hose is under the engine cover in this corner Ranger PX Engine Bay – Overall View Begin by locating the factory bypass hose which runs from the valve cover on the driver’s side of the engine to the intake pipe just after the concertina section.
- Page 3 Mounting hole locations for new ProVent Bracket DO NOT REMOVE FACTORY NUT Top down view: image shows new ProVent® bracket location Connect the 12mm (1/2”) Hose to the underside of the catch can body, using a 12-20mm Clamp to secure it in place. Provent®...
- Page 4 Hose tail and tap assembly inserted into 12mm hose, hose clamp not required Fit the new bracket / ProVent® 150 bracket assembly onto the two mounting locations. Using the original M6 nut to secure the end behind the fuse box. Once this is tight, use the supplied M8 nut to secure the other end of the bracket to the stud between the air conditioning lines.
- Page 5 PL150DP Pre-filter mounting location Hose to air intake Hose from engine Connect 12mm drain Hose Here Pre-assembled Provent 150 with bracket. Use the supplied cable ties to secure the 12mm hose into the location required under the vehicle to prevent movement. Note: Leave a slight amount of slack in the line where the body and chassis join to prevent stretching the hose.
- Page 6 This image shows how the ProVent® Lines are to be assembled Mount one end of the first 650mm long 19mm (3/4”) hose to the lower 19mm (3/4”) fitting on the ProVent 150. Secure with hose clamp. Mount the other end of the same 650mm long 19mm (3/4”) hose to the 19mm (3/4”) 90˚ joiner fitting on the hose connected to the engine head on the front driver’s side.
- Page 7 19mm Return Hose to Air Intake 19mm Supply Hose from engine valve cover Finished Install – Check to make sure everything is secure and then put the engine cover back on Install the M16x1.5 adapters and M16 flat washers to the inlet and outlet ports that are facing outward, towards the inner guard and tighten.
- Page 8 Factory fuel filter inlet connection Mount the PL150DP Pre-filter assembly to the mounting bracket using the 2 x 10mmx30mm bolts, 2 x 10mm flat washers. Remove the RED quick disconnect fitting from the original filter head (the larger lower fitting) and the other end of the pipe coming from the tank.
- Page 9 Connection from fuel tank Connection to factory fuel filter INLET example of PL150DP fitting orientation Route the 10mm fuel hose to the inlet of the factory fuel filter and cut the hose to length, approximately 25mm past the end of the inlet barb Install the last 9.89mm female quick disconnect fitting in the end of the same fuel hose and secure with a hose clamp.
- Page 10 Completed installation of the ProVent® and PL150DP End of Installation Guide Direction-Plus™ PLPV621DPK_Install Page | 10...
Need help?
Do you have a question about the Ford Ranger PX Direction Plus ProVent 150 and is the answer not in the manual?
Questions and answers