Table of Contents
Advertisement
Quick Links
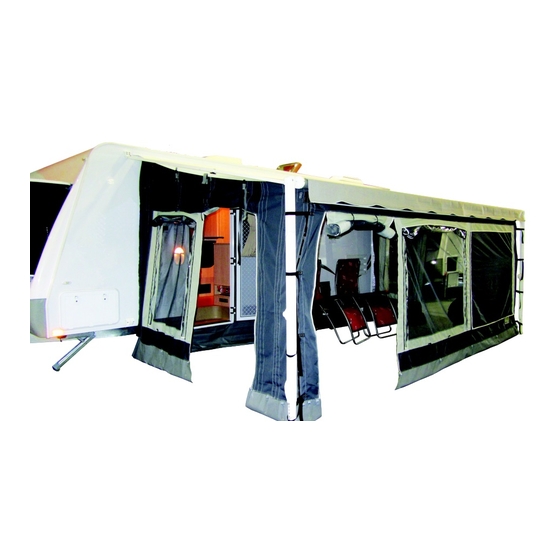
Coast Awning Wall Kits
Coast Awning Wall Kits
Increase your outdoor living space with Coast to Coast's stylish and easy to
Increase your outdoor living space with Coast to Coast's stylish and easy to
Before you begin, please note the following:
Before you begin, please note the following:
Coast Awning Wall Kits are available to suit rollout awnings from 12ft
Coast Awning Wall Kits are available to suit rollout awnings from 12ft
increments.
increments.
To ensure you purchase the correct size Awning Wall Kit, it is recommended that you measure the
To ensure you purchase the correct size Awning Wall Kit, it is recommended that you measure the
width of your rollout awning from the centre of the left arm to the centre of the right arm. *Please
width of your rollout awning from the centre of the left arm to the centre of the right arm. *Please
refer to the diagram below:
refer to the diagram below:
Once you are ready to begin installation, park your Caravan in a desired position, make sure the hand-
Once you are ready to begin installation, park your Caravan in a desired position, make sure the hand-
brake is on and your van is level front
brake is on and your van is level front
Awning Wall Kits for Caravans
Awning Wall Kits for Caravans
install
install
-
to
to
-
back and side
back and side
-
-
—
18ft (3.66mt
18ft (3.66mt
—
-
to
to
-
side.
side.
-
-
—
5.47mt) in 1ft
5.47mt) in 1ft
—
Advertisement
Table of Contents

Related Manuals for Coast to Coast Coast Awning Wall Kits


Summary of Contents for Coast to Coast Coast Awning Wall Kits
- Page 1 Coast Awning Wall Kits Coast Awning Wall Kits Increase your outdoor living space with Coast to Coast’s stylish and easy to Increase your outdoor living space with Coast to Coast’s stylish and easy to Awning Wall Kits for Caravans Awning Wall Kits for Caravans...
- Page 2 Sizes Available: AWNING WALL KIT TO SUIT 12'ROLLOUT AWNING AWNING WALL KIT TO SUIT 13' ROLLOUT AWNING 150-03000 150-03010 150-03020 AWNING WALL KIT TO SUIT 14' ROLLOUT AWNING 150-03030 AWNING WALL KIT TO SUIT 15' ROLLOUT AWNING 150-03040 AWNING WALL KIT TO SUIT 16' ROLLOUT AWNING 150-03050 AWNING WALL KIT TO SUIT 17' ROLLOUT AWNING 150-03060 AWNING WALL KIT TO SUIT 18' ROLLOUT AWNING...
- Page 3 Step 5 Tie the black webbing straps on the ends of the front wall to the awning arm by threading through the buckle (there are 4 on each side of the front wall) Once you have tied up both sides, make sure the front Telescopic wall is still centralised on the roller tube of the awning Rafter...
- Page 4 Sail Track—Step 2: Use a foam tape like 3M on the underside of the sail track prior to screwing, this creates a sealant and also fills the recesses on your RV outer wall. (Alternatively, use an ap- proved sealant as per the manufacturers specifications) ...
- Page 5 Sail Track—Step 7: Attach the side wall to your RV by threading the white strip into your sail track, the easiest way to do this is by detaching this from the side wall and then firmly press- ing the Velcro back together once threaded ...
- Page 6 Pole—Step 2: Line up the holes on foot of the telescopic pole, to the holes in the mudflap of the side wall Secure/ peg the foot to the ground *To attach the second wall, simply follow the steps as out- lined, dependant on your method of installation* ...
- Page 7 Optional Extra—Step 1 Due to the projection of your awning and the position of the track in your roller tube, there may be a gap between the front wall and the side wall If you would prefer that this is closed, we’ve included a Velcro Stay-Put Kit.
- Page 8 Things To Note: If you have any queries regarding any aspect of the installation process, please contact a Coast to Coast product stockist BEFORE you commence installation. Should you leave your RV for any period of time or you are turning in for the night, it is imperative that you either raise one of the awning legs, or lower one of the awning legs.
Need help?
Do you have a question about the Coast Awning Wall Kits and is the answer not in the manual?
Questions and answers