Sign In
Upload
Download
Table of Contents
Contents
Add to my manuals
Delete from my manuals
Share
URL of this page:
HTML Link:
Bookmark this page
Add
Manual will be automatically added to "My Manuals"
Print this page
×
Bookmark added
×
Added to my manuals
Manuals
Brands
Kenwood Manuals
Dishwasher
KDW60W15/A
Installation instructions manual
Kenwood KDW60W15/A Installation Instructions Manual
Freestanding dishwasher
Hide thumbs
1
2
Table Of Contents
3
4
5
6
7
8
9
10
11
12
13
14
15
16
17
18
19
20
21
22
23
24
25
26
27
28
29
30
31
32
33
34
35
36
page
of
36
Go
/
36
Contents
Table of Contents
Bookmarks
Table of Contents
Table of Contents
Safety Warnings
Unpacking
Installation
Location
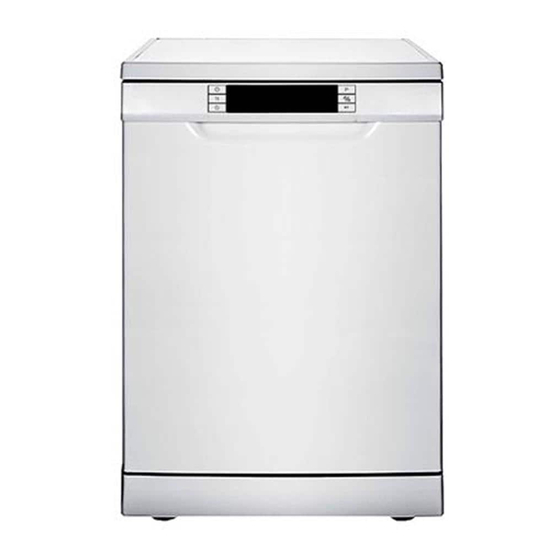
Product Overview
Front View
Rear View
Internal View
Control Panel
Before Operating
To Open the Door
To Close the Door
Items Not Suitable for Use in the Dishwasher
Adding Detergent Powder or Detergent Tablet
Adding Rinse Aid
Adjusting the Rinse Aid Reservoir
Adding Salt
Adjusting Salt Consumption
Loading the Dishwasher
Before Loading the Dishwasher
Upper Basket
Adjusting the Upper Basket
Loading the Upper Basket
Hinged Cup Rack
Lower Basket
Hinged Spikes
Loading the Lower Basket
Cutlery Basket
Operation
Starting a Wash Cycle
Changing a Programme
At the End of a Programme
Switching off the Unit
Unloading the Dishwasher
Delay Start
Half Load
Child Lock
Wash Cycle Table
Cleaning after Use
External Care
The Door and the Door Seal
The Control Panel
Internal Care
Filtering System
Spray Arms
Frost Precaution
Moving the Dishwasher
Maintenance after a Prolonged Period of Non-Operation
Hints and Tips
Technical Problems
General Problems
Disposal of the Dishwasher
Disposal of Packing Material
Specifications
Product Fiche
Advertisement
Quick Links
1
Control Panel
2
Starting a Wash Cycle
3
Technical Problems
4
General Problems
Download this manual
Freestanding Dishwasher
KDW60W15/A / KDW60B16/A /
KDW60S16/A
installation / instructions manual
Table of
Contents
Previous
Page
Next
Page
1
2
3
4
5
Advertisement
Table of Contents
Need help?
Do you have a question about the KDW60W15/A and is the answer not in the manual?
Ask a question
Questions and answers
Related Manuals for Kenwood KDW60W15/A
Dishwasher Kenwood KDW60X13 Installation Instructions Manual
Kenwood kdw60x13 freestanding dishwasher installation/instructions manual (36 pages)
Dishwasher Kenwood KDW60X10 Installation Manual
Dishwashers freestanding (32 pages)
Dishwasher Kenwood KDW60S12 Installation Instructions Manual
Freestanding (32 pages)
Dishwasher Kenwood KDW60X18 Installation Instructions Manual
Freestanding dishwasher (40 pages)
Dishwasher Kenwood KDW60T18 Installation Instructions Manual
Freestanding dishwasher (40 pages)
Dishwasher Kenwood KDW60W15 Installation Instructions Manual
(36 pages)
Dishwasher Kenwood KDW60B16 Installation Instructions Manual
(36 pages)
Dishwasher Kenwood KDW60S16 Installation Instructions Manual
(36 pages)
Dishwasher Kenwood KDW60B16/A Installation Instructions Manual
Freestanding dishwasher (36 pages)
Dishwasher Kenwood KDW60S16/A Installation Instructions Manual
Freestanding dishwasher (36 pages)
Dishwasher Kenwood KDW60S15 Installation Instructions Manual
Silver freestanding dishwasher (36 pages)
Dishwasher Kenwood KDW60W14 Installation Instructions Manual
Freestanding dishwasher (36 pages)
Dishwasher Kenwood KDW60B13 Installation Instructions Manual
Freestanding dishwasher (36 pages)
Dishwasher Kenwood KDW1274W User Manual
(35 pages)
Dishwasher Kenwood KDW45S16 Installation Instructions Manual
Freestanding dishwasher (36 pages)
Dishwasher Kenwood Slimline KDW45S15 Installation Instructions Manual
(36 pages)
This manual is also suitable for:
Kdw60b16/a
Kdw60s16/a
Table of Contents
Print
Rename the bookmark
Delete bookmark?
Delete from my manuals?
Login
Sign In
OR
Sign in with Facebook
Sign in with Google
Upload manual
Upload from disk
Upload from URL


Need help?
Do you have a question about the KDW60W15/A and is the answer not in the manual?
Questions and answers