Advertisement
Quick Links
CONFIGURING THX ONYX™ FOR WINDOWS
1
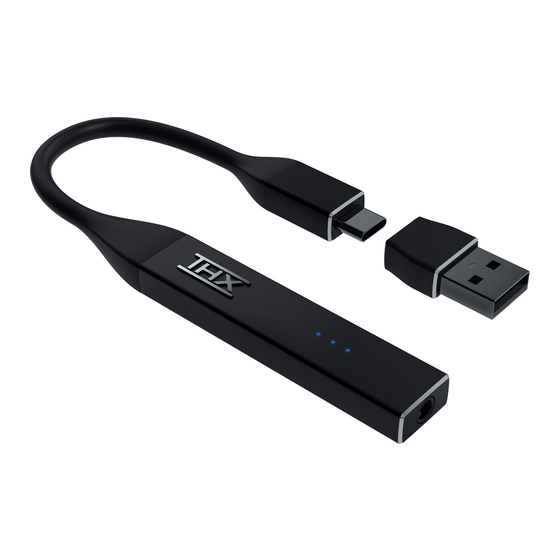
Connect the THX Onyx™ to one of your computer's USB ports, then plug your headphones
into the THX Onyx.
2
Navigate to Control Panel > Hardware and Sound > Sound.
3
If THX Onyx USB Amplifier is not listed with a green check mark to indicate it is the default
playback device, choose it from the list and click Set Default.
Advertisement

Subscribe to Our Youtube Channel
Related Manuals for THX ONYX

Summary of Contents for THX ONYX
- Page 1 Navigate to Control Panel > Hardware and Sound > Sound. If THX Onyx USB Amplifier is not listed with a green check mark to indicate it is the default playback device, choose it from the list and click Set Default.
- Page 2 Ensure THX Onyx has green check mark for Default Device. With THX Onyx USB Amplifier selected, click Properties.
- Page 3 In the advanced Tab, set the Default Format to 24 bit, 192000 Hz, and check the two boxes under Exclusive Mode. (Advanced users: select your preferred bit depth and sample rate according to your use case) Adjust the Windows volume to approximately 10%, then click Test and ensure you hear the test tone through your headphones.
- Page 4 If you have a 3.5mm headset (TRRS with microphone) plugged in to THX Onyx, please go to the Recording tab. Set THX Onyx as the Default Device. Verify you see the green check mark and “Default Device” under it. With THX Onyx selected, click on Properties>Advanced and change the microphone Default...
Need help?
Do you have a question about the ONYX and is the answer not in the manual?
Questions and answers