Sign In
Upload
Download
Table of Contents
Contents
Add to my manuals
Delete from my manuals
Share
URL of this page:
HTML Link:
Bookmark this page
Add
Manual will be automatically added to "My Manuals"
Print this page
×
Bookmark added
×
Added to my manuals
Manuals
Brands
Electrolux Manuals
Freezer
EC1501AOW
User manual
Electrolux EC1501AOW User Manual
Hide thumbs
1
Table Of Contents
2
3
4
5
6
7
8
9
10
11
12
13
14
15
16
17
18
19
20
page
of
20
Go
/
20
Contents
Table of Contents
Bookmarks
Table of Contents
Table of Contents
Safety Instructions
Product Description
Control Panel
Operation
Daily Use
First Use
Helpful Hints and Tips
Care and Cleaning
What to Do if
Installation
Noises
Technical Data
Advertisement
Quick Links
Download this manual
EC1501AOW
EC2201AOW
EC2801AOW
EC3201AOW
EC4201AOW
................................................ .............................................
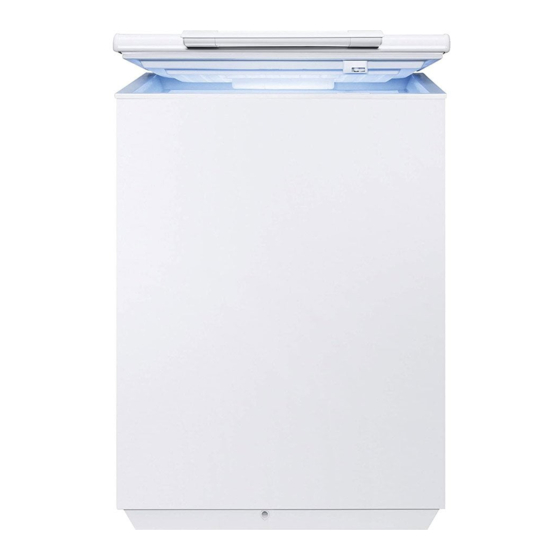
EN CHEST FREEZER
USER MANUAL
Table of
Contents
Previous
Page
Next
Page
1
2
3
4
5
Advertisement
Table of Contents
Need help?
Do you have a question about the EC1501AOW and is the answer not in the manual?
Ask a question
Questions and answers
Related Manuals for Electrolux EC1501AOW
Freezer Electrolux EC4201AOW User Manual
(44 pages)
Freezer Electrolux EC4201AOW User Manual
Electrolux ec4201aow chest freezer user manual (20 pages)
Freezer Electrolux EC1800 N Installation And Instruction Manual
(16 pages)
Freezer Electrolux EC1800 N Installation And Instruction Manual
Chest freezer (16 pages)
Freezer Electrolux EC1005AOW User Manual
(124 pages)
Freezer Electrolux EC 1109 N Operating And Installation Manual
Chest freezer (13 pages)
Freezer Electrolux EC 1109N Operating And Installation Manual
Chest freezer (12 pages)
Freezer Electrolux EC 1109N Operating And Installation Manual
Electrolux chest freezer operating and installation manual (12 pages)
Freezer Electrolux EC 1509N Operating And Installation Manual
Chest freezer (11 pages)
Freezer Electrolux EC 1509N Operating And Installation Manual
Chest freezer (11 pages)
Freezer Electrolux EC1105AOW User Manual
(56 pages)
Freezer Electrolux ECM1946 Instruction Book
Chest freezer (14 pages)
Freezer Electrolux ECN 1547 Instruction Book
Chest freezer (16 pages)
Freezer Electrolux ECM 3055 Installations - Og Brugervejledning Manual
Fryseboks (8 pages)
Freezer Electrolux EC 2309S Instruction Book
Chest freezer (20 pages)
Freezer Electrolux EC3131AOW User Manual
(20 pages)
This manual is also suitable for:
Ec2201aow
Ec2801aow
Ec3201aow
Ec4201aow
Table of Contents
Print
Rename the bookmark
Delete bookmark?
Delete from my manuals?
Login
Sign In
OR
Sign in with Facebook
Sign in with Google
Upload manual
Upload from disk
Upload from URL


Need help?
Do you have a question about the EC1501AOW and is the answer not in the manual?
Questions and answers