Subscribe to Our Youtube Channel
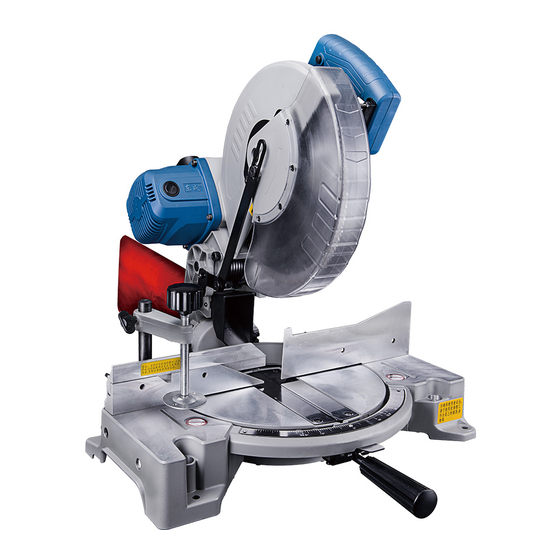
Summary of Contents for Dongcheng DJX03-255
- Page 1 Read through carefully understand these instructions before use. Edition 2 Feb., 2017...
-
Page 2: Electrical Safety
8. When operating a power tool outdoors, use an extension cord suitable for GENERAL POWER TOOL SAFETY WARNINGS outdoor use. Use of a cord suitable for outdoor use reduces the risk of electric shock. (For All Power Tools) 9. If operating a power in a damp location is unavoidable, use a residual current WARNING! Read and understand all instructions. -
Page 3: Specifications
17. Do not force the power tool. Use the correct power tool for your less than nameplate rating is harmful to the motor. application. The correct power tool will do the job better and safer at the rate SPECIFICATIONS for which it was designed. 18. - Page 4 Be careful not to damage the spindle, flanges (especially the installing still cause severe injury. surface) or bolt. Damage to these parts could result in blade breakage. 23. Always secure all moving portions before carrying the tool. Make sure that the turn base is properly secured so it will not move during 24.
-
Page 5: Instructions For Operation
Use only the provided socket wrench to install or remove the blade. Failure to do so INSTRUCTIONS FOR OPERATION may result in overtightening or insufficient tightening of the hex bolt. This could cause an injury. Carrying Tool After installing a new blade, always be sure that the blade does not contact any part of the lower base when the handle is lowered completely. -
Page 6: Blade Guard
wrench to tighten the hex bolt securely counterclockwise while pressing the shaft Dust Bag lock. (Fig. 5) The use of the dust bag makes cutting To remove the saw blade, raise the operations clean and dust collection easy. blade guard and fixed plate, and use To attach the dust bag, fit it onto the dust the socket wrench to loosen the hex nozzle. -
Page 7: Adjusting The Bevel Angle
raise the blade and counterclockwise position where the pointer points to the desired angle on the miter scale, securely to lower it. (Fig. 10) tighten the grip clockwise. (Fig. 12) Refer to the following procedures for the adjustment: Adjusting the Bevel Angle Unplug the tool and lower the handle completely, use the socket wrench to CAUTION:... -
Page 8: Securing Workpiece
workpiece. (Fig. 17) Securing Workpiece Thin material tends to sag. Support CAUTION: workpiece over its entire length to avoid Always be sure to secure the workpiece properly and tightly with the vise. blade pinch and possible KICKBACK. Failure to do so can cause the tool to be damaged and/or the workpiece to be The vertical vise can be installed in two destroyed. -
Page 9: Cutting Operation
workpieces. Insert the rods of the holder assembly into the holes in the base and When the cut is completed, switch off the tool and wait until the blade has come to a complete stop before returning the blade to its fully elevated position. tighten the screws to secure the holder assembly. -
Page 10: Maintenance And Inspection
Compound Cutting perform inspection or maintenance. Always keep the blade sharp and clean for the best and safest performance. Compound cutting is the process in which a bevel angle is made at the same time Adjust the Cutting Angle in which a miter angle is being cut on a workpiece. -
Page 11: After Use
Loosen the hex nut and turn the adjusting bolt (A) on the right side of the turn blade guard clean according to the directions in the previously covered section titled “Blade Guard”. base 2-3 turns clockwise to tilt the blade to the right. (Fig. 25) Lubricate the sliding portions with machine oil to prevent rust. - Page 12 -21- -22-...
-
Page 13: Explanation Of General View
EXPLANATION OF GENERAL VIEW EXPLANATION OF GENERAL VIEW Pan Head Screw (with Spring and Screw Compression Spring Flat Washer Flat Washers) Torsion Spring Locking Pin Wrench Spring Washer Rubber Sleeve Bracket Locking Screw Hex. Socket Head Screw Pan Head Screw (with Flat and Cover Flat Washer Dust Exit...


Need help?
Do you have a question about the DJX03-255 and is the answer not in the manual?
Questions and answers