Advertisement
Table of Contents
- 1 Table of Contents
- 2 Safety Instructions
- 3 Grounding Instructions
- 4 What's in the Box
- 5 Product Guide
- 6 Tools and Accessories
- 7 Before You Begin Cleaning
- 8 Getting Started
- 9 How to Assemble Your Smartwash Carpet Cleaner
- 10 Using Your Smartwash Carpet Cleaner
- 11 Maintenance
- 12 Troubleshooting
- Download this manual
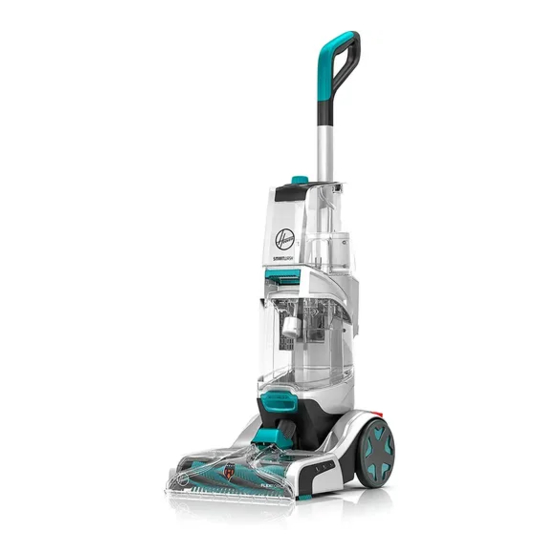
USER MANUAL
FACSMCW20A
IMPORTANT: Read all instructions carefully before assembly and use.
This product is intended for Household use only.
©2020 Techtronic Industries Australia Pty Ltd. All Rights Reserved.
31 Gilby Road, Mount Waverley, VIC 3149. Australia
IPX4
Double
This product
Indoor
Read
Insulated
meets applicable
Use
Instructions
regulatory
Only
requirements
Advertisement
Table of Contents


Need help?
Do you have a question about the SMARTWASH+ and is the answer not in the manual?
Questions and answers
How do I put on the shield
How do I open the dirty water container