Advertisement
Quick Links
Warranty
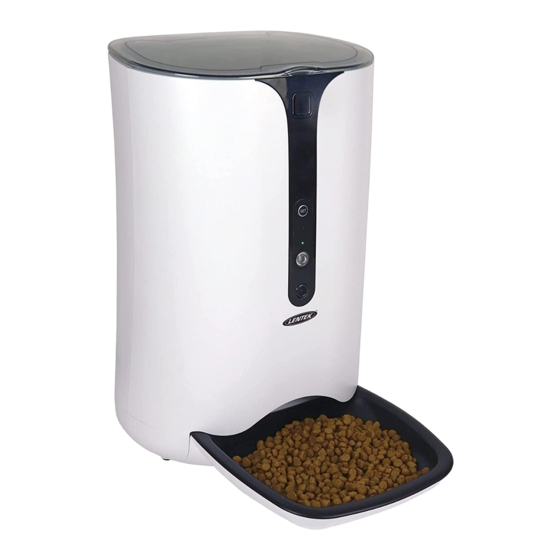
Smart
Pet Food Dispenser
This product is warranted to the retail customer for 90 days from date of retail purchase, against
defects in material and workmanship.
WHAT IS COVERED
• Replacement parts and labour.
• Transportation charges to customer for the repaired product.
WHAT IS NOT COVERED
• Damage caused by abuse, accident, misuse, or neglect.
• Transportation of the unit or component from the customer to Koolatron.
IMPLIED WARRANTIES
Any implied warranties, including the implied warranty of merchantability are also limited
to the duration of 90 days from the date of retail purchase.
WARRANTY
Keep the original, dated, sales receipt with this manual.
WARRANTY AND SERVICE PROCEDURE
If you have a problem with your unit, or require replacement parts, please telephone the following
numbers for assistance:
North America 1-800-265-8456
Koolatron has Master Service Centres at these locations:
U.S.A. - 4330 Commerce Dr., Batavia, NY 14020-4102
Canada - 139 Copernicus Blvd., Brantford, ON N3P1N4
A Koolatron Master Service Centre must perform all warranty work.
PF-1
User Manual
www.koolatron.com
©2020 Koolatron, Inc. All rights reserved.
Please Read These Instructions Carefully Before Use!
All specification are subject to change without notice.
H1S311
4/2020 - v1
Advertisement

Related Manuals for Lentek PF-1


Summary of Contents for Lentek PF-1
- Page 1 Koolatron has Master Service Centres at these locations: U.S.A. - 4330 Commerce Dr., Batavia, NY 14020-4102 Canada - 139 Copernicus Blvd., Brantford, ON N3P1N4 A Koolatron Master Service Centre must perform all warranty work. PF-1 User Manual www.koolatron.com ©2020 Koolatron, Inc. All rights reserved.
-
Page 2: App Installation
FEATURES ASSEMBLE lid button bowl lid button hopper food dispenser adaptor SET button USB cable night light • Open the cover by pressing the Lid Button. indicator • Assemble the bowl upward, disassemble the bowl downward. • To power via power adaptor, plug in power adaptor. camera dispensing port CHANGING THE FOOD DISPENSER... - Page 3 ADD FEEDER APP LOG-IN • Open the APP, log in with your email, tap “+” to add the feeder. Fig 3-1. • Open the “PetU” APP, tap “Register” to sign up an account with your email, then log in. Fig 2-1 → Fig 2-2 → Fig 2-3 → Fig 2-4. •...
-
Page 4: Connect To Network
CONNECT TO NETWORK CONNECTING PAIRING - The indicator light is green and flickers slowly: • Press the “SET” button on the Feeder for about 5 seconds, you will hear a “ding dong” sound, and the green indicator light will flicker. Tap “Next”. Fig 4-1. Tap “Got it”... -
Page 5: Connection Failed
CONNECTING (cont.) CONNECTION FAILED • When your phone is connecting to the feeder (green light flashes fast), it may take different time in different network environments, usually within 1. In the QR code scanning part, tap on 1 minute. Fig 6-1. “Operation completed, but no prompt tone was heard”. - Page 6 DEVICE HOT CONNECTION DEVICE HOT CONNECTION (cont.) • When the progress bar reaches 100%, tap “Confirm” to accept connection to the feeder. Fig 9-2 In ‘WLAN’ page in your phone (Fig 8-1), • Tap “Smart Pet Feeder” to enter choose WiFi named “PetU_xxxxxx” and the settings page.
- Page 7 MORE SETTING AUTO-FEEDING SETTING pet information more settings modify automatic feeding automatic feeding details • Tap “=” (Fig 11-1) to enter more setting page. manual feeding • You could set the recording, feeder name for Alexa, event list and unbind the feeder. Fig 11-2 feeding status of two recent times •...
- Page 8 ADD AUDIO RECORD MODIFY AUTO-FEEDING SETTING • You could record 1-10 seconds by pressing • Tap "Modify"(Fig 10-1) to enter the auto-feeding the button. Fig 12-1 setting page. Fig 13-1 • Release your finger, you could choose “Click to • Tap the meal name (for example, tap Listen”, “Retry”...
-
Page 9: Camera Functions
CAMERA FUNCTIONS EDIT PET INFORMATION record video take photo talk to your pet listen to the sound gallery video folder • Camera icon: Tap to take a photo. • Tap “Pet” to access to the interface Fig 15-1, and tap “Edit pet information” to edit corresponding •... - Page 10 ALEXA SETTING (PC/LAPTOP) ALEXA SETTING (PC/LAPTOP) (cont.) https://alexa.amazon.com 1. Log in Alexa with your Amazon account. 3. Tap “ENABLE”. 2. Search “PetU” in “Skills” section. 4. Bind the account of the PetU APP...
- Page 11 ALEXA SETTING FAQs 1. WHAT IS THE REASON FOR CELLPHONE CONNECTION FAILURE AND HOW TO HANDLE IT? a. Check whether the machine is functioning properly. Check the device’s indicators. Normally, the indicator blinks. b. Check if the feeder has been connected to WiFi. Search the feeder’s WiFi signal on the cellphone and check if there is a WiFi hotspot named “PetU_XXXXX”.
- Page 12 FAQs (cont.) FAQs (cont.) 5. THE FEEDER DOESN’T DISCHARGE FOOD AFTER FEEDING PARAMETER SETUP IS COMPLETED. 12. THE FEEDER’S REQUIREMENT FOR NETWORK TYPES. It is required that the 2.4G routers with 802.11bgn protocol be used. The feeder doesn’t support any a.
Need help?
Do you have a question about the PF-1 and is the answer not in the manual?
Questions and answers