
Subscribe to Our Youtube Channel
Related Manuals for Leggett & Platt Vertex Fasteners Prostick VA0318

Summary of Contents for Leggett & Platt Vertex Fasteners Prostick VA0318
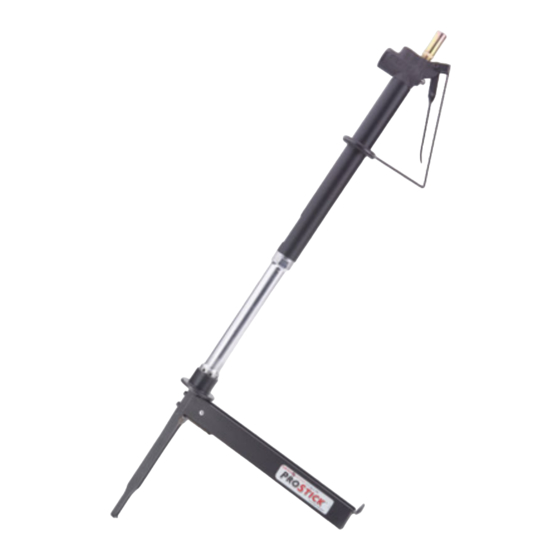
- Page 1 PROSTICK TOOL VA0318 OPERATING MANUAL VERTEX FASTENERS Leggett & Platt A DIV. OF 1798 SHERWIN AVE DES PLAINES, IL. 60018 U.S.A. PHONE: 847-768-6139 FAX: 847-769-7192 WEB: WWW.VERTEXFASTENERS.COM EMAIL: VERTEX@LEGGETT.COM...
-
Page 2: Maintenance
Operational Instructions for Vertex Prostick Tool VA0318 Vertex Fasteners is committed to providing our customers with world-class customer service and support. Our dedicated regional sales/service technicians are Vertex employees. They know the product, the business, and their customers, and are there to serve you. Vertex also has a well-trained staff of customer service, production and engineering professionals that are ready and able to assist you. -
Page 3: Troubleshooting
Helpful hints for field servicing tool jams A jam is usually a fastener that has lodged between the driving blade and the nose. SAFETY FIRST – Always disconnect tool from air supply before attempting to clear a jam or servicing. NOTE: refer to correct tool schematic for location of parts and correct part numbers. - Page 4 • Piston or cylinder damaged. Replace damaged part. • Piston o-rings worn or damaged. Replace o-rings upper o-ring VH0525, lower o-ring VH0528. • Air pressure too low or restricted. Check air lines/compressor. Restrictions can be moisture, dirt, or hoses and fittings too small for tool volume requirements. •...
- Page 5 Tool jamming. • Burr on end of driver blade, buff burr off driver blade. • Magazine obstructed by dirt. Clean magazine, replace if worn. • Magazine loose. Tighten bolts VH0032. • Pusher damaged. Replace damaged pusher VC4135. • Pusher spring(s) weak, damaged or broken. Replace spring(s) VC4132. •...
- Page 6 To Disassemble Valve 1. Remove valve plug VC4130 by unscrewing from valve housing. Remove spring VH0539 and valve assembly. 2. Hold valve stem VC4123 with pliers on the small diameter area to avoid marring stem. Unscrew flex nut VH0533 and remove washer VH0534 and VC4131 valve stem seal. To Reassemble Valve 1.
- Page 7 5. Pull piston plug VC4122 out of lower piston VC4107 and off driver blade. 6. Pull lower piston VC4107 off driver blade. 7. Remove nylon inserts VC4139 and remove pin VC4120. 8. Pull Driver blade VC4101 out of upper piston. To Reassemble Driver Assembly 1.
- Page 8 3. Push lower piston VC4107 onto blade and screw onto upper piston using two wrenches until tight. 4. Push piston plug VC4122 slotted end towards piston, down blade and into lower piston VC4107 until seated. 5. Insert the piston/driver assembly into body making sure the blade goes into the nose and is free to move up and down.
- Page 9 To Reassemble Magazine 1. Insert pin VH0538 into magazine VC4136 and thru eyelet of springs VC4132. 2. Pull springs around pulleys in magazine and attach each eyelet to pusher VC4135. Place pusher into track of magazine. 3. Insert pin VC4133 and spring VH0537 into pocket in magazine. Rev.
- Page 10 4. Slide cover VC4134 into magazine, thumb hold first into mounting end as shown. Push down on pin VC4133 compress fully to allow cover to clear. Pin will engage into notch of cover in closed position. 5. Place magazine plate VC4128 onto end of magazine. Plate can only go on in one direction with guide pin.
- Page 11 To Disassemble Nose 1. Remove magazine assembly as outlined above. 2. Unscrew nose VC4109 from body VC4102. 3. Remove bumper VC4119. To Reassemble Nose 1. Replace bumper VC4119 narrow end towards blade. Blade should slide easily into opening of bumper. 2.
-
Page 12: Recommended Spare Parts List
RECOMMENDED SPARE PARTS LIST PART # DESCRIPTION NO OF TOOLS 1 5 OR MORE VC4109 DOUBLE STAPLE HEAD 0 1 VC4119 DRIVER BUMPER 2 6 VC4120 DRIVER PIN 0 2 VC4122 PISTON PLUG 2 6 VC4124 RETURN BUMPER 2 6 VC4131 VALVE STEM SEAL 1 3 VC4132 SPRING 2 8 VC4133 PIN 1 ... - Page 13 VERTEX # BOSTITCH REF # DESCRIPTION VC4101 100828 DOUBLE STAPLE BLADE VC4102 BC1527A BODY - STANDARD VC4105 BC1530 CYLINDER SLEEVE VC4107 BC1477 LOWER PISTON VH0545 VC4108 BC1529 UPPER PISTON VH0533 VC4109 100346 DOUBLE STAPLE HEAD VC4119 BC1572 DRIVER BUMPER VC4126 VH0145 VC4120 BC1478...
Need help?
Do you have a question about the Vertex Fasteners Prostick VA0318 and is the answer not in the manual?
Questions and answers