Advertisement
Quick Links
Owner's Manual & Safety Instructions
Save This Manual
operating, inspection, maintenance and cleaning procedures. Write the product's serial number in the
back of the manual near the assembly diagram (or month and year of purchase if product has no number).
Keep this manual and the receipt in a safe and dry place for future reference.
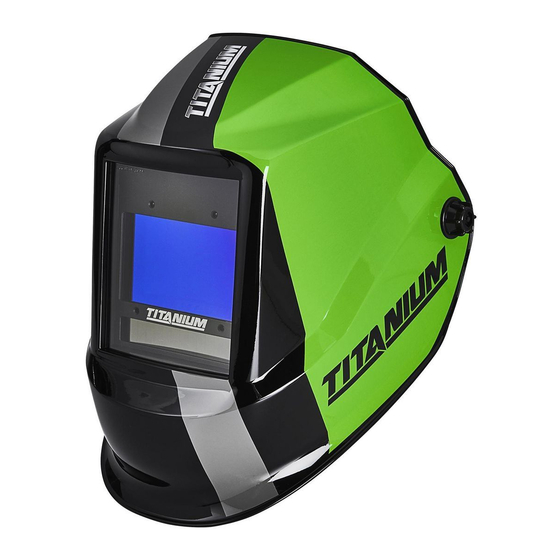
TI-TCWH9
58059
When unpacking, make sure that the product is intact
and undamaged. If any parts are missing or broken,
please call 1-888-866-5797 as soon as possible.
©
Copyright
2020 by Harbor Freight Tools
No portion of this manual or any artwork contained herein may be reproduced in
any shape or form without the express written consent of Harbor Freight Tools.
Diagrams within this manual may not be drawn proportionally. Due to continuing
improvements, actual product may differ slightly from the product described herein.
Tools required for assembly and service may not be included.
Keep this manual for the safety warnings and precautions, assembly,
Visit our website at: http://www.harborfreight.com
Email our technical support at: productsupport@harborfreight.com
®
. All rights reserved.
Read this material before using this product.
Failure to do so can result in serious injury.
SAVE THIS MANUAL.
20l
Advertisement

Summary of Contents for Titanium TI-TCWH9
- Page 1 (or month and year of purchase if product has no number). Keep this manual and the receipt in a safe and dry place for future reference. TI-TCWH9 58059 Visit our website at: http://www.harborfreight.com Email our technical support at: productsupport@harborfreight.com...
- Page 2 table of contents Safety ............2 Maintenance and Servicing ......9 Specifications ..........4 Parts List and Diagram ......11 Operation ............ 6 Warranty ............ 12 WarninG SyMBOLS anD DEFinitiOnS This is the safety alert symbol. It is used to alert you to potential personal injury hazards.
- Page 3 13. this helmet provides protection for intended WarninG purposes only. There are certain applications for which this helmet was designed. Do not modify this helmet and do not use this helmet for a purpose for which it was not intended: a.
- Page 4 Specifications Description Auto-Darkening Welding Helmet Power Source Solar powered cell with battery assistance (two replaceable 3V CR2450 lithium batteries) Operating Temperature 14° to 149° F Resting Shade Shade # 3 Shade Range 5 to 9 – 9 to 13 variable UV/IR Protection Up to DIN 15 at all times Lens Type...
- Page 5 Shade Guide chart Guide for Shade Numbers Shade numbers are given as a guide only and may be varied to suit individual needs. MiniMUM SUGGEStED arc cUrrEnt prOcESS ELEctrODE SiZE prOtEctiVE SHaDE nO. (amperes) SHaDE (comfort) Less than 3/32" (2.4 m m) Less than 60 —...
- Page 6 Operating instructions read the EntirE iMpOrtant SaFEty inFOrMatiOn section at the beginning of this manual including all text under subheadings therein before set up or use of this product. Function The Auto-Darkening Welding Helmet is designed to protect the eyes and face from sparks, splatter, and harmful radiation under normal welding conditions.
- Page 7 controls Battery Cover Plate Shade Range Switch Grind Indicator Light Shade Weld/Grind Button Switch Button Sensitivity Button Delay Button Battery Display Indicator Figure B: control Layout Screen Mode Selection and Shade number 1. Use the Weld/Grind Button to select the 3.
- Page 8 time Delay and Sensitivity 1. To adjust the time taken for the lens to lighten 3. Sensitivity to ambient light can be adjusted after welding finishes, select the Delay Button. by pressing the Sensitivity Button. 2. Delay can be set between 1 (0.1 seconds) and 5 4.
- Page 9 Maintenance tO prEVEnt SEriOUS inJUry FrOM tOOL FaiLUrE: Do not use damaged equipment. if damage or abnormal operation occurs, have the problem corrected before further use. BEFOrE EacH USE, inspect the general condition of the tool. check for loose hardware, misalignment or binding of moving parts, cracked or broken parts, damaged electrical wiring, and any other condition that may affect its safe operation.
- Page 10 common problems and remedies 1. irregular Darkening Or Dimming 3. Slow response a. Headband has been set unevenly on Operating temperature is too low (do not both sides of helmet (unequal distances use at temperatures below 14° F). from the eyes to filter’s lens). 4.
- Page 11 parts List and Diagram pLEaSE rEaD tHE FOLLOWinG carEFULLy THE MANUFACTURER AND/OR DISTRIBUTOR HAS PROVIDED THE PARTS DIAGRAM IN THIS MANUAL AS A REFERENCE TOOL ONLY. NEITHER THE MANUFACTURER NOR DISTRIBUTOR MAKES ANY REPRESENTATION OR WARRANTY OF ANY KIND TO THE BUYER THAT HE OR SHE IS QUALIFIED TO MAKE ANY REPAIRS TO THE PRODUCT OR THAT HE OR SHE IS QUALIFIED TO REPLACE ANY PARTS OF THE PRODUCT.
- Page 12 Limited 90 Day Warranty Harbor Freight Tools Co. makes every effort to assure that its products meet high quality and durability standards, and warrants to the original purchaser that this product is free from defects in materials and workmanship for the period of 90 days from the date of purchase.


Need help?
Do you have a question about the TI-TCWH9 and is the answer not in the manual?
Questions and answers