Advertisement
ATTACH YOUR RECEIPT HERE
Serial Number
Questions, problems, missing parts? Before returning to your retailer, call our customer
service department at 1-877-447-4768, 8:00 a.m. – 4:30 p.m. CST, Monday – Friday or
email customerservice@ghpgroupinc.com.
70-10-541
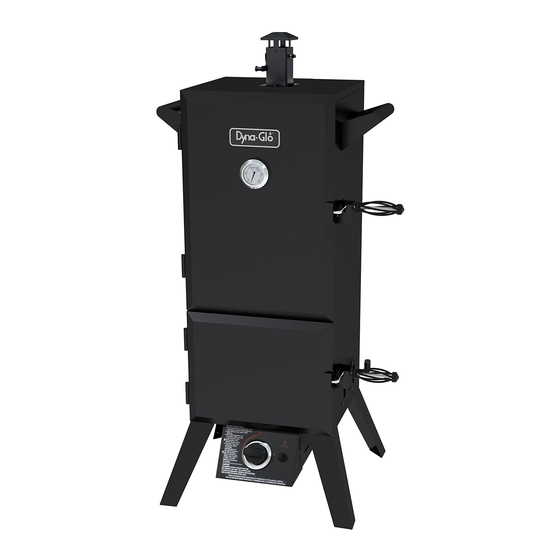
VERTICAL GAS SMOKER
MODEL #DGY784BDP/DGY784BDP-D
Purchase Date
1
Français p. 28
Français p.
XX
Español p. 55
Español p.
XX
Rev. 07/16/19
Advertisement

Related Manuals for Dyna-Glo DGY784BDP


Summary of Contents for Dyna-Glo DGY784BDP
- Page 1 VERTICAL GAS SMOKER MODEL #DGY784BDP/DGY784BDP-D Français p. 28 Français p. Español p. 55 Español p. ATTACH YOUR RECEIPT HERE Serial Number Purchase Date Questions, problems, missing parts? Before returning to your retailer, call our customer service department at 1-877-447-4768, 8:00 a.m. – 4:30 p.m. CST, Monday – Friday or email customerservice@ghpgroupinc.com.
- Page 2 DYNA-GLO VERTICAL GAS SMOKER ® STOP!
-
Page 3: Table Of Contents
TABLE OF CONTENTS Safety Information ......................... 4 Package Contents ......................... 7 Hardware Contents ........................8 Preparation ........................... 8 Assembly Instructions ........................9 Operation Instructions ........................14 Tips On Smoking .......................... 18 Care and Maintenance ........................23 Troubleshooting ..........................25 Warranty ............................26 Replacement Parts List ........................ -
Page 4: Safety Information
SAFETY INFORMATION Please read and understand this entire manual before attempting to assemble, operate or install the product. If you have any questions regarding the product, please call customer service at 1-877-447-4768, 8:00 a.m. – 4:30 p.m. CST, Monday – Friday. CALIFORNIA PROPOSITION 65 WARNING This product and the fuels used to operate this product (liquid propane or natural gas), and the... - Page 5 SAFETY INFORMATION • DO NOT store and use this appliance near gasoline or other combustible liquids or where other combustible vapors may be present. • DO NOT use this appliance as a heater. • DO NOT leave the appliance unattended while in use. Keep children and pets away from the appliance at all times.
- Page 6 SAFETY INFORMATION • Do not use the smoker if the burner fails to light or fails to remain lit. Under such conditions, gas should be turned off and the fuel cylinder should be disconnected. • Use in high wind conditions that result in poor burner operation such as blowing out and flaring should be avoided.
-
Page 7: Package Contents
PACKAGE CONTENTS PART DESCRIPTION QUANTITY PART DESCRIPTION QUANTITY Lifting Handle Burner & Control Unit Side Damper Temperature Gauge Wood Chip Box Wood Chip Box Lid Upper Door Water Bowl “AAA” Battery (1.5V) Bottom Door Cooking Grate Door Locking Bracket Door Handle (Upper & Lower) Cooking Grate Support Smoke Stack Smoker Body... -
Page 8: Hardware Contents
HARDWARE CONTENTS (shown actual size) M6x12 Screw M6x12 Spring M6 Nut Shoulder Clip Qty. 32 Screw Qty. 8 Qty. 2 Qty. 8 PREPARATION Before beginning assembly of product, make sure all parts are present. Compare parts with package contents list and hardware contents above. If any part is missing or damaged, do not attempt to assemble the product. -
Page 9: Assembly Instructions
ASSEMBLY INSTRUCTIONS 1. Attach the legs. Align one leg (A) with mounting holes on the bottom of the smoker body (I). Thread screws through holes from outside of unit. Nuts are pre-welded to the cabinet. Repeat for other 3 legs (A). Tighten all screws (AA) with a Phillips screwdriver. - Page 10 ASSEMBLY INSTRUCTIONS 3. Attach the smoke stack. CAUTION: This unit is HEAVY! Do not attempt this step without assistance! Close the two doors. With the assistance of a helper, stand the unit upright on its legs on a firm and level surface. (Make sure that the burner/control unit and legs are attached).
- Page 11 ASSEMBLY INSTRUCTIONS 5. Attach the lifting handles. Insert 4 screws (AA) through the mounting holes on one of the lifting handles (J) and into holes on right side of smoker body (I). Use a Phillips screwdriver to secure the handles to the smoker body. Repeat on left side.
- Page 12 ASSEMBLY INSTRUCTIONS 7. Attach the door locking brackets. Align the door locking bracket (G) holes with the holes on the upper right side of the smoker body (I). Note: slots on the brackets (G) must be facing up. Thread 2 screws (AA) through the holes in the door locking bracket and into the threaded holes of the smoker body (I).
- Page 13 ASSEMBLY INSTRUCTIONS 10. Install the water bowl. Slide the water bowl (E) onto the cooking grate supports inside the smoker body above the wood chip box as shown. 11. Install the cooking grates. Slide the 4 cooking grates (F) onto the top cooking grate supports inside the smoker body (I).
-
Page 14: Operation Instructions
ASSEMBLY INSTRUCTIONS 13. To install the “AAA” battery (N), remove the igniter button by turning it counterclockwise and inserting the “AAA” battery (N) with the positive end facing out. Reinstall the ingniter button by turning it clockwise and hand tightening. OPERATION INSTRUCTIONS CONNECTING THE LP TANK WARNING! ALL INSTRUCTIONS AND SAFEGUARDS ON THIS PAGE MUST BE FOLLOWED... -
Page 15: Replacement Parts List
301-01016-00 Smoker Body 70-01-321 Burner and Control Unit - includes 312-11015-00 Temperature Gauge and Nut 211-02005 burner box, cast iron burner, burner Logo Plate----Dyna-Glo 211-02002 support bracket, LP gas hose and Upper Door 304-02002-00 regulator assembly, control panel, Bottom Door 302-02102-00 knob bezel.
Need help?
Do you have a question about the DGY784BDP and is the answer not in the manual?
Questions and answers