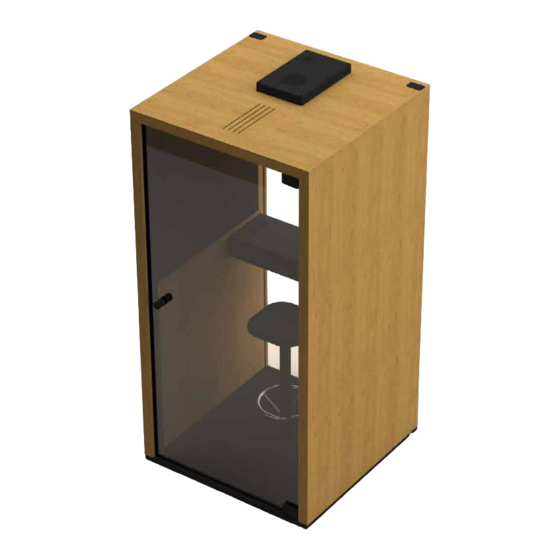

Summary of Contents for Taiga Concept LOHKO BOX 1
- Page 1 6/2021 ASSEMBLY GUIDE LOHKO BOX 1 TAIGA Product Assembly Guides & Videos 2,5h www.taigaconcept.fi/assembly...
-
Page 2: Installation
Concept or Taiga Concept local dealers. will break easily. It is recommended to use Taiga Concept local When assembling the product make sure you Choosing location dealers authorized assembling person. - Page 3 If you find damage, document with photos according instructions Check if there is any damage Remove top cover and check that Carry the elements Assemble the product Activate product warranty to the package or pallet there are no signs of damage before www.taigaconcept.fi/activate Note: Take extra care unpacking.
- Page 4 1. Take images where you can see 2. Take closer images of the damage 3. Contact your local Taiga dealer full package from 2 different angles which show the damage 1. Take images where you can see 3. Contact your local Taiga dealer 2.
-
Page 5: Elements & Components
Elements & Components 100cm 500cm 1x EC1xx 1x EP109 1x CG001 1x CF001 Roof Roof 6x SC001 2x SR001 1x SR004 1x CG002 1x CW001 Doorframe & Table support & acoustic panel roof hatch 30x SC002 8x SC004 1x SCA001 2x CA1xx 1x CW002 Hinges... - Page 6 Equipments & tools Gloves Safety glasses Safety shoes Safety helmet Screw machine + bits Hex key set Spirit or laser level Glass suction cup Step ladder Rubber hammer min weight capacity 50 kg / pcs Cleaning tools Protection material Carpet knife or for elements and glasses Scissors Wrenches...
- Page 7 ATTENTION Never put glass against hard surface, use always carton or carpet under the glass. Use always 2 person and suction cups to lift glass...
- Page 8 Important! Do not continue before oor is level. Hex key 4 mm CF001 SR003...
- Page 9 CW002...
- Page 10 CG002 If the back glass is close to wall clean the glass before placing it Keep the wall upright until the glass element is added.
- Page 11 SS002 Add seal 2/3 of the length...
- Page 12 In case of power supply from oor level, CW001 connect supply cable (EC1xx) to connector in wall before installing the wall. In case of power supply from ceiling check page 36...
- Page 13 SS002...
- Page 14 SR003...
- Page 15 SF005 SC002...
- Page 17 CT001 Do not scratch the wall...
- Page 18 SS002 SC004...
- Page 19 CT002 SC003...
- Page 21 SC001...
- Page 22 EP109 SR001 EP109 Option 2* In the case that the power cord needs to be located at floor level, unscrew small hatch, and connect spare connector (as shown)
- Page 23 SS001...
- Page 24 SC002...
- Page 25 CA1xx CA1xx...
- Page 26 CD003 SC002 SF002 CD003...
- Page 27 SC002 Check that there is no gap between CD001 wall element and door frame CD002 SF002...
- Page 28 SC005...
- Page 29 SH00x CG001 Clean the glass before assembling the hinges.
- Page 30 BOTTOM BOTTOM Never use drilling machine to tighten hinge screws Torque = 20 Nm...
- Page 32 SC005 > 20 ° > 130 ° Make sure that door glass will not touch hinge support parts while and after assembling the door...
- Page 33 SC005 > 130 °...
- Page 34 SF003 SF001 SCA001...
- Page 35 SM001 To increase magnetic strength add small magnets to metallic strip (no screws required)
- Page 36 Option 1: Powercord assembled from oor level Option 2: Powercord assembled from roof level...
- Page 38 Clean all surfaces Make sure that any water used in the cleaning process will not leak between the elements and glass. Check that there is no gap between the frames and elements. Fill the gaps with thin black foam tape. Turn on the ventilation, check each side and corner of the door by hand that there is no air leaks Check if there is any air leak between frames and elements/glasses.
- Page 39 Activate product warranty www.taigaconcept.fi/activate...
- Page 40 TAIGA Product Assembly Guides & Videos www.taigaconcept.fi/assembly www.taigaconcept.fi Assembly support +358 40 138 4302...