Table of Contents
Advertisement
Quick Links
Advertisement
Table of Contents

Subscribe to Our Youtube Channel
Summary of Contents for GEDA Odin 65
- Page 1 USER’S MANUAL Odin 65...
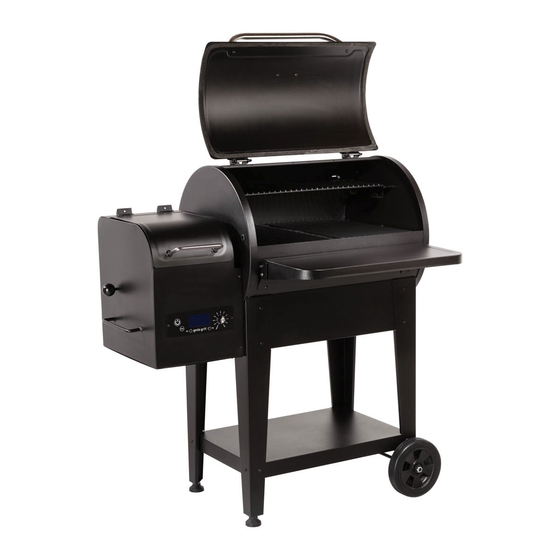
- Page 2 Cooking with a geda hardwood pellet grill will bring many years of enjoyment. Your new geda grill is designed and engineered in Germany to make outdoor cooking easier, while giving you optimal performance with the most extrodinary-flavored food.
- Page 3 Before starting the geda grill, make sure it’s in good condition. Do not alter the geda grill in any way. Do not start or operate the geda grill until it’s completely assembled and all screws are securely tightened. ...
-
Page 4: Grill Parts
Grill parts... - Page 5 Grill parts Item Description Qty/Set Item Description Qty/Set Chimney Hopper Bottom Plate Chimney Slider High Leg Grill Handle Short Leg Grill Lid Wheel Axle 4,1 Probe Rubber Plug Storage Plate 65 4,2 Heat Insulation Band Pellet Discharge Plate...
- Page 6 Assemble your Odin 65 grill Item Discription Size Shelf Front 65 Shelf Front Hinges Storage Plate 65 High Leg Short Leg Wheel Axle Wheel + Wheel Cap Grill Handle Hopper Handle Warming Grate 65 Grill Grates Direct Fire Lever, Duroplast ball, Locking...
- Page 7 Grease Bucket Elastic Gasket M4 Countersunk Bolt M6 Hexagon Bolt 30 20mm M6 Hexagon Bolt 30mm M6 Hexagon Step Bolt 14mm M6 Cap Nut M6 Flange Nut M12 Locknut Hex Allen Key M6 Gasket Rubber Gasket 15mm...
- Page 8 Assembly steps Odin 65 M6 Gasket (8) M6 Flange Nut (4) M6 Hexagonal Bolt 20mm (8) High Leg Rubber Gasket 15mm (2) Storage Plate 65 M6 Hexagonal Bolt 30mm (2) M6 Gasket (4) M6 Hexagonal Bolt 20mm (2)
- Page 9 Short Leg M6 Hexagonal Bolt 30mm (2) M6 Flange Nut (8) Rubber Gasket 15mm (2) M6 Gasket (12) M6 Hexagonal Bolt 20mm (10) High Leg Foot Wheel Axle Wheel M12 Locknut (2)
- Page 10 Grill Handle Hopper Handle M6 Hexagon Bolt 20 mm (2) M4 Countersunk Bolt 8 mm (2) M6 Hexagonal Bolt 20mm (6) Shelf Front Hinge M6 Gasket (6)
- Page 11 M6 Cap Nut (4) Elastic Gasket (4) M6 Gasket (2) M6 Hexagon Step Bolt 14 mm (4) Shelf Front 65 Duroplast Ball 40 mm Direct Fire Shield Direct Fire Lever 65 Fire Shield Locking Splinter Grease Tray 65...
- Page 12 3. Close the lid, and set the temperature dial to any desired temperature setting. WARNING! For best results and flavor, always use genuine geda wood pellets. Never use heating fuel pellets in the grill. Clean the grease tray and fire shield frequently to...
- Page 13 Pellet Clean-out 1. Put a bucket behind your hopper, under the pellet discharge door. Pellet clean-out door 2. Pull the pellet discharge lever all the way out. Pellet discharge lever...
- Page 14 Clean your geda grill 1. Make sure your grill is cooled down. The grill should be powered off and the power cord disconnected. 3. Remove the warming grate, grill grate, direct fire lever, direct fire shield and grease tray.
-
Page 15: The Control Panel
Button Functions POWER BUTTON Press the POWER BUTTON to power ON the geda grill. Once connected to a power source and the POWER BUTTON is pressed, the digital LCD screen will light up. Press and hold the button for 3 seconds to turn the grill OFF, which activates the grill’s Shutdown Cycle. -
Page 16: Temperature Dial
Feed pellets into the fire pot. Pressing and holding the feed button will activate an extra feed of pellets to the fire pot. Release “FEED” to stop feeding pellets. DISPLAY The LCD screen is used as the information center for your inputs. The LCD screen will display your current cooking temperature, desired cooking temperature and the temperature of the probe(s) if connected. - Page 17 HIGH allows the grill to use its full power and can reach temperatures up to 260°C or higher on a geda grill using geda hardwood pellets. Auger keeps running, fan is on and hot rod is OFF. GRILL ELECTRIC SYSTEM...
-
Page 18: Operation Flow
55°C. If the grill fails the Startup process, it will automatically restart from step The geda grill will attempt the startup cycle a total of 4 times. If any of the following temperature changes accurse: grill temperature is increased by 20°C or internal temperature reaches 55°C the grill will start its Running Cycle. - Page 19 Use the temperature dial to set desired temperature of the grill. At the end of the Startup Cycle, the grill will automatically begin its Running Cycle. The motor, fan and hot rod are will run according to set temperature.
-
Page 20: Year Warranty
Should complaints still be made, Geda garden and home GmbH will provide the defective components as replacements free of charge.
Need help?
Do you have a question about the Odin 65 and is the answer not in the manual?
Questions and answers