
Related Manuals for Annlov AM-01


Summary of Contents for Annlov AM-01
- Page 1 ANNLOV LCD Digital Microscope Mode:AM-01 User Manual Customer Support: ANNLOV is dedicated to offer the best service.To reach ANNLOV customer support.Please email: support@annlovusa.com...
- Page 2 Technical Support Email: support@annlovusa.com Official Website: http://www.annlovusa.com Social Media @ANNLOV VIP Club If you are satisfied with ANNLOV products and you are willing share ANNLOV products to your Facebook,YouTobe,twitter etc,you will have the chance to be our VIP.
- Page 3 If you have any question or concern about the digital microscope,please contact us at the following e-mail: support@annlovusa.com All our ANNLOV brand product can offer a one-year warranty and long tech support. Notice: Use 18650 size rechargeable batteries, first time to install the battery and replace the battery,please use the charger to charge the activation device.
-
Page 4: Table Of Contents
support@annlovusa.com Contents I. Parts and functions II.Operation Methods 1. Mode Interface 2. Menu Interface 3. USB Function III.Technical Parameter... -
Page 5: Parts And Functions
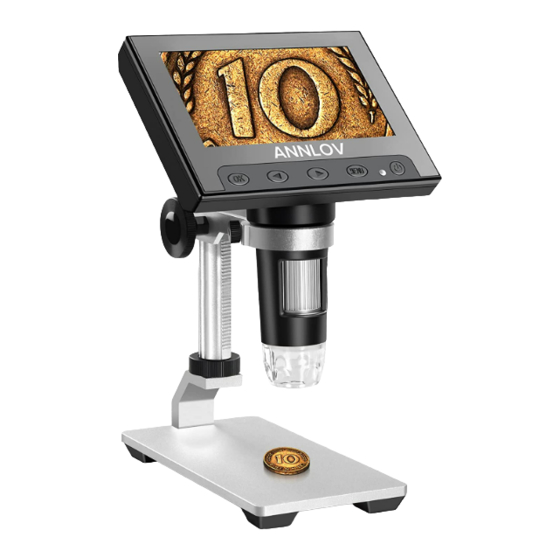
Email: support@annlovusa.com I.Parts and functions 4.3Inch LCD Digital Screen Reset Hole Light Wheel ANNLOV MENU OK Button Power Button Focus Wheel Left Button Indicator Light Right Button Menu/Switch TF Card Slot USB Interface DC5V Battery Cover 8 LED Lights... - Page 6 support@annlovusa.com OK Button: In the photo mode,press this key to take photos and save files automatically.In video mode,short press this key to take video and then press the key to stop and save files.When you enter a menu,you can confirm the selection by short pressing this button. Left/Right Button: You could press this button to move your selection.
-
Page 7: Ii.operation Methods
Email: support@annlovusa.com The Indicator Light:The indicator light includes the charging indicator (red) and the working indicator (blue). The charging indicator is located above the working indicator and is displayed through the indicator light hole(number 7). After the device is connected to the USB, the charge indicator lights up. -
Page 8: Menu Interface
support@annlovusa.com 2.Menu Interface Short pressing MENU Button to enter and exit the menu interface.You could short press the MENU Button to switch the special menu setting to the common menu setting . OK Button to confirm,Left/Right Button to move the selection. (1) Common Menu Setting: Format: Format the memory. -
Page 9: Usb Function
Email: support@annlovusa.com B.Photo Menu Setting In the photo mode,short press the MENU Button to enter the photo menu setting. Quality: The choice of photo resolution is 3M,2M,1.3M and VGA formats. C.File Menu Setting In the file mode,short press the MENU Button to enter the file menu setting. - Page 10 support@annlovusa.com ① First, set the USB function to "PC camera" mode in the microscope menu and press OK to end. Then connecting the microscope with computer via USB cable.The the microscope automatically enter PC Camera mode when you connect the computer. ②...
-
Page 11: Iii.technical Parameter
Email: support@annlovusa.com III.Technical Parameter Project Parameter Name AM-01 The biggest pixel 720P Lens Optical Size 1/6.5” Photo Resolution VGA; 1.3M; 2M; 3M Video Resolution VGA; 720P Data Format JPG/AVI Focusing Mode Manual operation Picture Format JPG/BMP Magnification Times 500/1000 Light Source... - Page 12 Lens Perspective 16° USB Interface Micro/usb2.0 Operating Temperature -20°C ~ +60°C Working Humidity 30%~85%Rh Operating Current 330mA Power Consumption 1.65W Support TF Card Max up to 32GB...
Need help?
Do you have a question about the AM-01 and is the answer not in the manual?
Questions and answers