
Related Manuals for SolidView SN-614

Summary of Contents for SolidView SN-614
- Page 1 User Manual SN-614 Mini Digital Amplifier All Rights Reserved Version: PA40W_2015V1.5...
- Page 2 Mini Digital Amplifier Preface Read this user manual carefully before using this product. Pictures shown in this manual is for reference only, different model and specifications are subject to real product. This manual is only for operation instruction only, not for any maintenance usage. The functions described in this version are updated till March 2015.
- Page 3 Mini Digital Amplifier SAFETY PRECAUTIONS To insure the best from the product, please read all instructions carefully before using the device. Save this manual for further reference. Unpack the equipment carefully and save the original box and packing material for possible future shipment ...
-
Page 4: Table Of Contents
Mini Digital Amplifier Table of Contents 1.Introduction ........................1 1.1.Introduction to Mini Digital Amplifier..............1 1.2.Features ......................1 1.3.Package List ......................1 2.System Connection Introduction .................. 3 2.1.Audio Output ....................... 3 2.1.1.Default output: 2x20Watt@4Ohm ..............3 2.1.2.Bridge connection: 1x40Watt@8Ohm ............3 2.1.3.Dual-mono Output.................. -
Page 5: Introduction
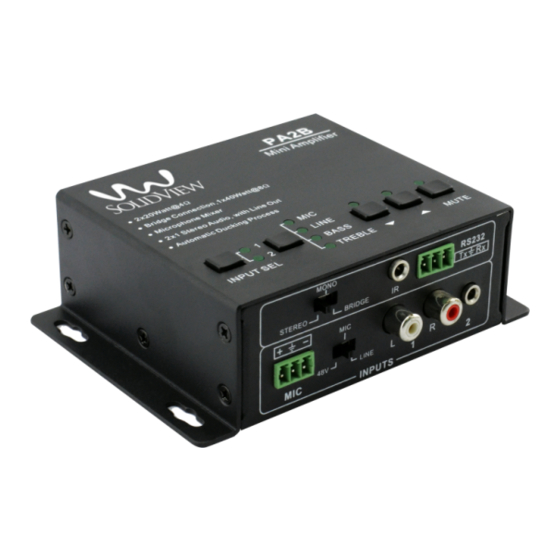
Mini Digital Amplifier 1. Introduction 1.1. Introduction to Mini Digital Amplifier The Mini Digital Amplifier is a compact-size digital amplifier (Class-D) with 3 inputs (2 line in and 1 balanced MIC). It is integrated with powerful functions, including bridge connection, dual-mono, EQ control, microphone mixer etc. It has a good application in different places, including classroom, small meeting room, lecture hall, bar, pub etc. - Page 6 Mini Digital Amplifier 1 x RS232 Cable 1 x Power Adapter 1 x Power Cord 4 x Plastic Cushions 1 x User Manual Notes: The IR remote and its battery are offered for charge separately. ...
-
Page 7: System Connection Introduction
Mini Digital Amplifier 2. System Connection Introduction 2.1. Audio Output 2.1.1. Default output: 2x20Watt@4Ohm The default output of amplifier is 2x20Watt@4Ohm, so user can connect the amplifier output in the regular way. As the picture below: Connecting the four pins, like this 2.1.2. -
Page 8: Microphone Input
Mini Digital Amplifier Connecting the four pins, like this 2.2. Microphone input The microphone input of Mini Digital Amplifier has three modes, and different modes use different connections, as the picture below: 2.2.1. 48V phantom power input When the switch turns to “48V”, the MIC input will provide a 48V phantom power. This is usually used for power supply for condenser microphone, Connection is: “+”... -
Page 9: Line Input
Mini Digital Amplifier 2.2.3. LINE input When the switch turns to “LINE”, the microphone input is used for connecting with normal audio or wireless microphone output. There are two different connections: 1) Unbalanced connection: “╧” connects to ground, and “-” connects to signal. “╧”... -
Page 10: Operation Of The Control Panel And The Ir Remote
Mini Digital Amplifier 3. Operation of the Control Panel and the IR Remote 3.1. Operation of the Control Panel The buttons provides the control of volume/EQ control and switching. The following content introduces audio switching and EQ control in detail. 3.1.1. -
Page 11: Usage Of The Ir Remote
Mini Digital Amplifier For example, to turn up the line volume, you should select the “LINE” first, and then press the button “ ”. 3.2. Usage of the IR Remote Audio Inputs Use to transmit the infrared signal send by 1: RCA dual-mono audio inputs the IR remote. -
Page 12: System Diagram
Mini Digital Amplifier 4. System Diagram... -
Page 13: Communication Protocol And Command Codes
Mini Digital Amplifier 5. Communication Protocol and Command Codes Communication Protocol: RS232 Communication Protocol Baud rate: 9600 Data bit: 8 Stop bit: 1 Parity bit: none Command Function Description Feedback Code 1A1. Switching the audio to input 1 A: 1 -> 1 2A1. - Page 14 Mini Digital Amplifier Notice: 1: The letter inside bracket [ ] is the variable code, which is changeable. 2: The bracket [ ] is not included to the RS232 commands. 3: Any dot “.” after the letters is part of the commands. Example 1: Switching the input 2 to the line out, RS232 command is: [2A1.] Example 2:...
-
Page 15: Specification
Mini Digital Amplifier 6. Specification Audio Input Audio Output 2 stereo audio, 1 amplifier, Input Output 1 MIC 1 stereo audio 2 RCA 1 3.5mm jack Input 1 3.5mm jack Output 1 pluggable terminal Connector 1 pluggable terminal Connector block (4P, 5.08mm) block (3P,3.81mm), 50Ω/stereo, Input... -
Page 16: Panel Drawing
Mini Digital Amplifier 7. Panel Drawing... -
Page 17: Troubleshooting & Maintenance
Mini Digital Amplifier 8. Troubleshooting & Maintenance 1) When there is no output audio: Check if there is any signal at the input. Check if there is any signal at the output. We can check these by using an oscilloscope or a multimeter. If there is no signal input/output, maybe the input/output cables broken or the connectors loosen, please change for another cable. -
Page 18: After-Sales Service
Mini Digital Amplifier 9. After-sales Service If there appear some problems when running the device, please check and deal with the problems referring to this user manual. 1) Product Limited Warranty: We warrant that our products will be free from defects in materials and workmanship for three years, which starts from the first day you buy this product (The purchase invoice shall prevail).
Need help?
Do you have a question about the SN-614 and is the answer not in the manual?
Questions and answers