Advertisement
Quick Links
Installation assistance available at
www.rockfordfosgate.com/r ech
600 South Rockford Drive • Tempe, Arizona 85281
Direct: (480) 967-3565 • Toll Free: (800) 669-9899
R O C K F O R D F O S G A T E . C O M
:
United States
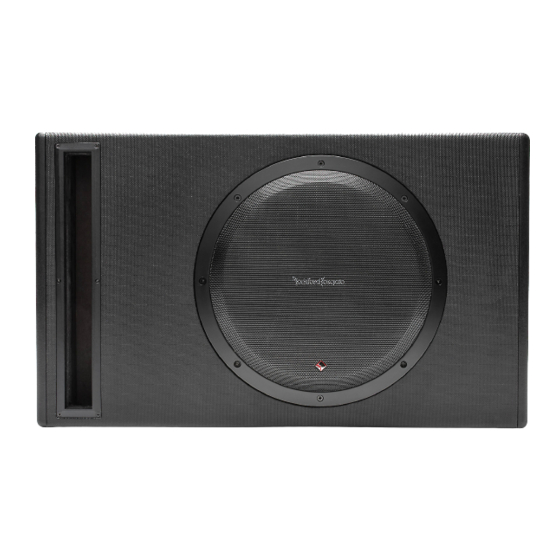
POWERED ENCLOSURE
P300-10T
P300-12T
P500-12P
Serial Number:
P300-8P
P300-10
P300-12
Date of Purchase:
Installation & Operation
Advertisement

Related Manuals for Rockford Fosgate PUNCH P500-12P


Summary of Contents for Rockford Fosgate PUNCH P500-12P
- Page 1 Installation assistance available at POWERED ENCLOSURE www.rockfordfosgate.com/r ech P300-8P P300-10 P300-10T P300-12 P300-12T P500-12P Serial Number: Date of Purchase: 600 South Rockford Drive • Tempe, Arizona 85281 United States Direct: (480) 967-3565 • Toll Free: (800) 669-9899 Installation & Operation R O C K F O R D F O S G A T E .
- Page 2 22 Limited Warranty Information terminal to prevent damage to the unit, fire and/or possible injury. ©2012 Rockford Corporation. All Rights Reversed. ROCKFORD FOSGATE and associated logos where applicable are registered trademarks of Rockford Corporation in the United States and/or other...
- Page 3 See illus.-1.1 for additional dimensions CEA 2031 CEA 2006 Power handling on Rockford Fosgate speakers Power ratings on Rockford Fosgate amplifiers conform conform to CEA-2031 industry standards. This means to CEA-2006 industry standards. These guidelines your speaker has the capacity to handle power under mean your amplifier’s output power ratings are REAL...
- Page 4 Specifications [5.98] [17.91] 152.0 [0.59] P300-10 [13.31] [8.82] 224.0 [9.85] [19.80] [7.08] P300-12 [14.96] [10.94] [12.1] 17.6 P300-8P 11.4 illus.-1.1...
- Page 5 Specifications 21.7 P300-10T 13.3 25.8 P300-12T 15.0 P500-12P...
- Page 6 Design Features Input Level Phase Switch Set the Input Level switch to match the outputs of your Allows you to select the output source unit.(LO - RCA or HI - Speaker Level) phase of the amplifier between 0° and 180°. Auto Turn On Three different automatic turn-on modes can be selected;...
- Page 7 If you do not feel comfortable with Before beginning any installation, wiring your new unit, please see your follow these simple rules: local Authorized Rockford Fosgate Dealer for installation. 1. Be sure to carefully read and understand the instructions Before installation, disconnect the before attempting to install the unit.
- Page 8 Installation 2. Prepare the RED wire (power cable) for attachment to the 8. Connect from source signal by plugging the RCA cables amplifier by stripping 1/2” of insulation from the end of the into the RCA/Speaker Harness input jacks, then insert the wire.
- Page 9 Operation/Troubleshooting Adjusting Gain Troubleshooting NOTE: If you are having problems after installation follow the 1. Turn amplifier gain to minimum (counter-clockwise). Troubleshooting procedures below. 2. Turn the source unit volume up to 7/8 maximum (or when Step 1. Check Amplifier for proper connections. Verify that distortion is just inaudible).
- Page 10 Some states do not allow limitations on the length of an implied warranty, so this limitation may not apply. No person is authorized to assume for Rockford Fosgate any other liability in connection with the sale of the product.
Need help?
Do you have a question about the PUNCH P500-12P and is the answer not in the manual?
Questions and answers