
Subscribe to Our Youtube Channel
Summary of Contents for F&U FD23602
- Page 1 INSTRUCTIONS MANUAL DVD PLAYER FD23602 PLEASE READ AND RETAIN THESE INSTRUCTIONS FOR FUTURE REFERENCE...
-
Page 2: Safety Instructions
The illustrations used in this manual are to illustrate the operation method and product structure of the product. Where there is a small difference between the physical item and the illustrations, please take the physical as the standard. SAFETY INSTRUCTIONS: •... -
Page 3: Electric Shock
CAUTION: WARNING: DO NOT EXPOSE THIS APPLIANCE TO RAIN OR MOISTURE, DUE TO THE HIGH RISK OF FIRE OR ELECTRIC SHOCK, DO NOT OPEN THE CABINET DANGEROUS HIGH VOLTAGES ARE PRESENT INSIDE THE ENCLOSURE. ONLY QUALIFIED SERVICE PERSONNEL SHOULD ATTEMPT THIS. •... -
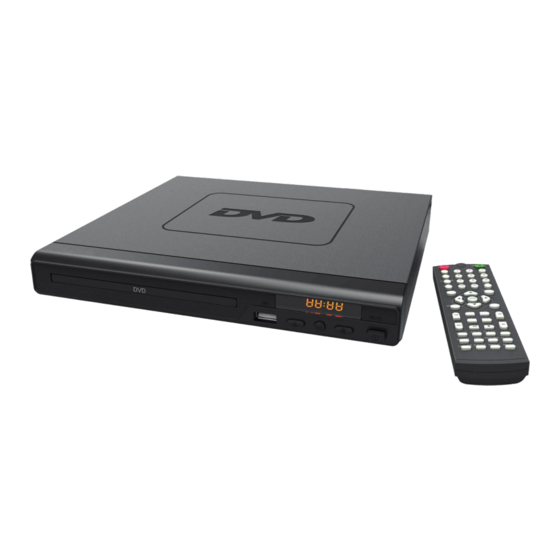
Page 4: Controls And Functions
2. Remote Sensor 6. Play/Pause 3. Display 7. Stop 4. USB Port 8. Power ON. /OFF REAR PANEL: MODEL:FD23602 HD OUT 9. (Y. Pb/Cb. Pr/Cr) Output 12. 2 x Audio Output ports 10. Power cable outlet 13. Video Output 11. HDMI output... -
Page 5: Remote Control
REMOTE CONTROL: REMOTE CONTROL OPERATION: Insert the ba�eries into the ba�ery compartment. 2 x AAA ba�eries are required. Point the remote at the remote sensor in front of the player and make sure there are no obstacles in the way between the remote and the player. - Page 6 REMOTE CONTROLS AND FUNCTIONS: POWER ON/OFF NEXT (>>I) Press to Power On, press again for In DVD mode, press to go to next chapter. With SVCD, VCD, CD, MP3 Standby mode. discs, press to go to next track. PLAY/PAUSE Press for information of the disc to Press once to pause, press again to display play...
-
Page 7: Instructions Guide
INSTRUCTIONS GUIDE Getting started: Setting Up Connect the power plug of the DVD player to a wall outlet. The power indicator and clock on the front panel will illuminate. Follow the below guidance for cable connections to get your DVD player set up: Cable Connection Options: 1a. -
Page 8: Dvd Operation
DVD OPERATION: Once your DVD player has been connected to the TV and to a power source, the product is ready for use. The following DVD formats can be played: DVD, DVD-R-RW, CD Video. Mpeg4 and Xvid must be converted to AVI format. Please complete the following guidance to complete the set-up of the DVD player: Ensure that your TV is set to the correct mode for DVD playback. -
Page 9: Playing Mp3 Discs
PROG - Select to change picture transform mode STOP - Entering picture preview mode PREV - Previous picture NEXT - Next picture PLAY - Play picture UP - Mirror image in vertical DOWN - Mirror image in horizontal LEFT - Rotate 90 degrees anticlockwise RIGHT - Rotate 90 degrees clockwise ZOOM - Change zoom mode FAST FORWARD - Zoom in the picture... -
Page 10: Menu 1 General Setup
After accessing the SET-UP menu, press the buttons (Rem. 7, 24, 25, 28) to your chosen sub-menu. Follow by pressing the ENTER button to confirm your selection. To end the set-up, press the SET-UP button again. Follow the below guidance for General, Audio, Dolby, Video and Preference settings. MENU 1: GENERAL SET UP: Press the buttons on the remote control to open the ‘General’... -
Page 11: Menu 4: Video Set-Up
MENU 2: Audio Set-up Press the buttons on the remote control to open the ‘Audio’ menu (Rem. 7, 24, 25, 28). Two submenus will appear that you can select between. Press the buttons on the remote control to scroll between the sub-menus to select the stereo output: LT/RT: The audio output is Left and Right channels format. -
Page 12: Menu 5: Preference Set Up
Quality You can set the sharpness, brightness and contrast according to your preference. MENU 5: PREFERENCE SET UP 2. Two different submenus will appear on the menu. Press the buttons on the remote control to scroll browse between the sub-menus to select the menu options: TV Type This unit is suitable for all makes for TV’s. -
Page 13: Troubleshooting
TROUBLESHOOTING: Malfunction Possible causes/measures Check whether the power is switched on or off No power / function at the wall. Check whether the power adaptor is properly connected to power outlet or not. Make sure that the video cables are connected correctly. - Page 14 waste electrical www.fandu.gr Savvidis S.A. 87A, 17th November str., PC 55534 Pylea - Thessaloniki - Greece T. +302310944944 | F. +302310944940...
Need help?
Do you have a question about the FD23602 and is the answer not in the manual?
Questions and answers