Advertisement
Quick Links
SMALL DESK CLOCK
SKU: HCClockToon
THANK YOU FOR PURCHASING THE SMALL DESK CLOCK
Please read this manual before operating the small desk clock and
keep it handy.
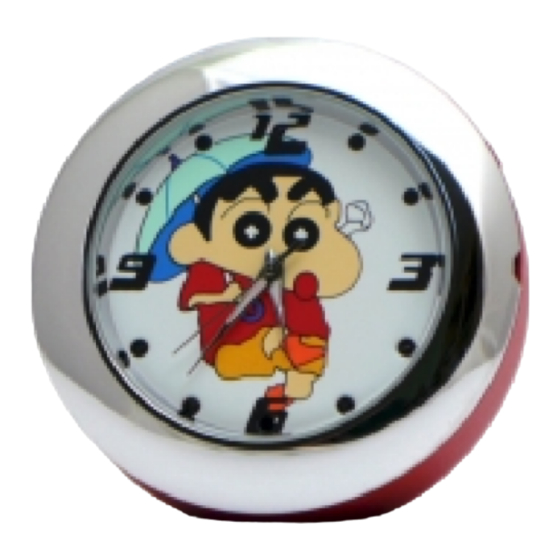
This small desk clock is perfect for a kid's desk. The cute character
adds a little flair that not only conceals a high resolution camera, but
also infrared emitters as well. The solid all metal construction of this
small clock means it is sturdy enough to let a kid play with it.
This device is contains a 1280 x 960 resolution camera. In addition to
its fantastic camera, this model includes night vision IR emitters, so
you can record any time, day or night. The internal 4GB storage is
ready to record when you are. No more forgetting or losing SD cards!
Your purchase should include:
1 x Small Desk Clock
1 x USB Cable
1 x Instruction Booklet
Advertisement

Related Manuals for Mini Gadgets HCClockToon


Summary of Contents for Mini Gadgets HCClockToon
- Page 1 SMALL DESK CLOCK SKU: HCClockToon THANK YOU FOR PURCHASING THE SMALL DESK CLOCK Please read this manual before operating the small desk clock and keep it handy. This small desk clock is perfect for a kid's desk. The cute character adds a little flair that not only conceals a high resolution camera, but also infrared emitters as well.
- Page 2 GET FAMILIAR WITH YOUR SMALL DESK CLOCK Power Button Indicator Light Video Record Button (Aligns with the 2) Microphone (Aligns with the 4) Camera Lens Time Adjust Crown (Aligns with the 3) Motion Detection Button Voice Record Button Use your fingernails here to (Aligns with the 8) pull the face of the clock away from the base...
- Page 3 HOW TO RECORD VIDEO WITH MOTION DETECTION OPERATING THE SMALL DESK CLOCK 1. Ensure the device is in standby mode 2. Push the Motion Detection button IMPORTANT NOTICE: Allow the device to charge 4 – 6 hours before The red/blue indicator light will blink twice and then using.
- Page 4 HOW TO TAKE PHOTOGRAPHS 1. Ensure the device is in standby mode 2. Push the Photograph button The red indicator light will turn blue o The device is now in photography mode 3. Push the Photograph button The blue indicator light will blink one o The device has taken a photograph HOW TO RECORD AUDIO 1.
-
Page 5: Troubleshooting
TROUBLESHOOTING SPECIFICATIONS THE DEVICE WON’T TURN ON Video Resolution 1280 x 960 Charge the device for at least 4 hours before the first use Video Format Make sure the charging cable is securely inserted into the Frames per Second 30 device and into the power source Recording Time ~1GB every 25 minutes...
Need help?
Do you have a question about the HCClockToon and is the answer not in the manual?
Questions and answers