Table of Contents
Advertisement
Quick Links
Advertisement
Table of Contents

Summary of Contents for Gen3 Gensonic
- Page 1 Gensonic INSTRUCTION MANUAL Version 3.0...
-
Page 2: Table Of Contents
TABLE OF CONTENTS Background ..................2 General Description ..............2 Main Features ................3 Safety precaution ................. 3 System layout ................4 Front panel ..................4 Back panel ..................4 Operating procedure ..............5 Using the Stencil Cleaning Centre………………………………………7 Guarantee ..................9 Limitation Of Liability .............. -
Page 3: Background
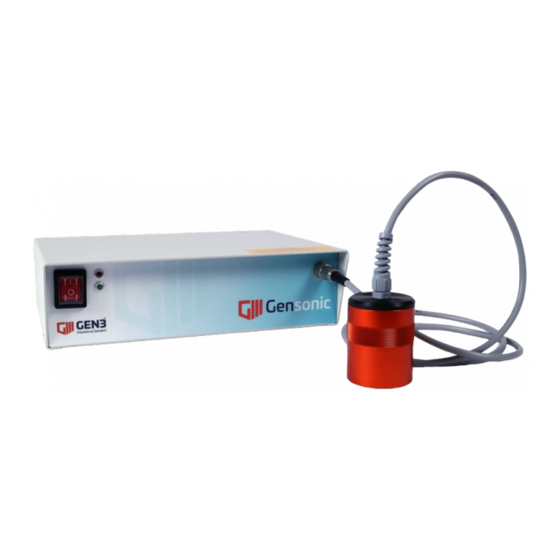
General Description The Gensonic is a manually operated ultrasonic transducer unit for cleaning stencils used in printing solder pastes and glues. It can be used either directly on the printer or the stencils can be taken to the Gensonic stencil cleaning centre. -
Page 4: Main Features
Main Features The Gensonic unit can be purchased with or without Gensonic SCC. Two different sizes of SCC are available to choose from (SCC29 = 740x740mm and SCC24 = 584x584mm). Typical features are listed below: A cost effective method to use... -
Page 5: System Layout
System layout Front panel 1) On/Off power switch 2) Red LED illuminated indicates ultrasonic driver circuit is working correctly. 3) Green LED illuminated indicates transducer head unit is operating. 4) Output socket for hand held transducer head. Back panel 1) Earth point 2) IEC Main power socket 3) Fuse holder (1A or 2A fuse is used according to voltage applied) 4) Unit Information sticker includes Serial Number, Voltage and Fuse rate... -
Page 6: Operating Procedure
Step 1 Unpack your Gensonic unit carefully and place in desired operating location. Step 2 Plug the foot pedal connector into back of Gensonic as shown. Then place foot pedal on the floor in desired location for operation. Step 3 Plug the transducer into the front of the Gensonic. - Page 7 Plug the mains cable in at the back of the unit. Step 5 Switch the Gensonic on. When powered, the mains switch will be lit. The red LED will also be lit to signal the unit is ready to be used.
-
Page 8: Using The Stencil Cleaning Centre
Step 7 To operate the Gensonic, press the foot pedal down and hold. You will see the green LED on the front panel light and you will hear a noise signifying that it is working. Rotate the transducer on the stencil slowly and you will soon see fantastic results. - Page 9 Step 1 Cover the aperture area of the stencil using paper roll provided, and then spray and dampen the under screen paper. Step 2 Place stencil into support chase and spray fluid provided over aperture area. After a few seconds, remove all bulk solder paste in the surface of stencil using paper towel. Page 8...
- Page 10 Step 3 Spray fluid over aperture area again. Move transducer head unit over aperture area by pressing foot switch. Step 4 Using the handle, move the SCC platform to the raised position allowing top and underside drying. All residues are absorbed into the under screen cleaning paper. Page 9...
-
Page 11: Guarantee
In the event of difficulty, users are requested to contact Gen3 direct. Gen3, or an appointed distributor, will at their discretion repair or replace part or the entire product to provide, in their judgement, a satisfactory performance of the system consistent with its age and apparent usage. -
Page 12: Limitation Of Liability
Gen3 Systems Limited for any purpose or give rise to any liability by Gen3 Systems Limited whatsoever.
Need help?
Do you have a question about the Gensonic and is the answer not in the manual?
Questions and answers