
Summary of Contents for Marsupial Eurorack
- Page 1 Marsupial Dual Voltage-Controlled Filter Eurorack Assembly Instructions Copyright 2021 SetonixSynth. All rights reserved.
- Page 2 Hello and thank you for using the Marsupial Dual Voltage-Controlled Filter Eurorack DIY kit. We hope you will find its tones most pleasing! Kit Contents: 1x Panel and Pre-soldered PCB set 10x Thonkiconn 3.5mm jacks with knurled nuts (J1-8, J10, J11) 3x B10k 9mm potentiometers (RV1, RV2, RV3) with washer, nut, and 6.35mm adapter sleeve...
- Page 3 Assembly Instructions: 1. Delicately unpack your kit. Try not to touch the pre-soldered circuit-board with your bare hands if possible. Make sure that all parts listed on the previous page are present in your kit. If they are not, please contact us at setonixsynth@gmail.com and we will arrange replacements for you.
- Page 4 5. Place the Marsupial panel over all mounting hardware. It might take a little finesse to fit all components through their corresponding holes, but be careful not to unseat any of the hardware as you place the panel.
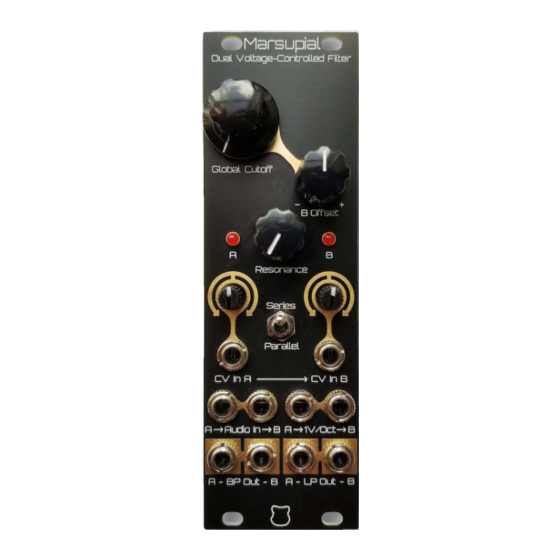
- Page 5 If everything looks good… 7. Plug in your Marsupial! Make sure the red stripe on your ribbon cable corresponds to the stripe on the PCB which indicates the -12V pins. Test all functions: even without calibration, you should be able to get nice filter sounds from all four outputs, test all CV inputs, and adjust the Resonance from zero to self-oscillation.
Need help?
Do you have a question about the Eurorack and is the answer not in the manual?
Questions and answers