Table of Contents
Advertisement
Quick Links
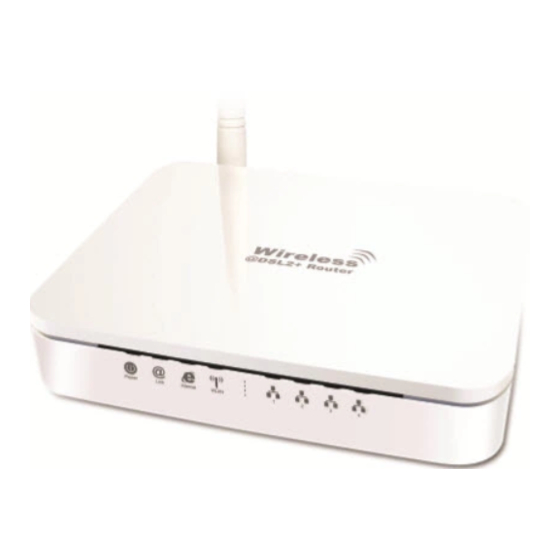
HiRO H50188 WLAN ADSL2+ Router Configuration
Before configuring, pls make sure phone cord is connected to DSL modem at Line jack, DSL modem Power on, connect PC with
enclosed ethernet cable to any of the port in the back and make sure the correspond port LED is blinking.
1. Please insert the supplied CD into your CD-ROM drive.
2. The CD should auto-start, displaying the window shown in below. If your CD does not start automatically, go to Windows
Explorer, Select your CD drive and double click "autorun.exe".
3. To configure the device, please click "Easy Configuration".
4. Enter the VPI, VCI, Username and Password your ISP (Internet Services Provider) provided, and Protocol mode. Then press
"Next".
1 of 8
Advertisement
Table of Contents

Related Manuals for HiRO H50188

Summary of Contents for HiRO H50188
- Page 1 HiRO H50188 WLAN ADSL2+ Router Configuration Before configuring, pls make sure phone cord is connected to DSL modem at Line jack, DSL modem Power on, connect PC with enclosed ethernet cable to any of the port in the back and make sure the correspond port LED is blinking.
- Page 2 5. Please enter the “ESSID” and Wireless “Default Channel” if you want to change (the default settings Network= Enable, ESSID = RT2561_6, Default Channel=6). 6. Choose the Encryption type if necessary, as Off – No Encryption (Default) / 64 Bit Encryption / 128 Bit Encryption / Wi-Fi Protected Access (TKIP) / Wi-Fi Protected Access2 (AES-CCMP) and WPA Mixed Mode.
- Page 3 8. Now, checking WLAN ADSL 2+ Router hardware connection, ADSL2+ settings, WLAN settings, and ADSL2+ Line connection status. 9. Easy setup configuration completed. Click on " Exit " to exit this program. 3 of 8...
- Page 4 10. Click on " Exit " to exit this program. 11. Now, the WLAN ADSL2+ Router has been configured completely, and suitable for Wireless and Internet Connections. Pls open up a browser and see if you are able to connect online. If not, pls proceed with the following Accessing WLAN ADSL2+ Router Web Configuration Step 1.
- Page 5 Step 4. Type “192.168.1.1”. Step 5. An Enter Network Password window displays. Enter the user name (“admin” is the default), password (“1234” is the default) and click OK. Step 6. You should now see the Site Map screen. Quick Start Guide You can use “Quick Start”...
- Page 6 Step 1 – Please click “Next” to setup your new administrator's password. Step 2 – Please click “Next” to setup your time zone. Step 3 – Please click “Next” to setup your Internet connection type. You can have this information from your Internet Service Provider.
- Page 7 Step 4 - Enter the connection information provided by your ISP and click “Next”. Step 5 - Enter the connection information provided by your ISP and click “Next”. Step 6 – Please click “CLOSE” to finish Quick Start. 7 of 8...
- Page 8 Step 7. Now, the WLAN ADSL2+ Router has been configured completely, and suitable for Wireless and Internet Connections. Pls open up a browser and see if you are able to connect online. If not, pls contact us for tech support. 8 of 8...
Need help?
Do you have a question about the H50188 and is the answer not in the manual?
Questions and answers