Table of Contents
Advertisement
Quick Links
N95 FIT TEST & QUICKSTART GUIDE
Please read and familiarize yourself with all instructions below.
Before you start: Use an alcohol pad (recommended) to ensure face is clean, air dry before
donning mask. Use a mirror to verify proper placement.
Practice applying the mask at least 3 times before conducting a fit test. Be sure to use a new
mask when conducting the actual fit test.
1.
REMOVE THE RELEASE LINER
Peel back and remove the entire white
release liner from the back of the mask.
3.
x
Horizontal
SEAL THE TOP
application on
the tops of the
Using your middle finger, press the mask
cheekbones
down on the bridge of your nose. Press
towards the ears
is crucial. If the
down with both index fingers starting from
mask is affixed
the bridge of your nose out horizontally
in a downward
towards your ears, ensuring the mask is
slope towards
the bottom of
sealed securely around the contours of
the cheekbones,
your nose and upper cheekbones.
it could cause
improper fit.
TIPS FOR PROPER APPLICATION:
- For best performance, position the printed label strip below the chin
- Use of excess makeup or moisturizer may interfere with the seal
- Mask must be horizontal under the eyes and rest on the tops of the cheekbones
- Use your fingertips to firmly apply the mask
- Avoid wrinkles in the mask
2.
ALIGN THE MASK TO FACE SHAPE
Hold mask with both hands, colored side
out, horizontally with the center just
below the bridge of your nose.
4.
SEAL THE SIDES
Open your mouth as if saying the word
"NO" and slide your fingers down the
sides of the mask towards your chin until
your fingers meet. This will ensure you
have enough room to breathe and talk
comfortably.
Advertisement
Table of Contents

Summary of Contents for Avery Dennison N95
- Page 1 N95 FIT TEST & QUICKSTART GUIDE Please read and familiarize yourself with all instructions below. Before you start: Use an alcohol pad (recommended) to ensure face is clean, air dry before donning mask. Use a mirror to verify proper placement.
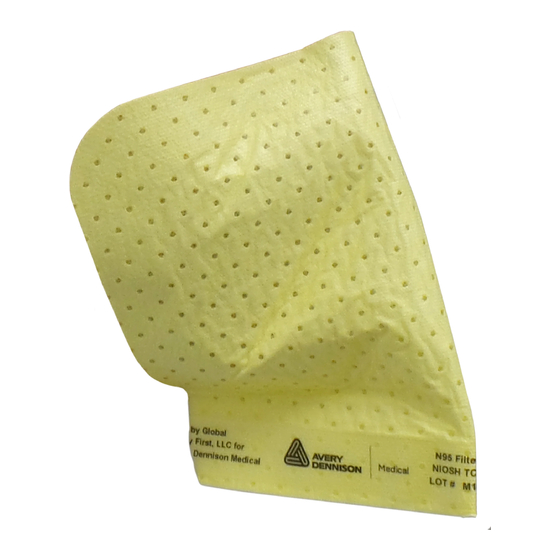
- Page 2 - If mask is reapplied, check to ensure a proper leak-free seal Device is available under EUA per FDA Guidance Enforcement Policy for Face Masks and Respirators During the Coronavirus Disease (COVID-19) Public Health Emergency (May 2020). Global Safety First, LLC for Avery Dennison Medical. NIOSH Approval# TC-84A-8133 MTR-MKT-000369-B...
Need help?
Do you have a question about the N95 and is the answer not in the manual?
Questions and answers