Advertisement
Quick Links
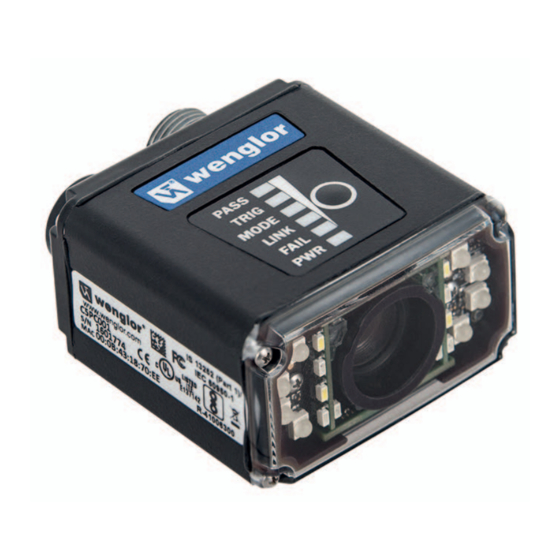
Configuration and Quick Start Guide
C5KC and C5PC
Copyright ©2016 wenglor
Step 1 — Check Hardware
The list of hardware below can be used in a variety of applications and configurations. Consult with
wenglor for further information about which items are most appropriate for your application.
Item Description
1D-/2D-Codescanner C5KC or C5PC
1
2
Power Supply, 5V
Cable, DB15 to Ext. Power/USB, C5KC
3
4
Power Supply, 100-240VAC, +24VDC, M12 12-Pin Socket
Cordset, Host, Ethernet, M12 8-Pin Plug (Screw-On) to RJ45, 1 m.
5
Step 2 — Connect the System
Step 3 — Mount and Position the Reader
• Position the reader several inches from the symbol. You may need to reposition the reader a few
times to find the ideal distance.
• Tip the reader relative to the symbol to avoid the glare of direct (specular) reflection.
• Symbols can be rotated (tilted) at any angle; however, for best results symbols should be aligned
with the field of view. In the case of linear symbols, aligning the bars in the direction of their movement
(ladder orientation) will minimize the chances of blurring and will result in more consistent decodes.
Important: Avoid excessive skew or pitch. Maximum skew is ±30°; maximum pitch is ±30°. The
illustration below shows approximate skew axis, pitch axis, and tilt axis.
Step 4 — Install WebLink Drivers (C5KC)
1. Plug the reader into a USB port and wait for the AutoPlay dialog to appear.
2. Click Open folder to view files and double-click the Double-Click Here.bat batch file.
3.
At the command prompt, select option 1 and then type Enter. VCOM and USBLAN drivers are installed.
Part Number
4.
At the command prompt, select option 3 to install the WebLink and FTP drive shortcuts. WebLink
C5xCxxx
and wenglor FTP drive shortcut icons will appear on the desktop.
5. When installation of the drivers and shortcuts is complete, unplug the reader from the USB port.
ZNNN001
6. Re-plug the reader into the USB port and wait for the reader to reboot and enter read mode (LEDs ON).
ZDNV007
7. Double-click the WebLink desktop shortcut. WebLink will load and start (see Step 5).
8. Double-click the FTP drive shortcut and log in with username: target and password: password.
ZDCLxxx
9. The FTP drive is opened so you can access additional resources and installers in the Tools and
ZCYVxxx
Documentation folder.
You are now ready to use the wenglor C5KC with WebLink.
Step 1
Step 5 — Connect to WebLink (C5KC)
When you double-click the WebLink desktop shortcut or enter the reader's IP address directly in the
address bar of your web browser, WebLink will load and start.
Type http://192.168.100.1
(the default IP address) in the
web browser's address bar.
The WebLink session will
begin shortly after you enter
the reader's IP address
Step 3
Note: WebLink is the preferred user interface
for wenglor Readers, but wenglor's ESP
Software can also be used for configuration and
testing. Use ESP in the following circumstances:
• Device discovery to find the reader IP address;
• If you only have an RS-232 (serial) connection;
• Updating Scanner firmware;
• Using the Configuration Database;
• Creating barcodes for reader configuration;
• Generating Symbol Quality reports.
Step 6 — Connect to WebLink (C5PC)
A slightly different method is required to connect to the wenglor C5PC:
1. Configure reader hardware as required and open the web browser of your choice.
2. Type http://192.168.100.1 (the default IP address) in the web browser's address bar.
3. Navigate to Control Panel > Network and Sharing Center on your PC.
4. Click Local Area Connection. In the Local Area Connection Status dialog, click Properties.
5. In the Local Area Connection Properties dialog, select Internet Protocol Version (TCP/IPv4)
and click Properties again. Set your PC to a 192.168.100.x address (192.168.100.5, for example).
6. Open ESP Software, connect to the wenglor C5PC via Ethernet TCP/IP, and click Search to find
the reader. When the reader appears in the field below the Search and Send buttons, select it.
7. Set the C5PC's IP address to match that of the host PC.
8. Click Send. The camera will reboot and ESP will search for the reader again. When the C5PC is
found, you can use it with WebLink.
Step 5
To create an FTP drive shortcut: right-click on your desktop and select New > Shortcut; enter %
windir%\explorer.exe ftp://192.168.100.1 as the target path; name your FTP drive; click Finish.
Double-click the FTP drive shortcut on the desktop. Log in with the target / password credentials to
navigate the reader's file system.
Step 7 — Explore the Start View
The Start View is the initial view you will see when the session begins. The connected reader is shown,
along with its user-defined name, IP address, Reader Model, Serial Number, MAC ID, Firmware
Version, Sensor, Optics, Decoder, and Speed. This view allows you to choose Assisted Setup, to
Create a New Setup, or to Load a Setup.
Click the gear icon to show Save,
New, Load, Advanced, Language,
Terminal, Beeper, Guided Tour,
Restore Default Settings, Manage
Login, Enable USB Drive Mode, and
About WebLink.
Refer to WebLink Help for information about Advanced Settings and Terminal functionality.
Step 8 — Create a New Setup or Load an Existing Setup
Assisted Setup
When you click the Assisted Setup button in the Start View, a dialog will appear asking you a series of
application-based questions. Based on your answers, WebLink generates your initial setup automatically.
Once the setup is created, you can fine-tune its parameters in the Setup View.
New Setup
The Start View also allows you to create a New Setup without using Assisted Setup. When you click the
New Setup button, WebLink searches for any differences from default in the reader parameters. If no
differences from default are found, you will see the Setup View. If differences from default are found, an
alert will appear asking if you want to restore the reader to factory defaults.
Load Setup
Select Load Setup to load an existing .json WebLink setup file.
Steps 6 – 8
Advertisement

Related Manuals for Wenglor C5 C Series

Summary of Contents for Wenglor C5 C Series
- Page 1 6. Open ESP Software, connect to the wenglor C5PC via Ethernet TCP/IP, and click Search to find the reader. When the reader appears in the field below the Search and Send buttons, select it.
- Page 2 When Auto Photometry is enabled instead of Standard, Exposure and Gain are read-only. The A shown on the sun and dial icons signifies that Auto Photometry is enabled. Auto Photometry constantly determines the best Exposure and Gain settings during each read cycle. Auto Photometry Copyright ©2016 wenglor...
Need help?
Do you have a question about the C5 C Series and is the answer not in the manual?
Questions and answers