Advertisement
Quick Links
Advertisement

Summary of Contents for Diamond GC1500
- Page 1 GC1500 GameShare User Manual Version 1.0...
- Page 2 GameShare Workspace Item Descriptions Main Functions Displays all the application functions. Displays the connection chart for PC-Game or Game Main Window Console modes. Information Displays the platform information General function Capture and record video to your PC Stream your video to the RTMP social media websites such as Ustream and Twitch.
-
Page 3: Capture Options
Capture Options 1. PC Game Mode If you want to capture the PC Game gameplay, please follow below steps. This mode acts like a screen recorder. Step 1: Confirm you have the device connected as shown below and click “Load” button. - Page 4 Step 3: Click the right button on the mouse to open the function list. Step 3.Click the “Start Capture” label to start the recording and the GameShare icon will flash until the recording stops. Game Console If you want to capture the video from game console please follow below steps: Step 1: Confirm you have the device connected as shown below and click “Load”...
- Page 5 Step 2: Click the “Ready” button to start the recording mode and the application workspace window will open a new window to show the video of game console. Icon Function Icon Function Audio on Recording Audio off Snapshot Record ready Step 3: Click the “Record”...
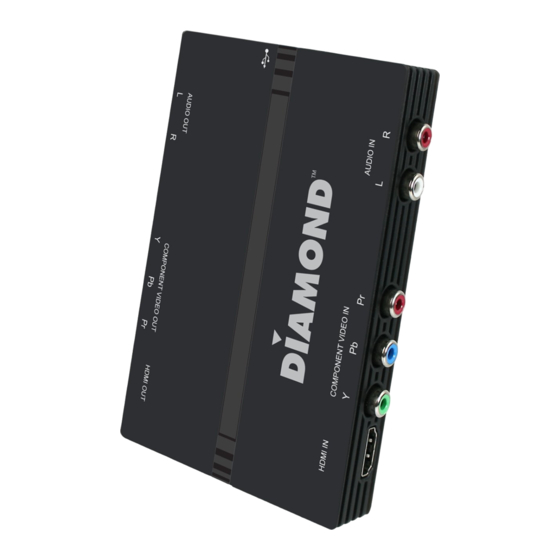
- Page 6 Video Setting Source Settings Video Source: Choose the input source: HDMI or YPbPr (Component) Video Standard: HDMI will display N/A, for YPbPr or Composite video it will display NTSC or PAL Audio Source: Select HDMI or Audio LR depending on what you have connected to your Video/Audio source Live Commentary Enable Live Commentary:...
- Page 7 Choose MPEG4 or TS (DVD ready file) Resolution: Choose your desired resolution (Max. 1080P). Note: if the source device you are recording from changes resolution during the recording, the GC1500 will stop recording. Bit Rate: Choose your desired recording bit rate. (Max. 18M)
-
Page 8: Stream Options
Stream Options If you want to stream a live broadcast channel please follow below steps. Step 1: Confirm you have the device connected as shown below and click the “Load” button. If the preview page shows the video, the device connection is working. Step 2: Click on the login button... - Page 9 Step 3: Select your streaming service and enter your login and password. If you do not have an account yet, you can click on “Apply” to create one Once you have successfully setup the account, the account info will show on the page as below photo.
- Page 10 Note: There could be up to a 15 second delay from what you see on your screen and what your viewer see on your streaming channel. Icon Function Icon Function Audio on Streaming Audio off Snapshot R Steaming ready *As the streaming light flashing means your video is uploading to the Website that you choose.
-
Page 11: Playback Options
Playback Options Step 1: Click the Playback tab. Step 2: Choose the video desired for playback. Note: Play back functions will open your default media player application for playback. Example; if Windows Media player is your default player, your file will be opened using Windows Media player. - Page 12 Settings Options: (General application settings) Here will show the Device you connected. Device: Default language is English. Language: File Path / Photo Path: You can leave the default or you can change the file path to the directory of your choice. This is where all your recorded videos or snap shots will be saved.
Need help?
Do you have a question about the GC1500 and is the answer not in the manual?
Questions and answers