Advertisement
Quick Links
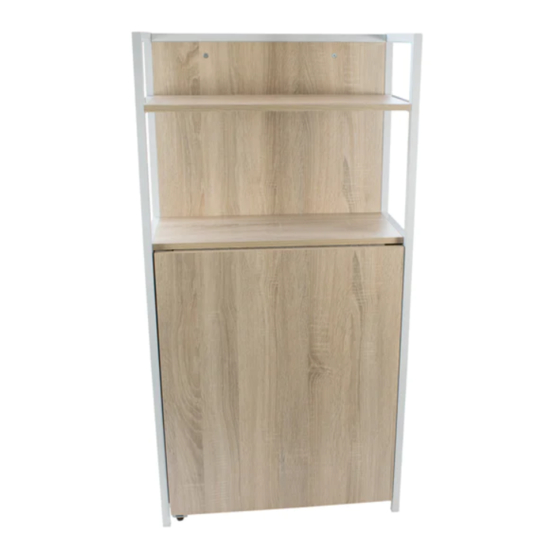
CED-102 Folding Home & Study Office Desk
ASSEMBLY INSTRUCTIONS
Thank you for purchasing one of our products.
Please read carefully before assembly and retain for future reference
Box Dimensions: 127x67x11cm
Assembled Dimensions: 62x121x30cm
TWO PEOPLE REQUIRED
General Care:
- Keep out of direct sunlight
- Use desk pads and coasters to protect your desk surface from moisture damage and hot liquid staining
Cleaning:
- Wipe the surface with damp (not wet) cloth or wipe dry with a clean lint free cotton cloth
Warning
- This desk weighs 28kg, please take care when handling
- To prevent personal injury ensure your desk is secured to the wall using supplied brackets
To prevent damage during assembly take care with all parts and place
on a towel or other soft surface
Model: CED-102
Advertisement

Related Manuals for Connected Essentials Accord CED-102


Summary of Contents for Connected Essentials Accord CED-102
- Page 1 CED-102 Folding Home & Study Office Desk ASSEMBLY INSTRUCTIONS Thank you for purchasing one of our products. Please read carefully before assembly and retain for future reference Box Dimensions: 127x67x11cm Assembled Dimensions: 62x121x30cm Model: CED-102 TWO PEOPLE REQUIRED General Care: - Keep out of direct sunlight - Use desk pads and coasters to protect your desk surface from moisture damage and hot liquid staining Cleaning:...
-
Page 2: Parts List
CED-102 P. 2 PARTS LIST Please unpack and check all parts before assembly and identify each item as per page 2 and 3... - Page 3 CED-102 P. 3 17-1 17-2 FITTINGS P A R T Q T Y. IT E M P A R T Q T Y. IT E M 5X40 MM 4X16 MM 5X45 MM Φ6 MM 4X16 MM 6X40 MM Φ15 MM 6X12 MM Φ12 MM Φ...
-
Page 4: Assembly Steps
CED-102 P. 4 Install 6x40mm Bolts As Instructed Below Bolt Cam Lock On assembly ensure the pointed arm on your Cam Lock points directly to the screw hole as pictured A 1 . A 2 . A 3 . A 4 . ASSEMBLY STEPS SCREWS 6X 40 M M... - Page 5 CED-102 P. 5 SCREWS 4X 16 M M 5P C S SCREWS 6X 40 M M 2P C S Φ12 M M 2P C S SCREWS 5X 40 M M 6P C S...
- Page 6 CED-102 P. 6 17-1 SCREWS 6X 40 M M 14P C S Φ15 M M 8P C S Φ12 M M 6P C S SCREWS 6X 12 M M 4P C S 4X 16 M M 8P C S...
- Page 7 CED-102 P. 7 You have the option to assemble your desk with work surface opening to the left or to the right. A. If you wish for your work surface to open to the right, please follow assembly steps A1-A6. B.
- Page 8 CED-102 P. 8 17-2 SCREWS 4X 16 M M 4P C S SCREWS 4X 16 M M 4P C S...
- Page 9 CED-102 P. 9 SCREWS Φ 5X 17 M M 4P C S SCREWS 4X 16 M M 5P C S Φ6 M M 1P C...
- Page 10 CED-102 P. 10 Wa ll Wa ll Please use the supplied wall fasteners to prevent personal injury. You will need to use appropriate fixings suitable for your wall (not supplied)
- Page 11 CED-102 P. 11 17-2 SCREWS 4X 16 M M 4P C S SCREWS 4X 16 M M 4P C S...
- Page 12 CED-102 P. 12 SCREWS Φ 5X 17 M M 4P C S SCREWS 4X 16 M M 5P C S Φ6 M M 1P C...
- Page 13 CED-102 P. 13 Wa ll Wa ll Please use the supplied wall fasteners to prevent personal injury You will need to use appropriate fixings suitable for your wall (not supplied)
Need help?
Do you have a question about the Accord CED-102 and is the answer not in the manual?
Questions and answers