Advertisement
Quick Links
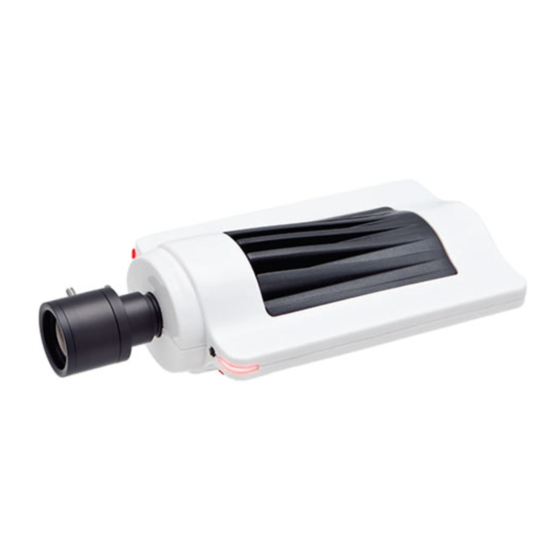
CudaCam
Bullet Camera Installation in a Heated Outdoor Enclosure
https://campus.barracuda.com/doc/46897382/
This document explains how to install a Bullet Camera into an outdoor enclosure with environmental
controls. It does not cover the physical mounting of the enclosure mount or running the conduit.
Much of the installation work is best done on the ground. You can complete most of the steps in this
article before you get to the installation site. Only the final step requires you to be at the final
installation location.
PART I: COMPLETE BEFORE MOVING TO THE INSTALLATION LOCATION
Understanding the Parts
You must run two separate cable wires:
for the camera – CAT-5 or better
for the enclosure's control printed circuit board (PCB) – 24 VAC
The images in this article show the use of a cable gland, which shipped with the enclosure. Flexible
conduit systems generally provide better results. It is up to the installer to adapt their chosen conduit
system to the enclosure.
The enclosure includes an opening that accepts industry-standard ½" conduit termination, such as
those shown here.
Supplied Items
Bullet Camera Installation in a Heated Outdoor Enclosure
1 / 16
Advertisement

Summary of Contents for Barracuda CudaCam
- Page 1 CudaCam Bullet Camera Installation in a Heated Outdoor Enclosure https://campus.barracuda.com/doc/46897382/ This document explains how to install a Bullet Camera into an outdoor enclosure with environmental controls. It does not cover the physical mounting of the enclosure mount or running the conduit.
- Page 2 CudaCam Step 1: Remove the Enclosure Lid To remove the top, remove the two highlighted screws. Bullet Camera Installation in a Heated Outdoor Enclosure 2 / 16...
- Page 3 CudaCam Step 2: Become Familiar with the Parts Inside the Enclosure Take a moment to familiarize yourself with the parts inside of the enclosure. Step 3: Remove Camera Mount and Release the Control PCB Remove the camera mount by pulling the mount slightly upward.
- Page 4 CudaCam Step 4: Connecting Control PCB Strip 3/16” of the insulation from the heater unit power cable and attach it to the control PCB, as shown below. Once the cables are secured, install PCB board back in place and feed the cable through the provided hole in the middle.
- Page 5 CudaCam Step 5: Mount Camera to Camera Mount Using the ½" spacer and the 1" ¼-20 screw, mount the camera to the camera mount. Fit the camera inside of the enclosure. Adjust the camera back and forth so the lens is ¼ - ½" back from the glass.
- Page 6 CudaCam Step 6: Secure Camera Mount and Control PCB Secure the camera mount and control PCB, as shown here. Bullet Camera Installation in a Heated Outdoor Enclosure 6 / 16...
- Page 7 CudaCam Step 7: Final Cable Connections Terminate Ethernet cable with an RJ-45, and connect that to the camera. Pass the stripped cable through either one of the conduits located on the back side of the camera. Bullet Camera Installation in a Heated Outdoor Enclosure...
- Page 8 CudaCam Step 8: Mount Assembly Supplied Mount Accessory Items Bullet Camera Installation in a Heated Outdoor Enclosure 8 / 16...
- Page 9 CudaCam Turn the enclosure over. Align the holes on the underside of the enclosure with the holes in the spacer, as shown below. Continue feeding the control PCB power cable all the way through the arm mount. Secure the arm in place, using the provided screws and hex key, as shown below.
- Page 10 CudaCam The completed mount should look like this: Bullet Camera Installation in a Heated Outdoor Enclosure 10 / 16...
- Page 11 CudaCam Step 9: Wi-Fi Antenna Installation (Optional - Wi-Fi only) Note: This section is optional. Use only when installing a Wi-Fi antenna. Bullet Camera Installation in a Heated Outdoor Enclosure 11 / 16...
- Page 12 CudaCam Open the enclosure. Drill a 1/4" hole on either side of the enclosure. Remove all burrs and cuttings. Using the supplied lock washer and nut, install the RP-SMA extension cable into this hole. Connect the RP-SMA cable to the camera and connect the Ethernet cable to the camera, as shown below.
- Page 13 If you are configuring the camera for wireless, configure and test the wireless settings using a wired connection on the ground. Refer to CudaCam Camera Installation Tips for details on setting up Wi-Fi. Bullet Camera Installation in a Heated Outdoor Enclosure...
-
Page 14: Connecting The Power Adaptor
CudaCam Step 11: Replace the Enclosure Lid If you removed the enclosure lid earlier, replace it now. Part II: AT THE INSTALLATION SITE Connecting the Power Adaptor The power adapter for the heater is not outdoor rated. It must be installed in a protected location. - Page 15 CudaCam VAC is present at the screws on the terminal block where the power connects to the control PCB. The unit is now ready to be installed in the location you have chosen. Bullet Camera Installation in a Heated Outdoor Enclosure...
- Page 16 Barracuda Networks Inc. All specifications are subject to change without notice. Barracuda Networks Inc. assumes no responsibility for any inaccuracies in this document. Barracuda Networks Inc. reserves the right to change, modify, transfer, or otherwise revise this publication without notice.
Need help?
Do you have a question about the CudaCam and is the answer not in the manual?
Questions and answers