Table of Contents
Advertisement
Quick Links
Advertisement
Table of Contents

Related Manuals for Airmar GH2183

Summary of Contents for Airmar GH2183
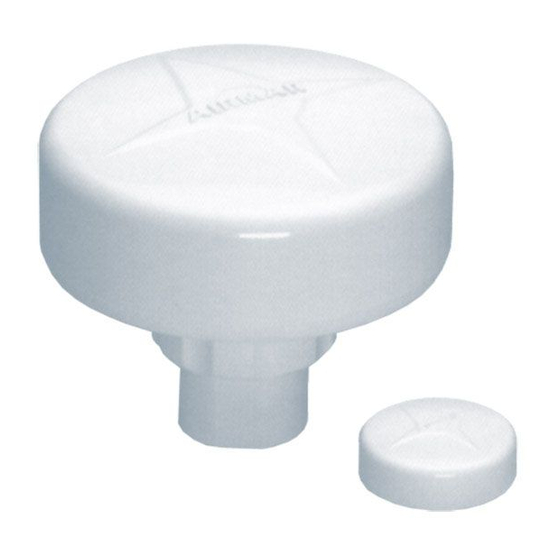
- Page 1 Owner’s Guide & Installation Instructions ™ Smart Sensor Solid-State Compass with GPS Receiver GH2183 Model Patent http://www.airmar.com/patent.html Record the serial number found on the underside of the sensor. Serial No._______________ Date of Purchase_____________ 17-489-01 rev. 09 08/19/18...
- Page 2 Information in this manual is subject to change without notice. Airmar reserves the right to change or improve its products and to make changes in the content without obligation to notify any person or organization of such changes.
-
Page 3: Table Of Contents
Table of Contents Introduction................4 Safety Instructions..............5 Hardware, Tools & Materials..........6 Choosing the Mounting Location........... 7 Installing................. 8 Pole or Rail Mount..............8 Flush Mounting on a Horizontal Surface......10 Cable Routing & Connecting Guidelines......11 Connecting to an NMEA 0183 Display........ 11 Connecting to an NMEA 2000 Network...... -
Page 4: Introduction
Guide completely before proceeding. Introduction Thank you for purchasing the Airmar’s solid-state Compass with GPS Receiver. This exciting product is actually four sensors in a single unit—a three-axis magnetic compass, a three-axis accelerometer, a three-axis rate gyro, and a GPS receiver. -
Page 5: Safety Instructions
WARNING Navigation Aid Only: The sensor is only an aid to navigation and should never be solely relied upon. It is not a replacement for traditional navigation aids and techniques. Only official government charts contain all the information needed for safe navigation. Follow the safety precautions below to reduce the risk of poor product performance, property damage, personal injury, and/or death. -
Page 6: Hardware, Tools & Materials
Cables & Connecting/Converting Hardware The Compass with GPS Receiver (sensor) can be connected in several ways. You must have the correct cable and any needed hardware before beginning the installation. Sensor Cables Length Part No. 862-02 • NMEA 0183 Cable •... -
Page 7: Choosing The Mounting Location
• Be sure the cable(s) can be routed to reduce electrical interference from other electrical wiring and any on-board equipment with a strong magnetic field such as radar equipment, radio transmitters, engines, generators, etc. Separate the cables by at least 1 m (3'). GH2183 Min. Min. 2m 1.5m Min. -
Page 8: Installing
(part A) alignment mount base (part C) serial number lock washer (2) socket machine screw (2) sensor connector nut assembly captive cable side-exit adapter (part D) slot for cable exit Figure 2. Pole/Rail mount Copyright © 2008 Airmar Technology Corp. - Page 9 2. Decide if you want the cable to exit through the center or along the side of the pole/rail bracket. Slide the nut assembly onto the end of the cable at the sensor connector. Do not connect the sensor at this time. a.
-
Page 10: Flush Mounting On A Horizontal Surface
Hand tighten only. Do not over tighten. sensor unit (part A) alignment M5 stud (2) serial number sensor connector socket gasket (part B) arrow mounting surface flat washer (2) lock washer (2) thumb nut (2) Figure 3. Flush mount Copyright © 2008 Airmar Technology Corp. -
Page 11: Cable Routing & Connecting Guidelines
Cable Routing & Connecting Depending on the equipment you will be using, route the sensor cable to an Airmar Data Converter, Combiner, an NMEA 0183 display, an NMEA 2000 network, a laptop, or other device. After reading the cautions below, go to the appropriate instructions. - Page 12 RS422 RS232 A /+ OUT TX OUT BARE A/+ IN RX IN B/- IN NO CONNECTION B/- OUT NO CONNECTION SHIELD SHIELD Figure 4. NMEA 0183 sensor cable Copyright © 2007 - 2014 Airmar Technology Corp.
-
Page 13: Connecting To An Nmea 2000 Network
Figure 5. NMEA 2000 sensor cable [6m (20') shown] Copyright © 2008 - 2011 Airmar Technology Corp. NOTE: Sensor cables longer than 6m (20') have a termination resistor built into the sensor connector (Figure 6). termination resistor in connector locator 120Ω... -
Page 14: Calibrating The Compass
Calibrating the Compass WARNING: The internal compass may need to be calibrated after the sensor is installed for maximum accuracy. Perform the pretest below to determine if calibration is necessary. CAUTION: Boat—The Pretest and AutoCalibration Procedure must be done in calm seas in a 0.8 km (0.5 mile) open area away from other boats and ferrous objects such as structures and aids to navigation. -
Page 15: Maintenance
• Is there interference from ferrous metals, electronic equipment, electric motors, batteries, or cables that are creating a magnetic field? Firmware Revisions Airmar may release updated versions of the sensor’s firmware. Periodically, check Airmar’s website at www.airmar.com to down-load the latest revision, or contact Technical Support for a CD. -
Page 16: Trademarks
® NMEA 2000 is a registered trademark of the National Marine Electronics Assoc. ® Smart Sensor is a trademark of Airmar Technology Corporation. ™ WeatherCaster is a trademark of Airmar Technology Corporation. ™ 35 Meadowbrook Drive, Milford, New Hampshire 03055-4613, USA...
Need help?
Do you have a question about the GH2183 and is the answer not in the manual?
Questions and answers