Advertisement
Quick Links
2
Introduction of printer
2.1 Main parts
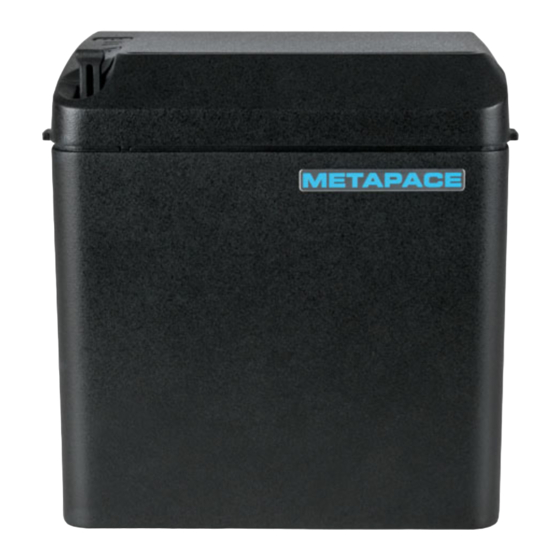
1—Top cover 2—Cutter 3—Platen roller 4—Paper end sensor 5—Paper guide
6—Micro switch 7—Cover 8—Middle cover 9—Cover open spanner 10—Paper
compartment 11—Paper near end sensor spanner 12—FEED button 13—ERROR LED
14—POWER LED 15—POWER button 16—USB connector 17—Power connector
18—Ethernet connector 19—Serial connector 20—Cash drawer connector
2.2 Specifications
n
Print mode: Direct thermal line printing
n
Print speed: Max. 250 mm/s
n
Resolution: 203×203 dpi
n
Print width: Max. 80 mm
n
Power supply: Direct current 24 V, 2.0 A
n
Paper type: Thermal continuous paper / marked paper
n
Paper roll diameter: Max. 80 mm
3
Installing the printer
3.1 Connecting the printer
Figure 3.1
2
Please make sure that the POWER switch is in the off position before connecting the
printer (see figure 3.1).
3.2 Paper loading
1)
Turn off the printer.
2)
Push the spanner in the direction shown in figure 3.2.
3)
Place the paper roll into the printer, as shown in figure 3.2.
4)
Close the top cover.
4
Printing self-test pages and entering button configuration mode
1)
Ensure that the printer is connected to power and that a paper roll is inserted.
2)
Ensure that the POWER switch is in OFF position and that the POWER LED is
off as well.
3)
Press the FEED button while turning on the printer power, and then release the
button. The printer will print out configuration instructions and prompt users to "Press
and release the FEED button to print a character test" or "Press and hold the FEED
button to configure the printer". Then the printer will enter standby mode and the
ERROR LED will start flashing.
4)
By pressing the FEED button for a short time, the printer will print out a character test.
By pressing the FEED button for a long time, the printer will enter button
configuration mode.
5
FEED button, LEDs and Buzzer
n
FEED button
Press the FEED button for a short time to feed paper one line at a time.
Hold the FEED button to feed paper continuously.
n
LEDs
POWER LED: Green, indicating power status (on/off).
ERROR LED: Red, indicating paper end or open cover conditions, or
self-test standby status.
n
Buzzer
The buzzer will beep if one of the following conditions occurs:
1) If an error condition is met, like paper end or open top cover.
2) When printing starts or stops (depending on the selected configuration).
Figure 3.2.
3
Advertisement

Related Manuals for Metapace T-40


Summary of Contents for Metapace T-40
- Page 1 Please make sure that the POWER switch is in the off position before connecting the Introduction of printer printer (see figure 3.1). 2.1 Main parts 3.2 Paper loading 1—Top cover 2—Cutter 3—Platen roller 4—Paper end sensor 5—Paper guide Turn off the printer. 6—Micro switch 7—Cover 8—Middle cover 9—Cover open spanner 10—Paper Push the spanner in the direction shown in figure 3.2.
- Page 2 Routine Maintenance Metapace T-40 User’s Quickstart Guide Cleaning the print head and platen roller Turn off the printer power and open the top cover. If a printing process has just finished, please wait until the print head is completely cooled down.
Need help?
Do you have a question about the T-40 and is the answer not in the manual?
Questions and answers